by Natalie | Nov 9, 2018 | Recipes
If you’re looking for a lemon fix, you’ve come to the right place. I got over loaded with chocolate during the raid of my kids trick-or-treat bags 😉, so when it came time to make cupcakes for my daughter’s class, lemon sounded perfect.
I chose a “super moist” Betty Crocker Lemon cake mix – and found it both lacking in lemon and pudding (probably because there was no pudding in it-at least not enough for my liking). Lucky for us, her class has 33 kids! So I had to mix up another cake and personally, I have to humbly say, I nailed it.😉
The pudding actually helped the cake rise better. As you see in here, the cake on the left is without added pudding, the cake on the right has pudding.

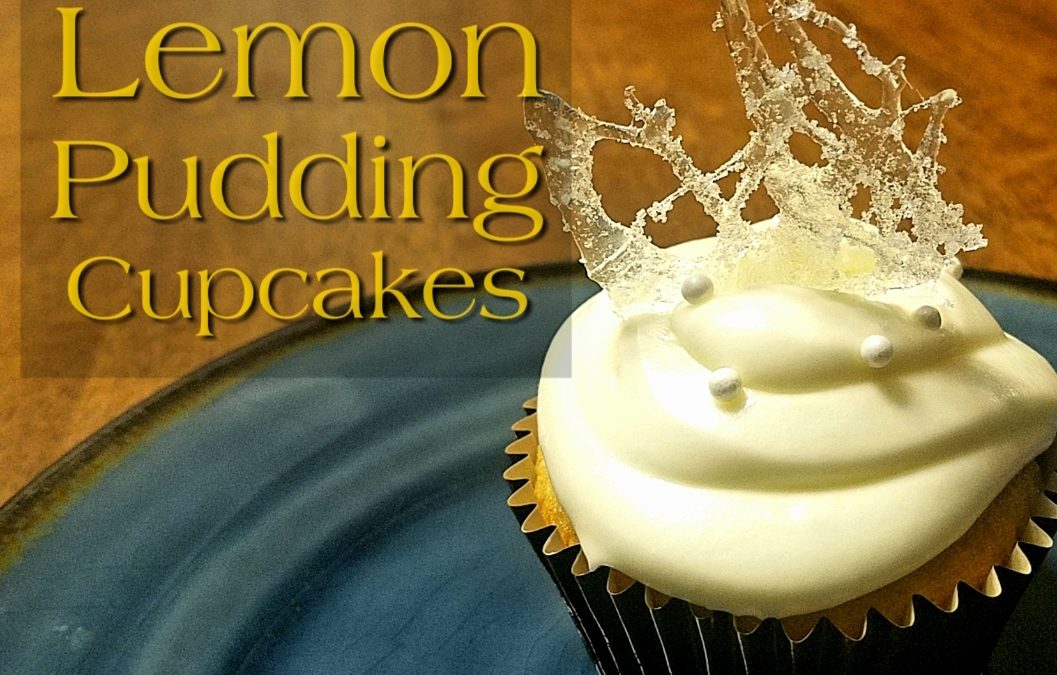
Now for the perfect Lemon Pudding Cupcake recipe. Not so moist it can’t hold its shape and not so dry it’s crumbly. With the perfect refreshing lemon zest, that lingers on your tongue.
Enjoy. 🍋☺️🍋🤜
Lemon Pudding Cupcakes
- 1 box Super Moist Lemon cake mix (you could choose a different lemon cake, I just can’t guarantee the perfect balance of pudding goodness)
- 1/2 lemon pudding 3.5 Oz box (the other half will go in the frosting)
- Any other ingredients called for on the mix box likely eggs, oil and water
Follow the directions on the cake box and in addition, add 1/2 box of instant lemon pudding. The Betty Crocker brand called for water, oil and the eggs as well.
Bake at 375° shiny metal pan or 350° nonstick pan for 12-17 minutes. I baked mine at 375° for 12 and 1/2 minutes on the convection setting, they were beautiful.
Lemon Pudding Frosting
- 4-5 cups powdered sugar
- 8 Oz cream cheese softened to room temperature
- 1/4 cup butter (aka1/2 stick)
- 3 TBS lemon juice
- 1/2 lemon pudding 3.5 Oz box
- 1/4 cup milk
- Yellow food coloring optional
Mix the butter and cream cheese together. Then mix in the lemon juice. Add the powdered sugar and milk a little at a time until it reaches a spreadable consistency that you like. I wanted mine to hold shape, but still be creamy.
Hard Candy Lemon Toppers
(this requires a Candy thermometer)
- 1 cup sugar
- 1/2 cup corn syrup
- 1/4 cup water
- 1 tsp lemon extract
Sugar Mixture
- 1/4 cup sugar
- 2 tsp lemon juice
Butter the sides of a heavy 2-quart saucepan. Butter tinfoil layed out flat on the counter and create the sugar mixture and set aside.
Mix all the above ingredients (except lemon extract and sugar mixture) together. Once it is fully mixed, cook and stir over medium – high heat till mixture boils and reaches a temperature of 290° on the candy thermometer, about 15 minutes. Be careful to not splash the mixture up on the sides of the pan as this will cause the whole batch to over cook. Remove from heat and add the lemon extract.
Dip a fork into the hot candy. Create your candy toppers by drizzling and looping the candy from the fork.

Before it has cooled completely, brush with the sugar lemon mixture.
Once cooled and hardened place on your cupcakes and you are done!


by Natalie | Oct 6, 2018 | Recipes
It’s can be hard to find the perfect gift for the one who “has it all” or at least has what they need and would like to select their own “wants.”
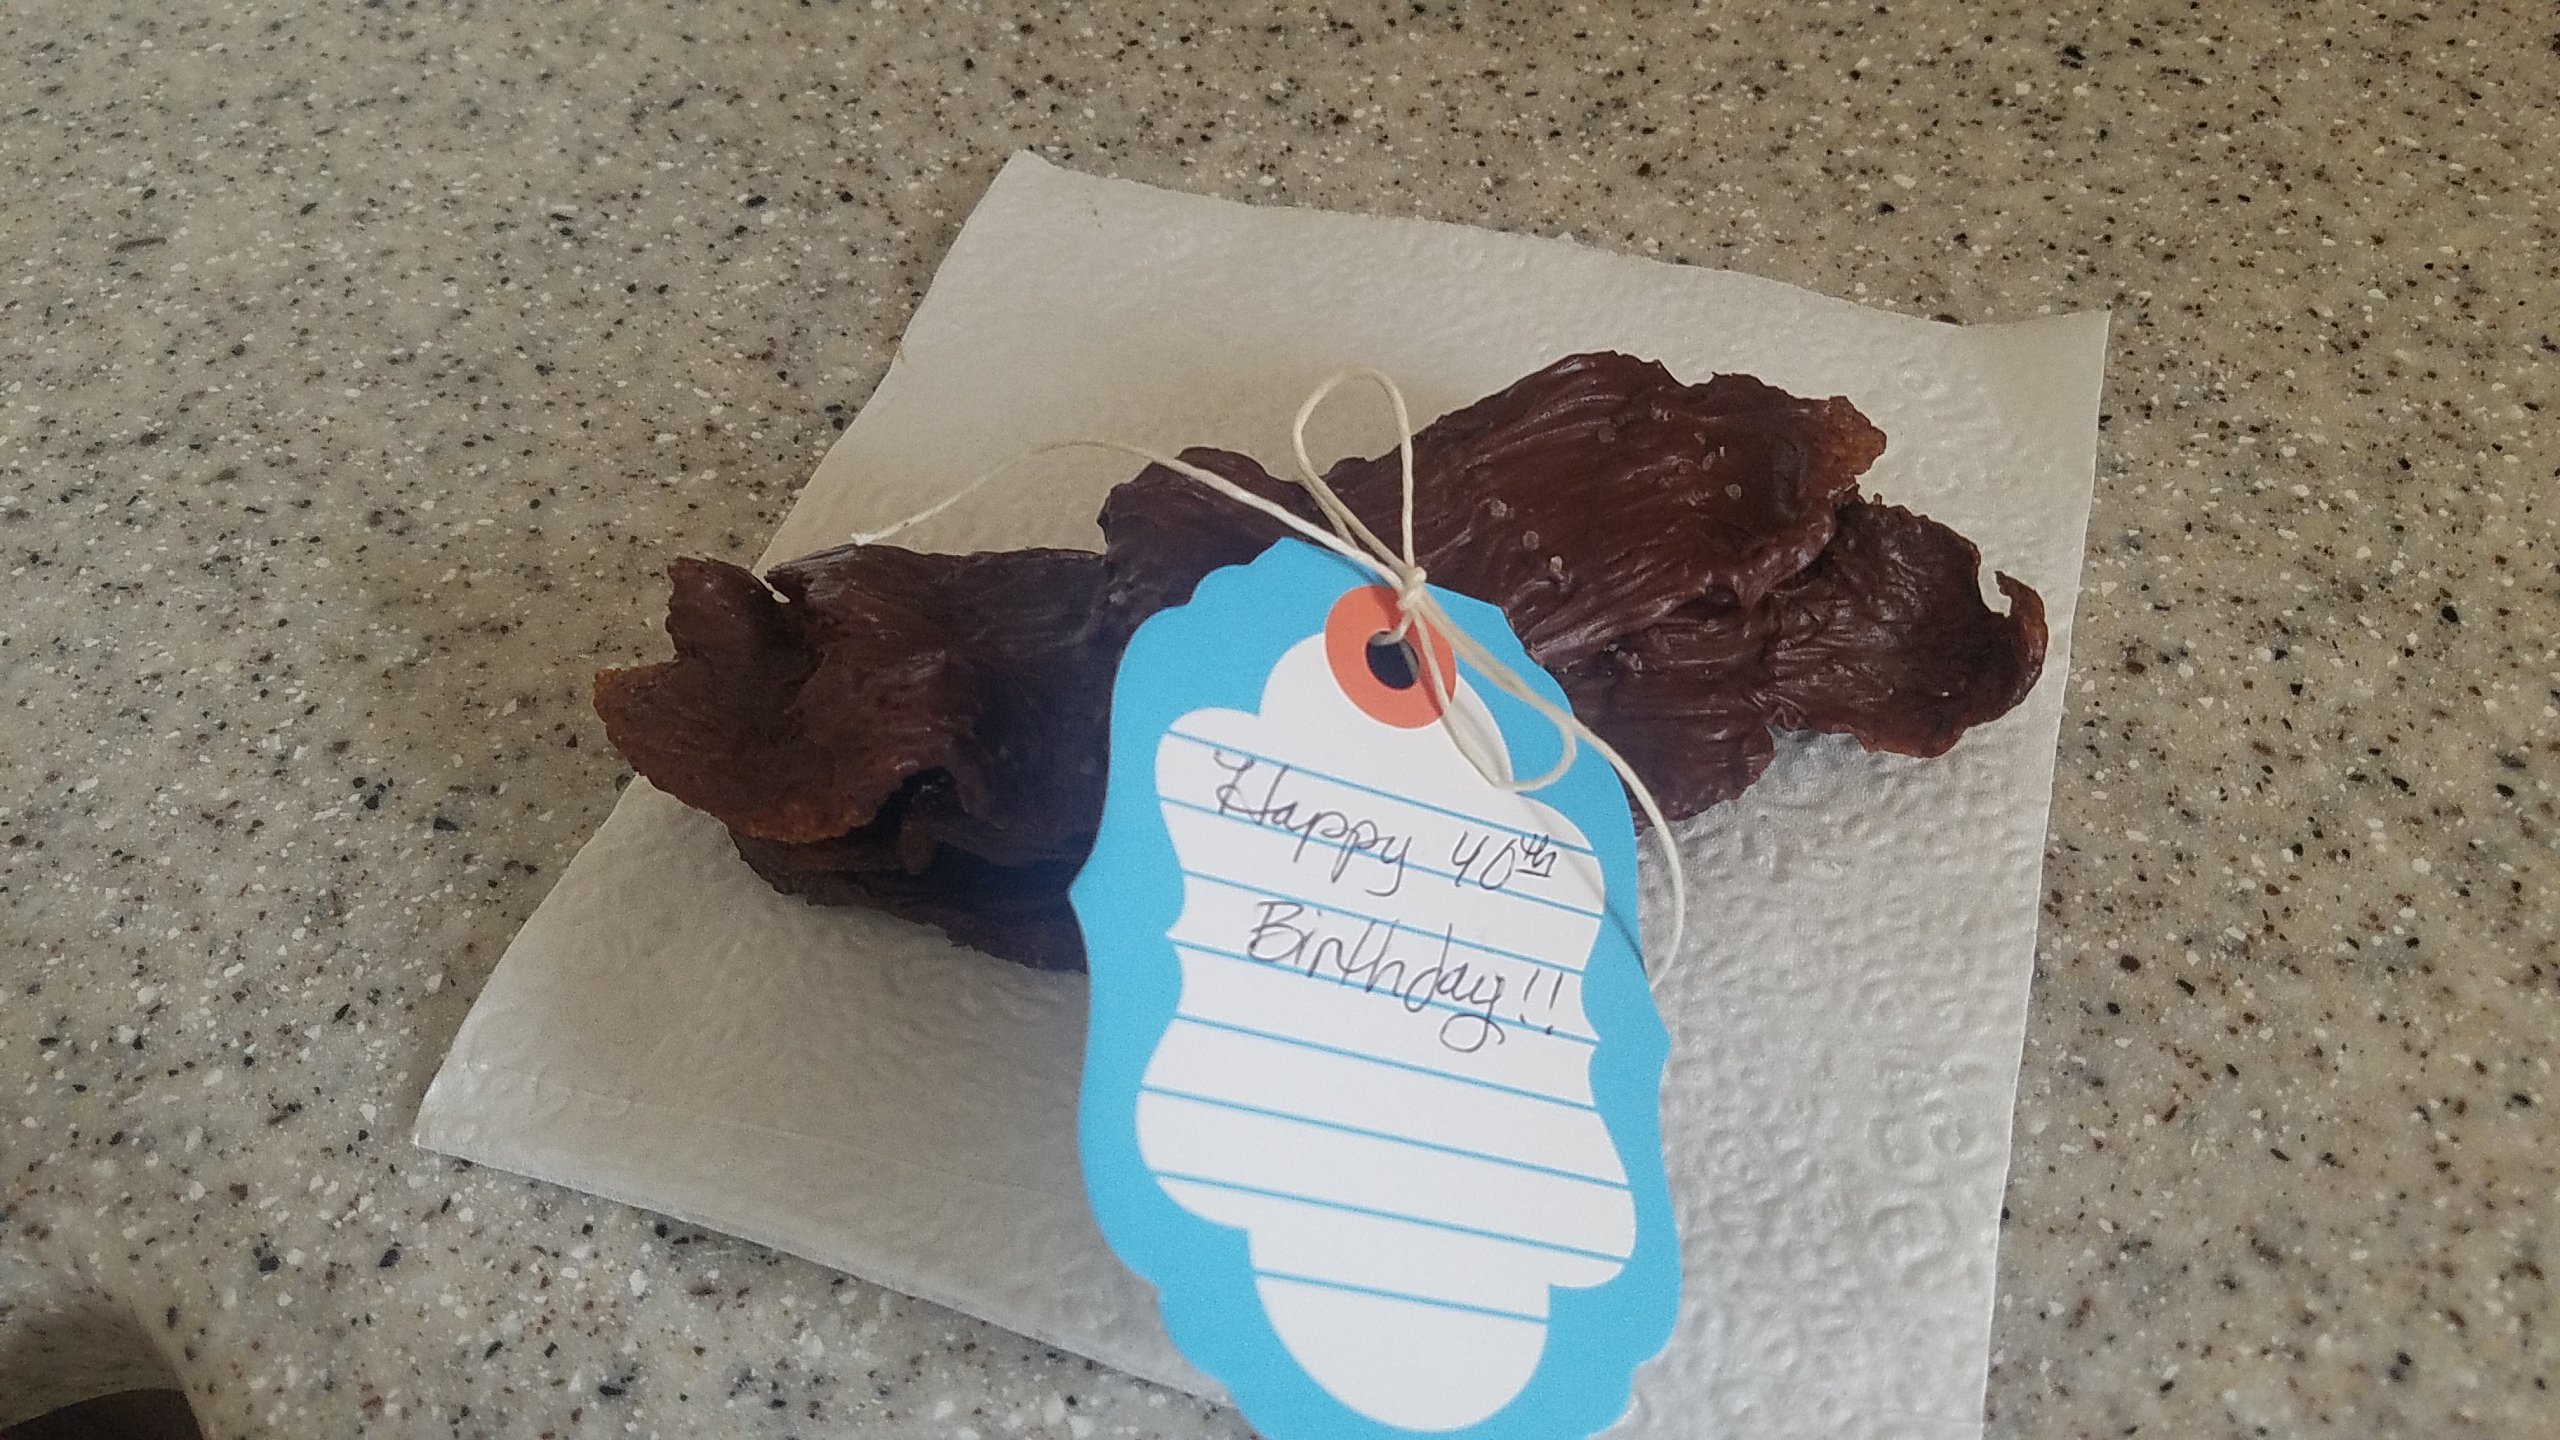
My husband is turning 40! (a great looking, awesome 40 year old), I want him to know I put serious thought into his gift. So I’m making chocolate covered bacon.
Bacon!!
It’s a rare person that doesn’t love bacon 🥓. Crispy, melt in your mouth bacon, makes every dish better.
Which reminds me have you heard Jim Gaffagen’s bacon jokes, 👉 while you eat chocolate covered bacon.
If you’ve worked with chocolate you know it can be tricky if heated and cooled too quickly you can get “bloom” where the chocolate butter separates and white spots appear on top.
Or its melted at too high of a temperature and it seizes up, losing its milky smooth texture and becomes a chocky solid.
This is how you do it right.
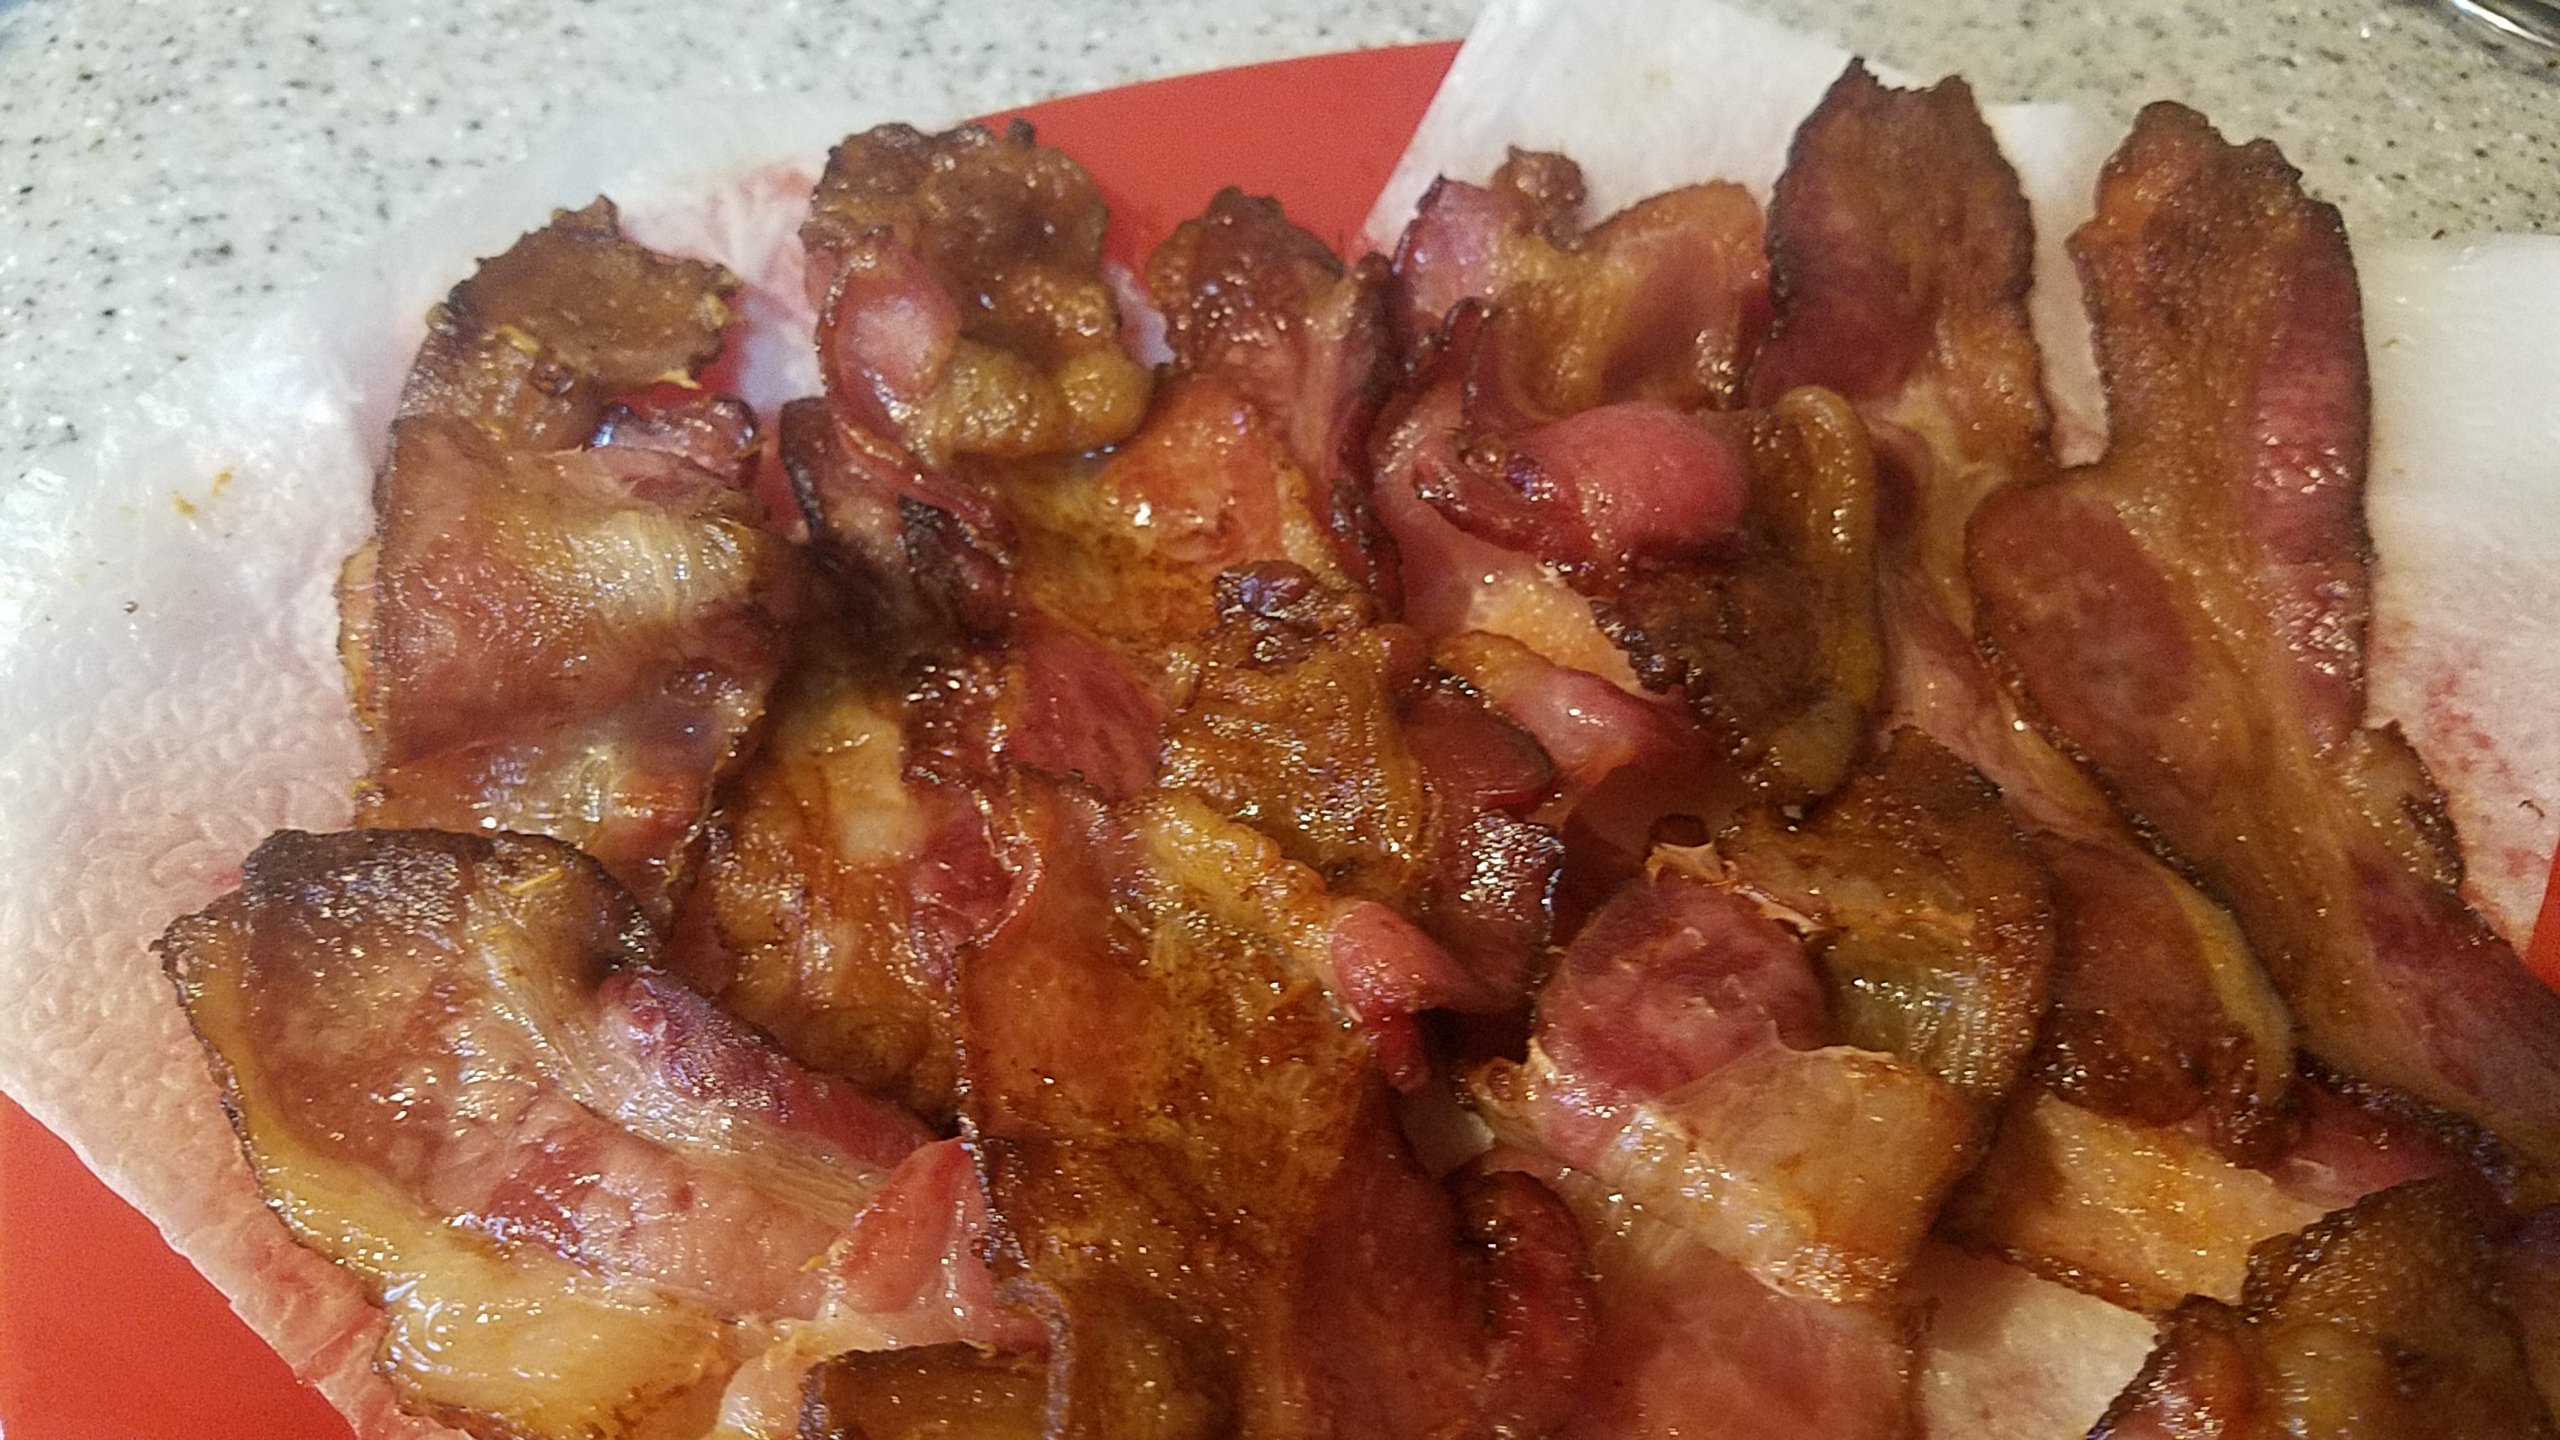
Bake the bacon till crispy, but not burnt 😊 and let it cool completely.
If you have a double boiler use it. ☺️ You will beat water in the lower bowl until very warm, but not boiling. It will melt your chocolate and keep it liquid with less risk of messing up your chocolate’s composition.
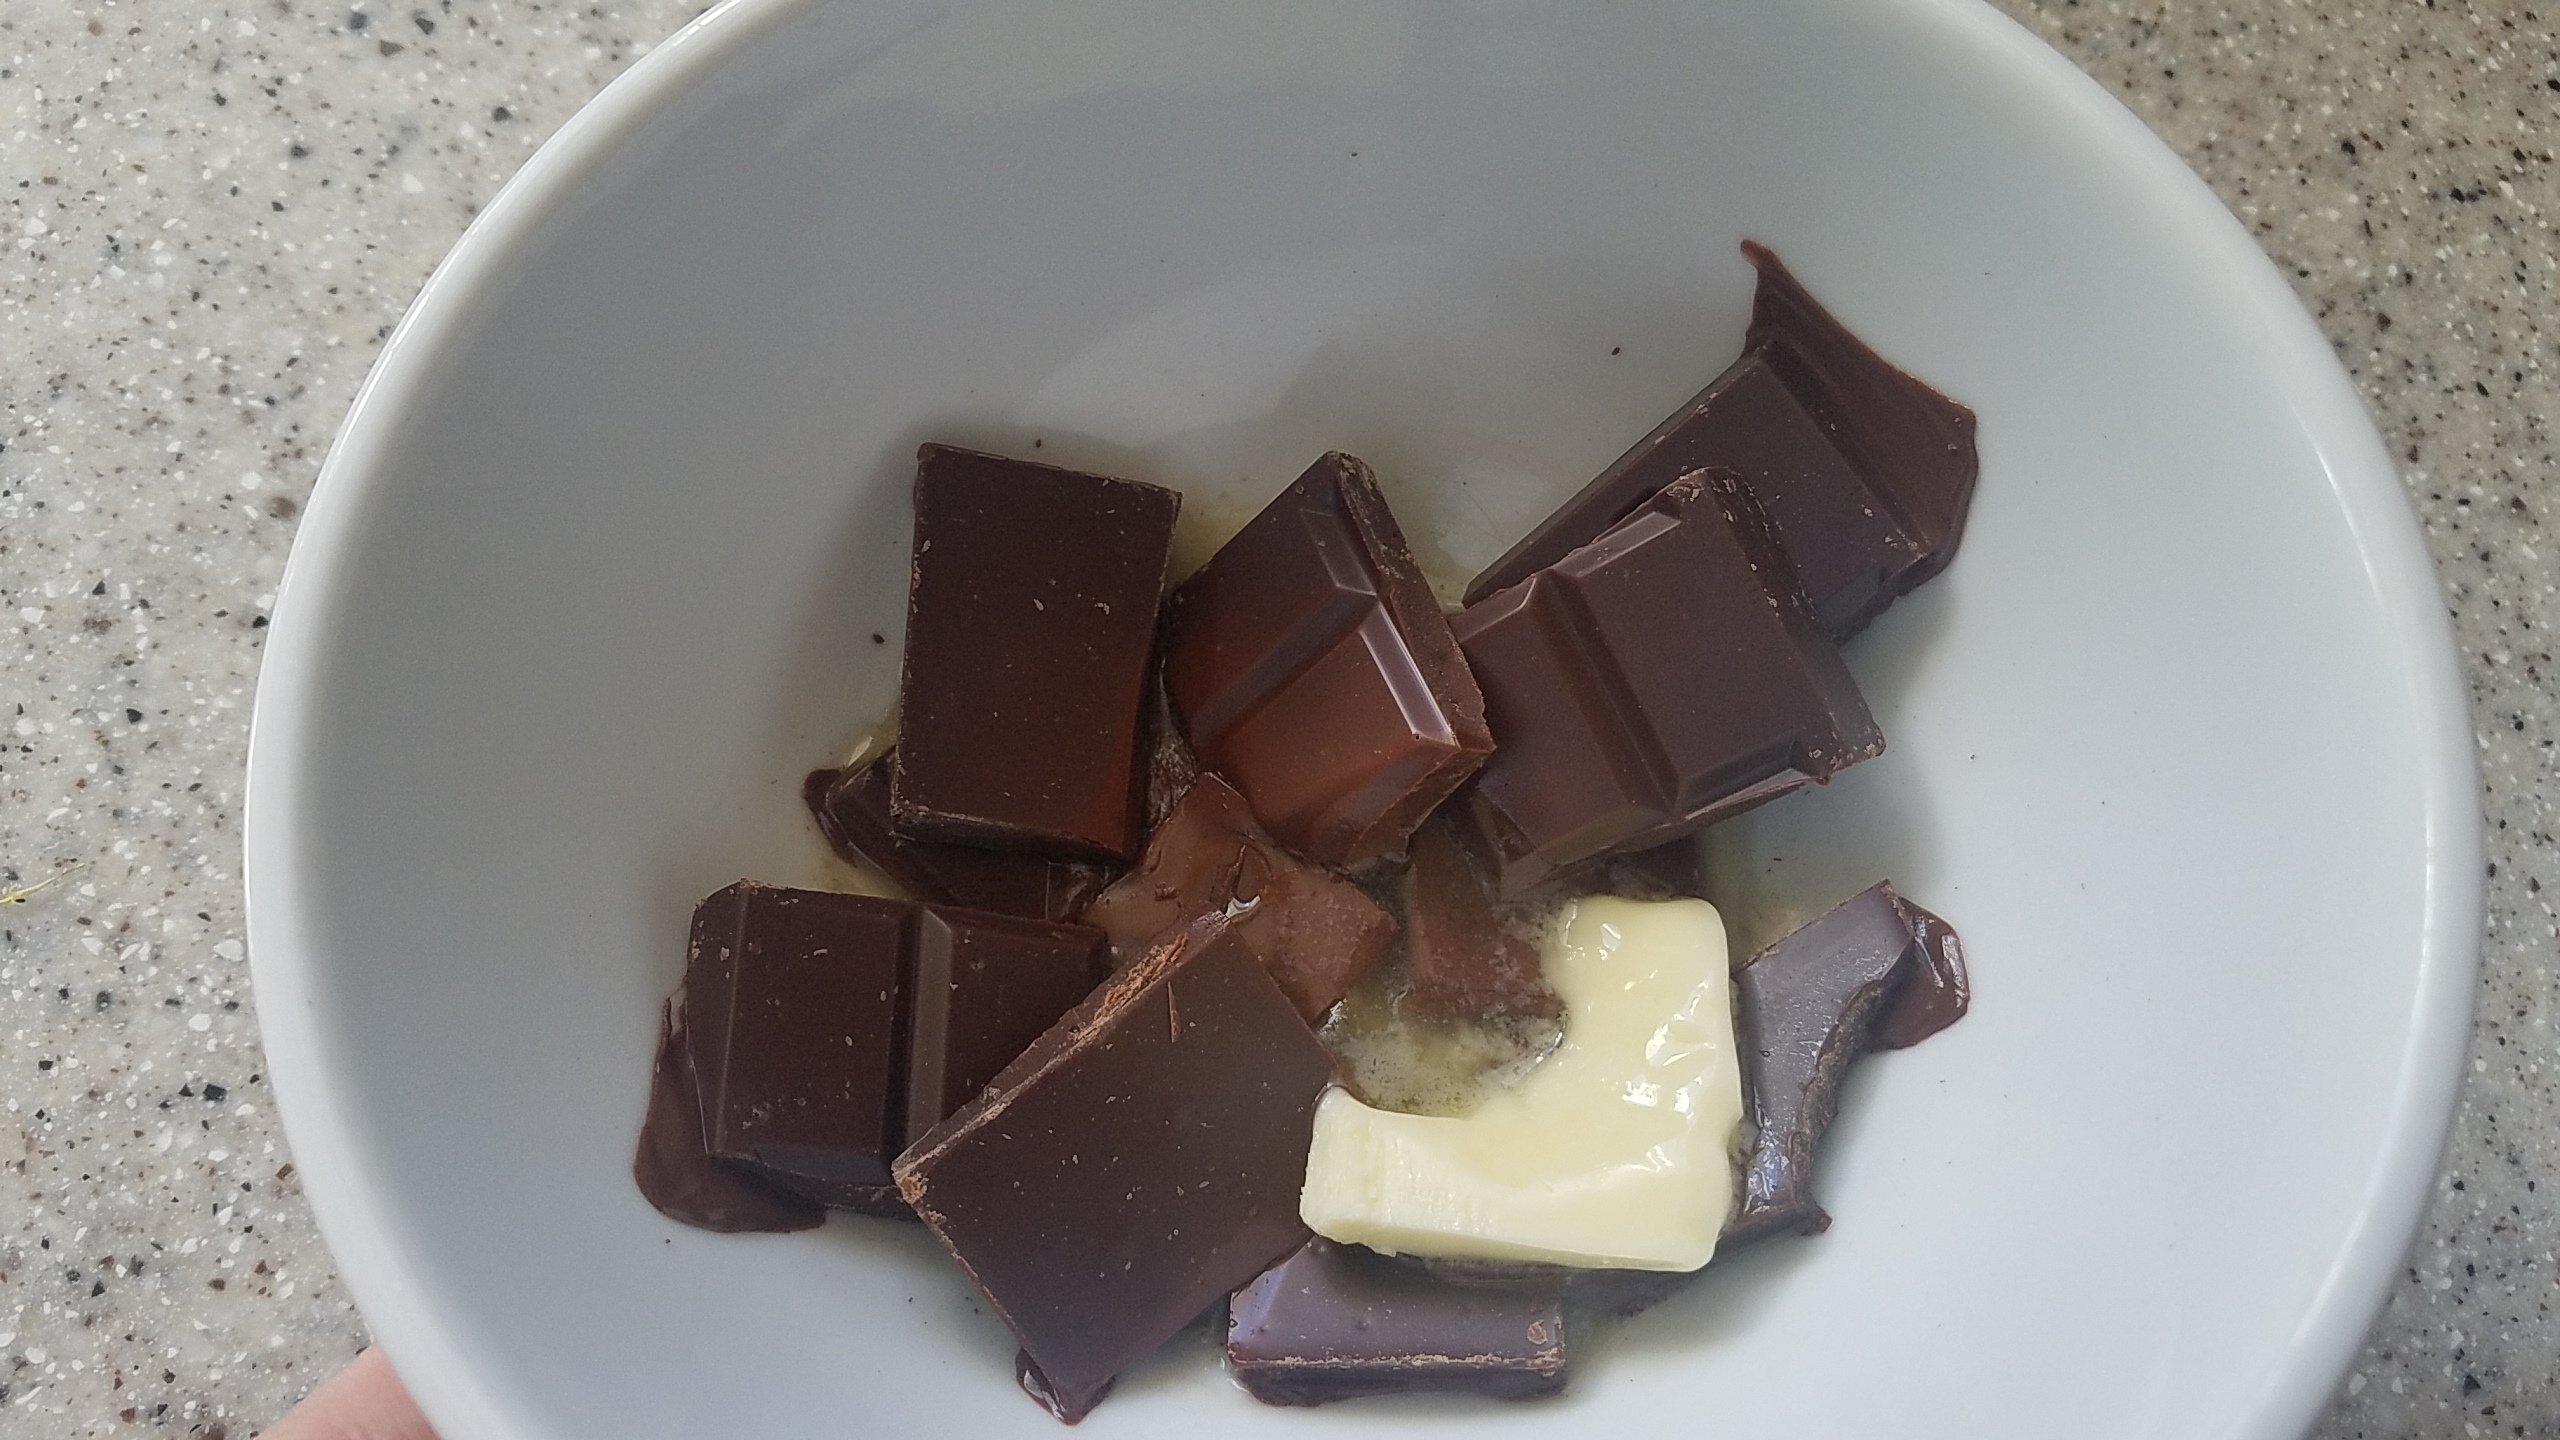
If you have a microwave melt on medium to low heat for 20 second increments mixing between each time. I added about 1 1/2 Tbs butter to 8 oz of dark chocolate. The butter is to increase its spreadability (which in not sure is a word) 😂
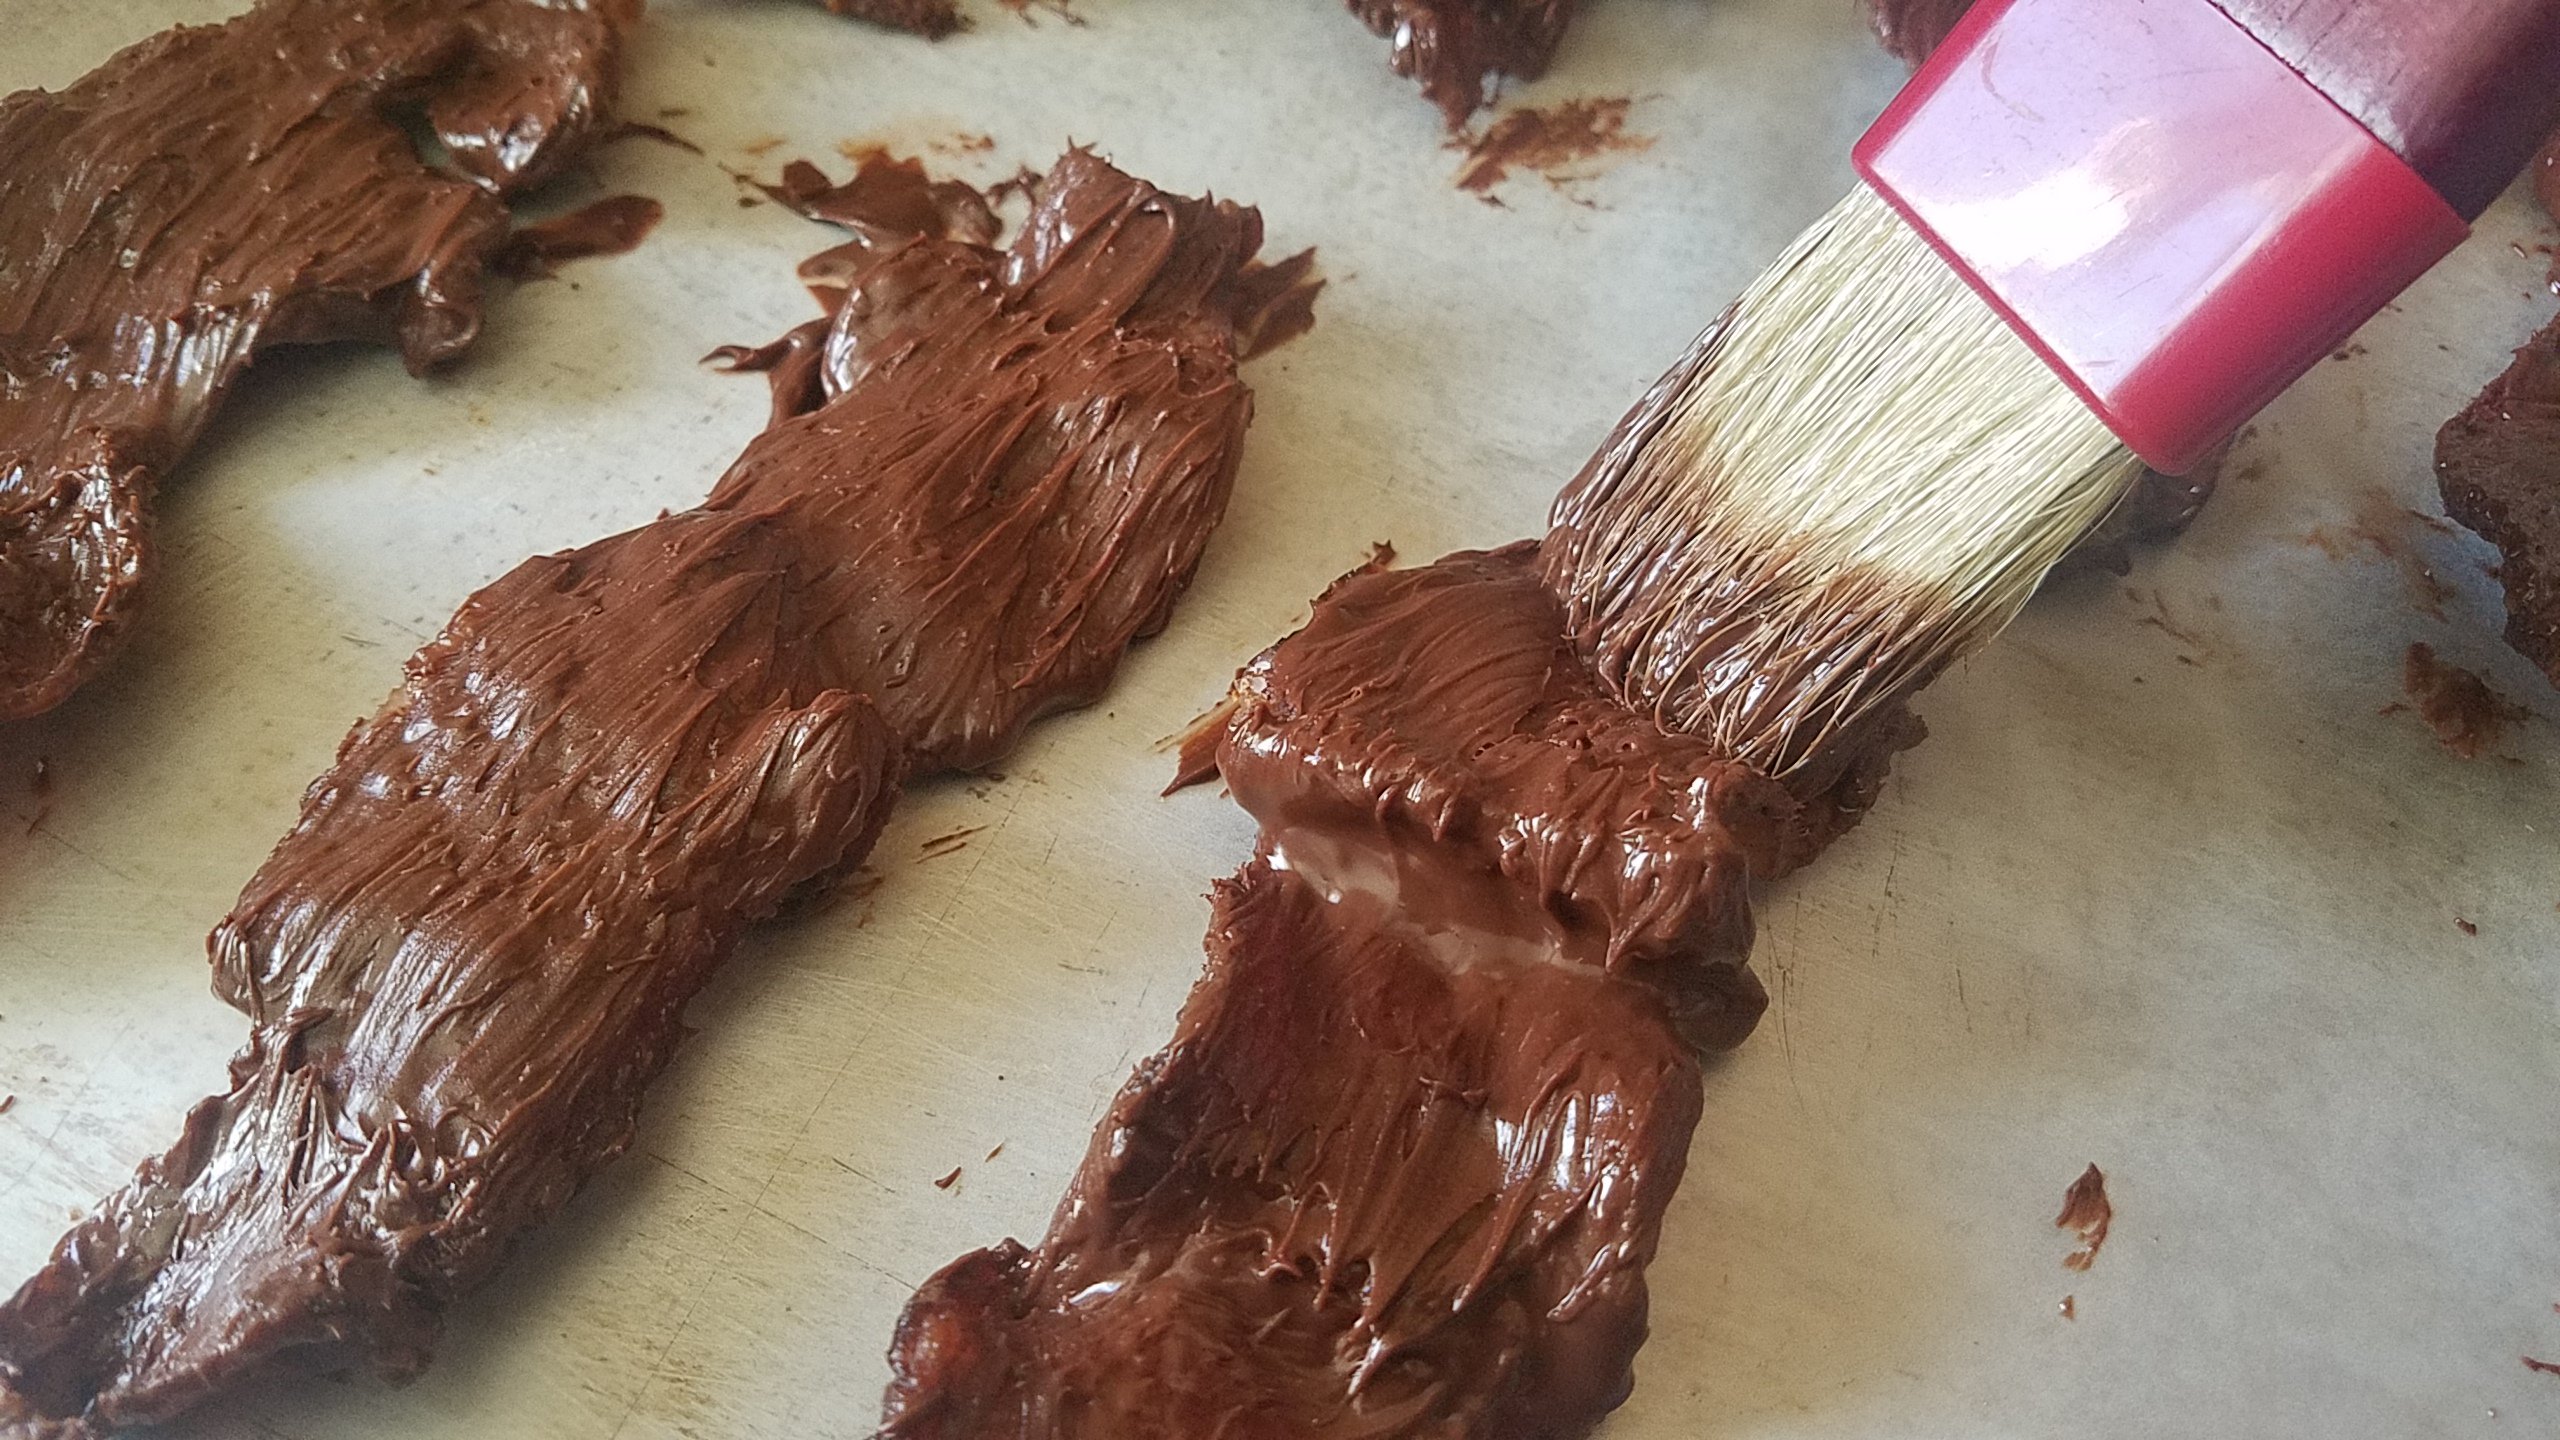
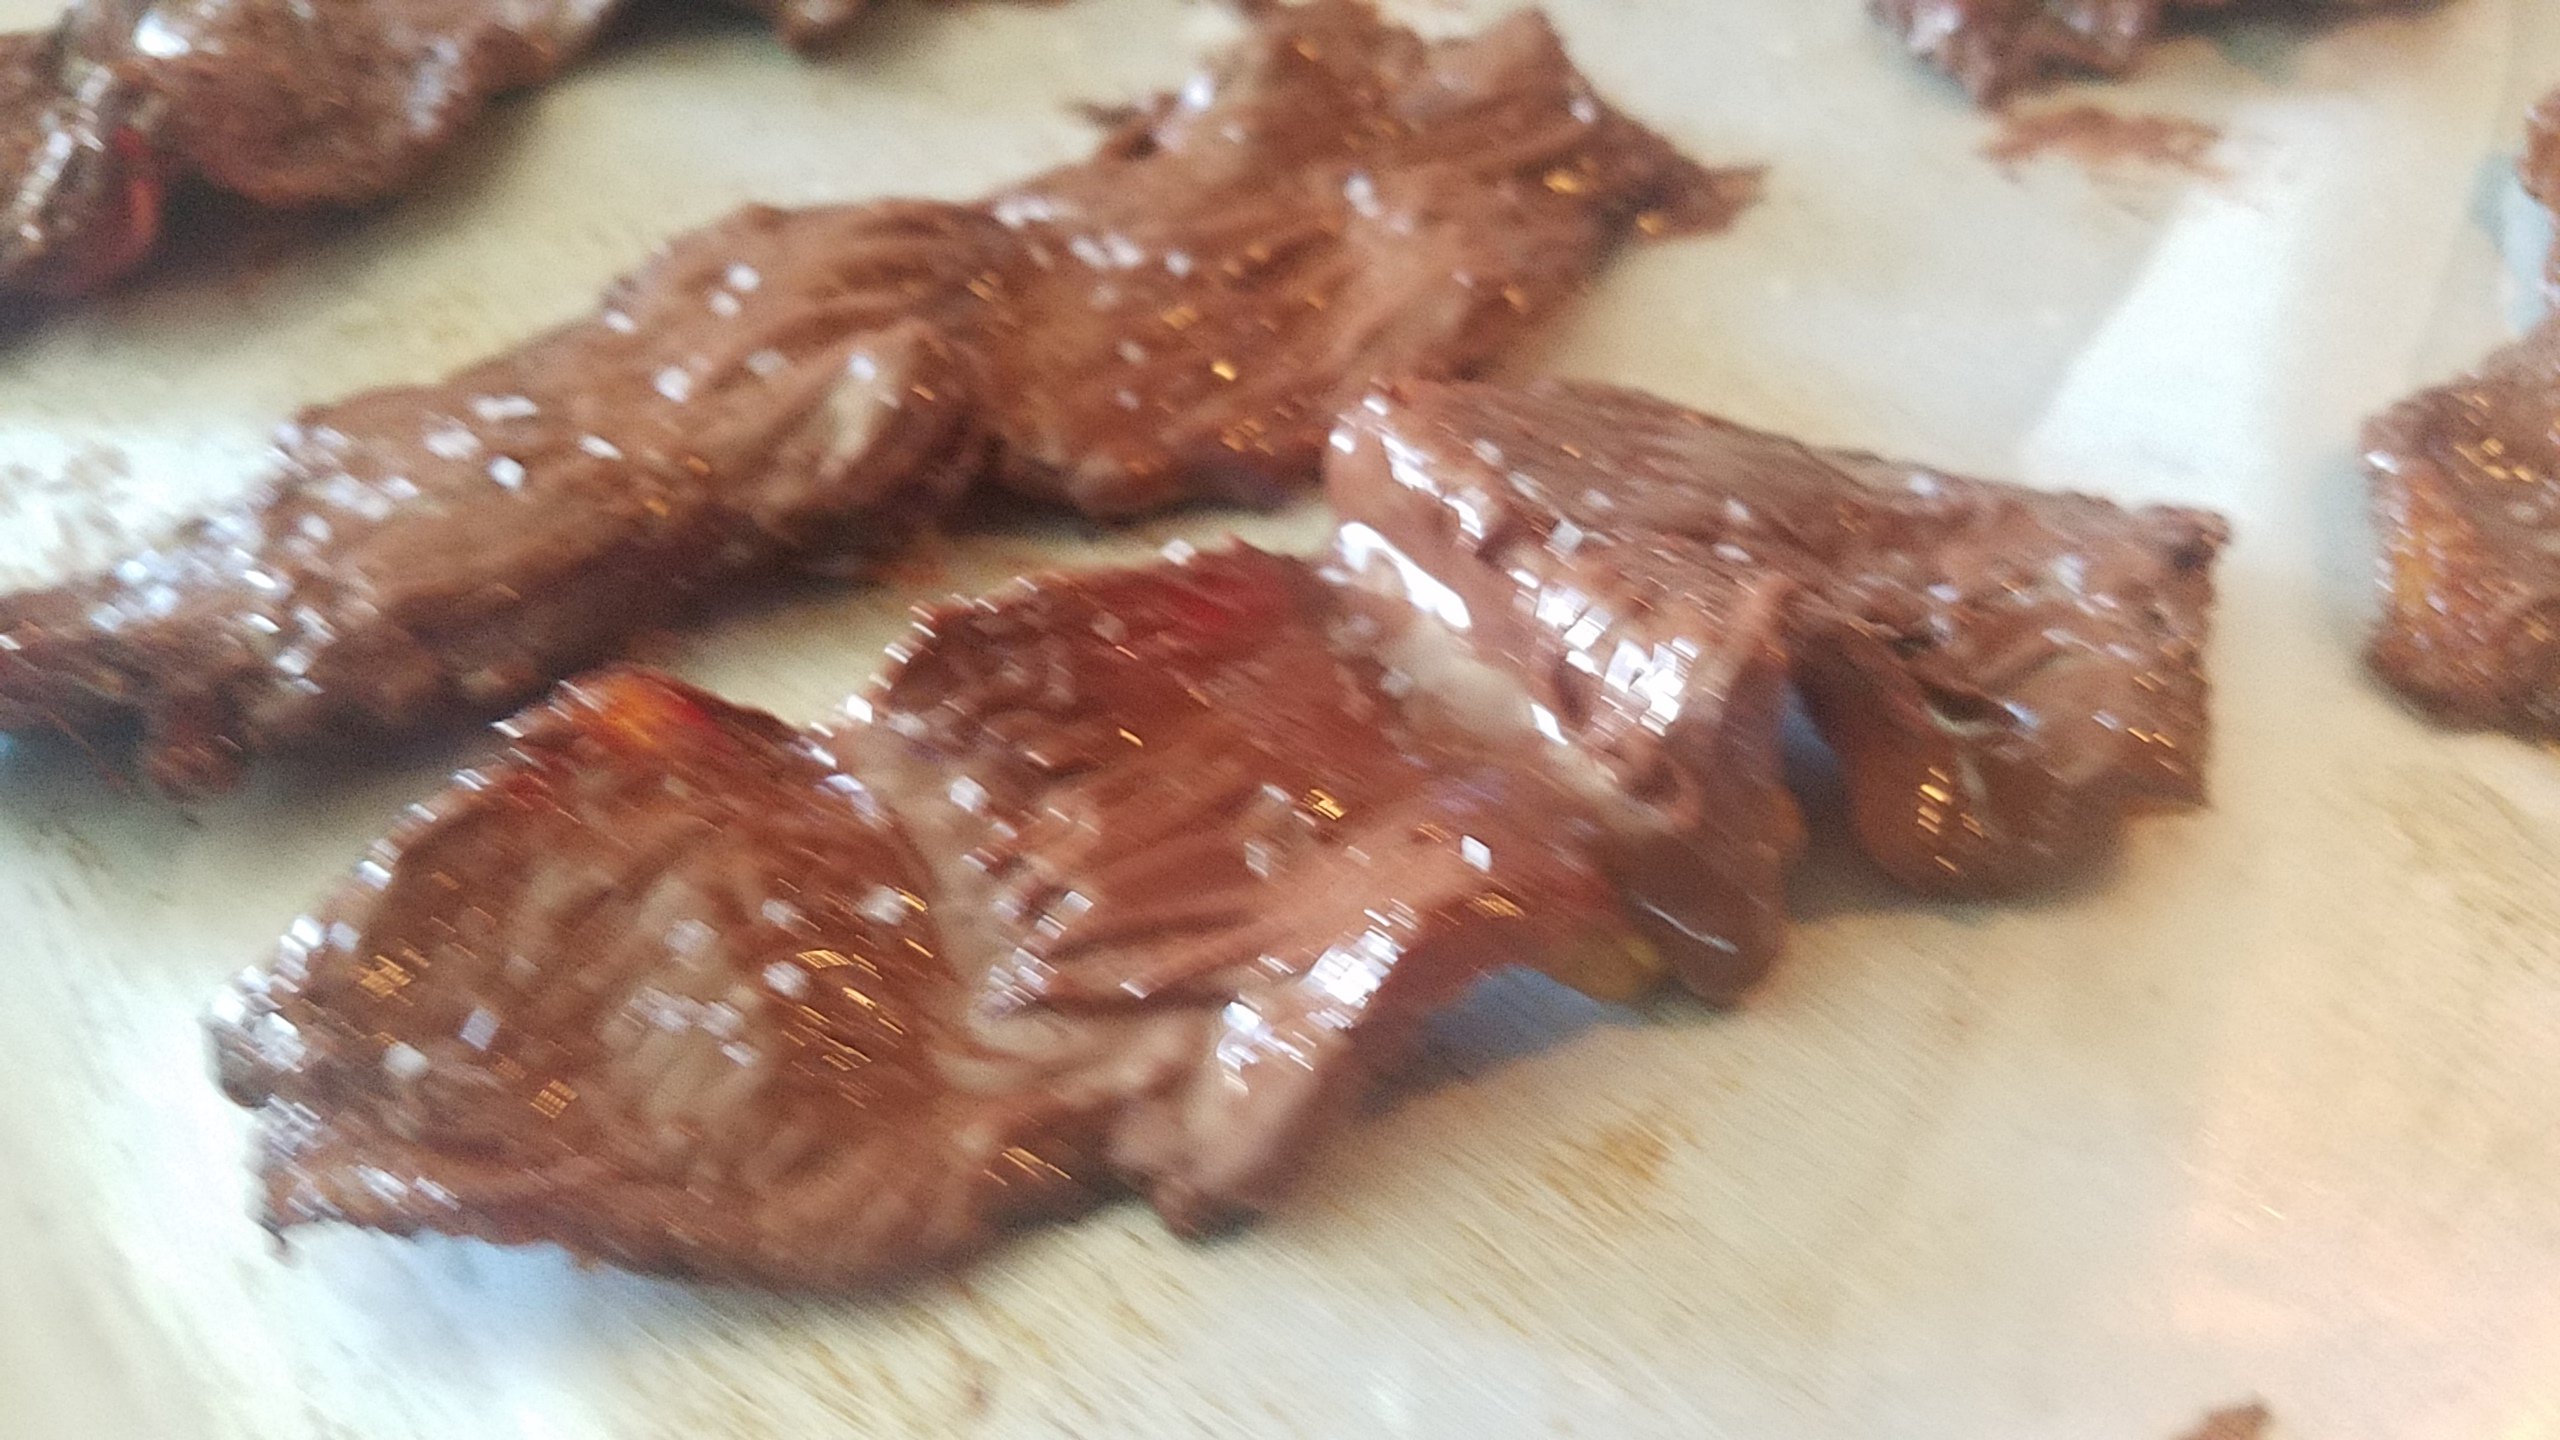
Heart until just melted, be careful not to overcook add it will burn and ruin your chocolate. Then use a pastry brush to brush the chocolate into your slices of bacon.
After I was done spreading chocolate I placed them in a warm (not burning oven) to even out the chocolate).
Sprinkle with course salt to balance out the sweetness of the chocolate and enhance the bacon flavor.
Then package with string and a card and you’ve got an awesome guy gift – or the perfect gift for anyone with refined taste buds. 😉
Happy creating! Comment with other ideas you have for the men in your life and /or those who already have it all.
Until next time… 😊👉 Shares your thoughts.

by Natalie | Sep 28, 2018 | Baking, Recipes
I love Halloween and Fall. The crisp smell of crunchy leaves, baking apples and happy kids makes my world complete. Today I am sharing three quick and easy ideas to inspire you for the upcoming Halloween festivities. While I do enjoy the occasional, detail minded cooking, I purposely chose recipes that are quick and easy to get you out the door and off to your party.
There is a little bit of everything, a recipe that only requires kitchen staples – still very cute, one that requires no talent at all – but looks amazing ha ha and the middle ground recipe that takes hardly anytime, but very tasty. Have fun and enjoy the fall festivities.
First off the cute, but easy, no need to buy additional ingredients…
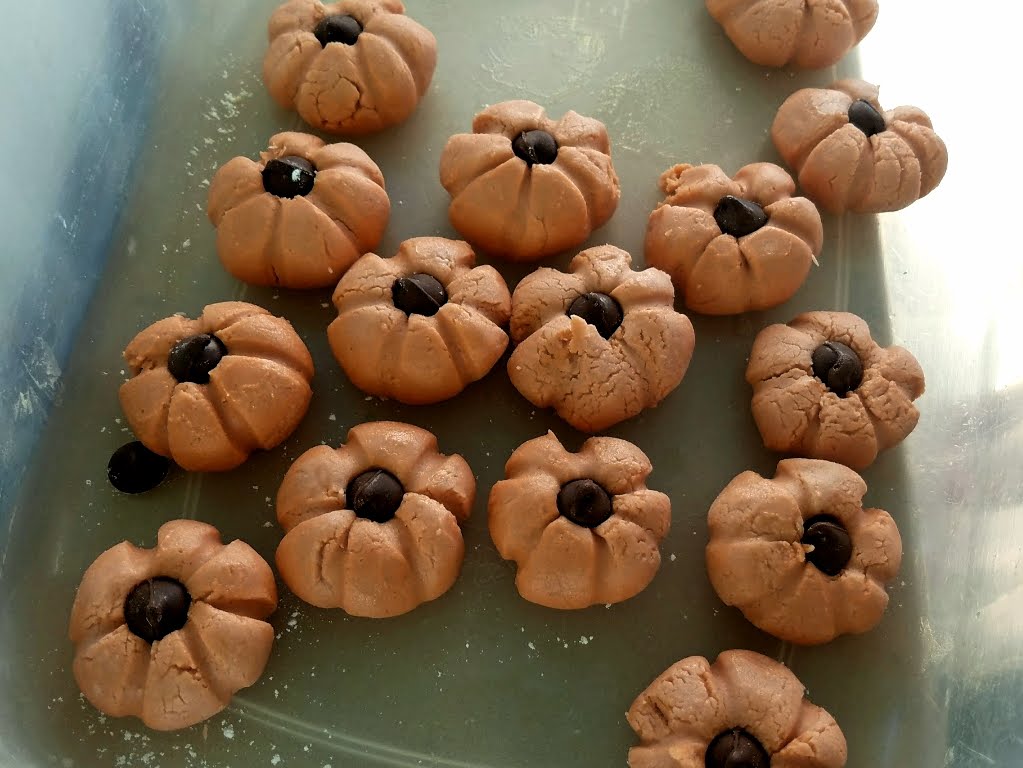
Peanut Butter Candy Pumpkins – You will likely find all of these ingredients in your cupboard, which makes this easy in all ways possible. They are cute and get you right in the mood for fall.
I loved peanut butter candy growing up, be sure to check that the party you will be bringing them to is free of peanut allergies. I labeled mine just to make sure no one took it by mistake if they did have a peanut allergy.
Find the recipe here.
Next up, when you want to bring a fun treat for your gathering, but are self proclaimed not creative (which I don’t buy)…
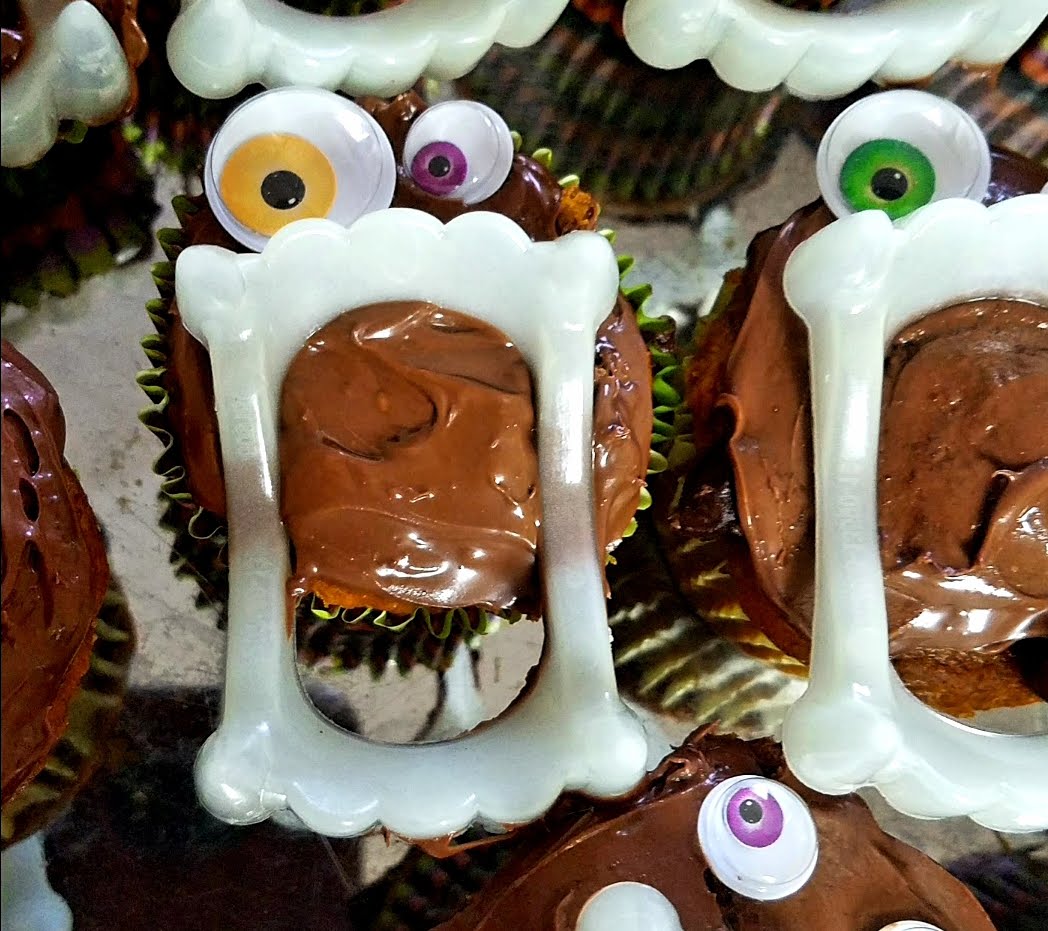
Monster Cupcakes – while these do require a little forethought, they are really easy to make. So if you feel like you aren’t too crafty, you can still do these and have all the kids excited when you arrive. They are fun, but not too scary and you get a pair of monster teeth for the rest of the party. Total win! 😊
Materials/ Ingredients Needed
Plastic monster teeth easily found at the dollar store etc.
Googly Eyes also easily found at the dollar store or candy eyes if you can find them.
Cupcakes bought or baked at home
Frosting in any color, because monsters are that way 😉
Frost the cupcakes with a simple layer on top or you can use this guideline by Mommy Like Woah frosting tips to get a variety of “hairy” monsters. Again, this is up to you – they will look awesome either way and you will easily be the coolest treat maker. 😉
Place monster teeth on top and googly eyes.
Voila! you are ready for a party!
Last, but not least a balance between easy and tasty…
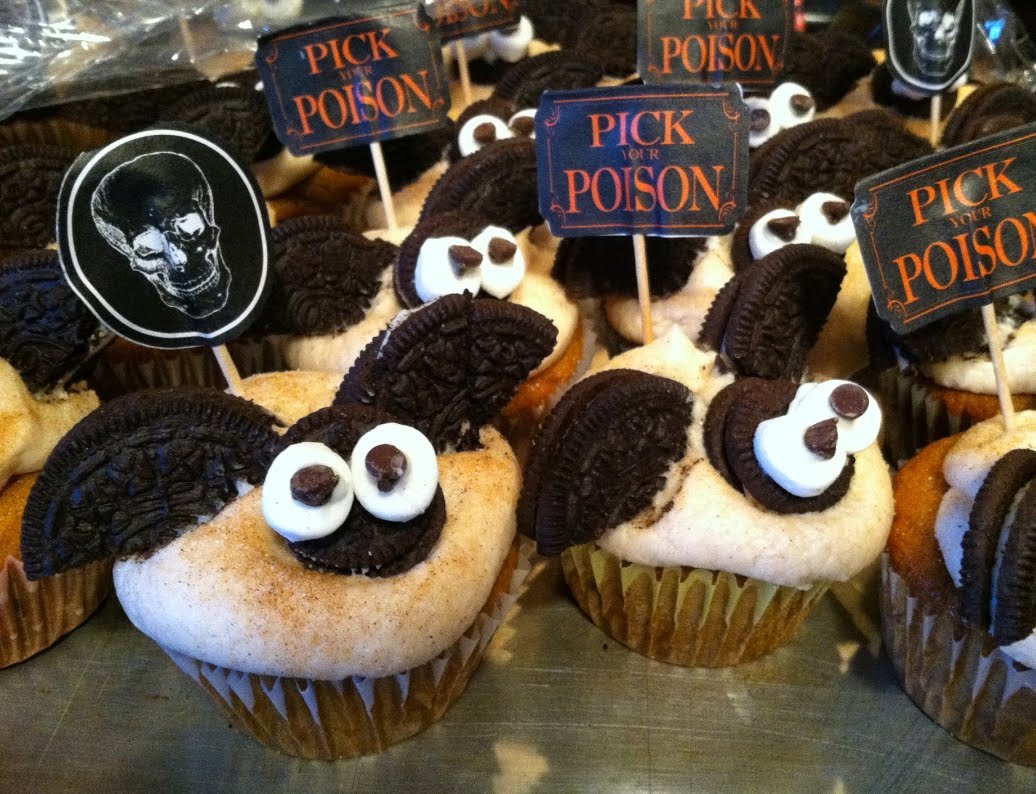
Bat Cupcakes – Quick, cute and tasty, what’s not to love? These cupcakes get kids and their parents excited, (because Oreos are awesome). It will look like you slaved away in the kitchen, but only minutes to assemble. If you make your own cupcakes, it will take a bit longer, still easily accomplished in an afternoon.
Ingredients Needed
Cupcakes
Vanilla Frosting
Oreos – regular size
Oreos – mini
Mini Marshmallows
Cinnamon and Sugar
Mini Chocolate chips
Use a large round frosting tip and fill the whole cupcake. You can swirl around or get the affect above by holding in one spot and letting the frosting pile up. I sprinkled with cinnamon and sugar to give a fall like texture. Next cut a large Oreo in half for the wings and use a small Oreo for the head. Then cut a small marshmallow in half and stick to the small Oreo. Finish off the look with Mini Chocolate Chips adhered with frosting.
Have a wonderful Fall season, be safe and enjoy all that fall baking and Halloween fun. Stay tuned for other Halloween fun coming your way.
by Natalie | Sep 7, 2018 | Baking, Recipes
My wonderful daughter, wrote up her own recipe and experience for making her chocolate creation. She loves to cook and to write so this was a perfect combination. Please enjoy.
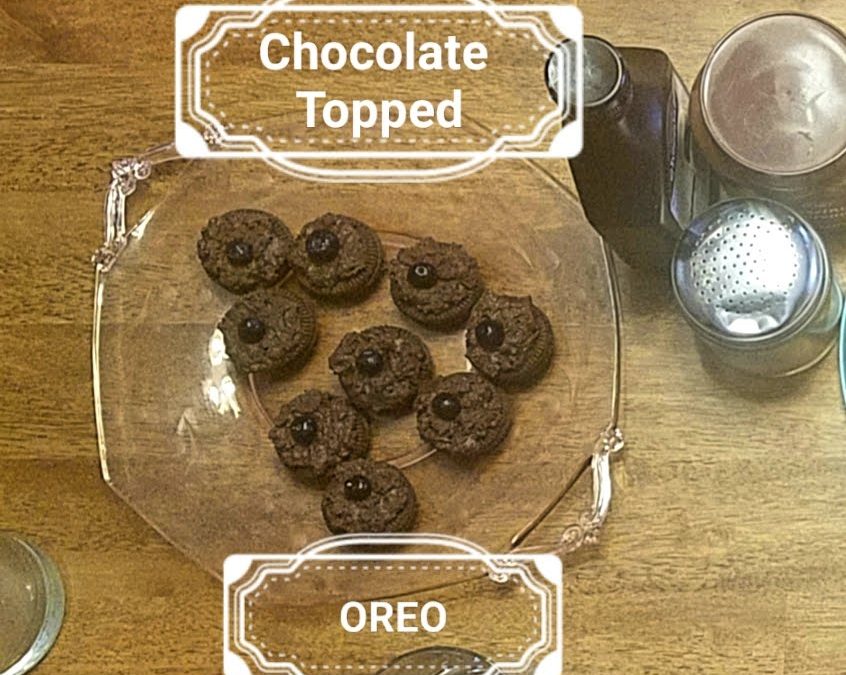
I made the chocolate-topped-Oreo cookies in hope that my brother and his friends would choose it to be the winner because of how much chocolate was in the recipe. I love making food, but as the oven was and would be used the entire time, my appetizer had to be something that did not need to be cooked. Looking at the ingredients I decided to make some sort of cookie.
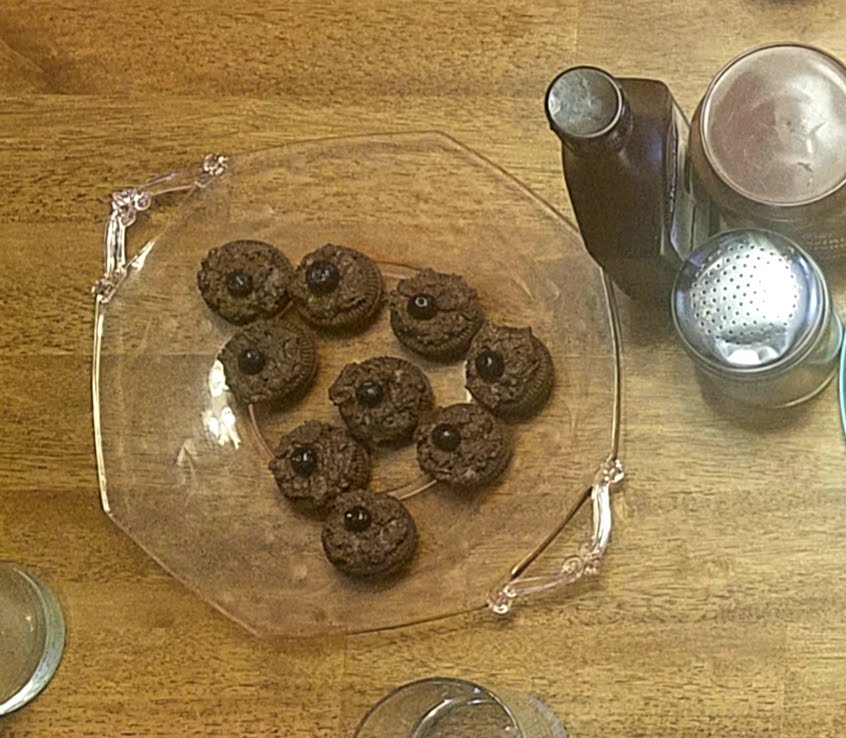
The cookie used only three ingredients, Oreos, milk chocolate and frozen blue berries. I started by melting one chocolate bar in a ceramic bowl. Then while the chocolate was still warm I crushed up about five Oreos into the bowl. I left chunks of Oreo in it but I mostly I crushed the Oreos into dust while the chocolate was still melted so that the dust could melt into it. After that I scooped the Oreo-chocolate onto Oreos with a metal spoon and topped it off with a blueberry on the top (I think it could have had more though.)

This recipe made seven delicious cookies. When they were done I put them in the fridge for about fifteen minutes. The affect was great, the chocolate melted in your mouth, the blueberry gave a sweet, fruity touch to it and the Oreo put a nice crunch in the cookie.
I put a lot of thought into this cookie, however, I didn’t win when the boys saw my mom and dads, but it was a lot of fun for a really great chocolate appetizer.
by Natalie | Sep 7, 2018 | Baking, Recipes
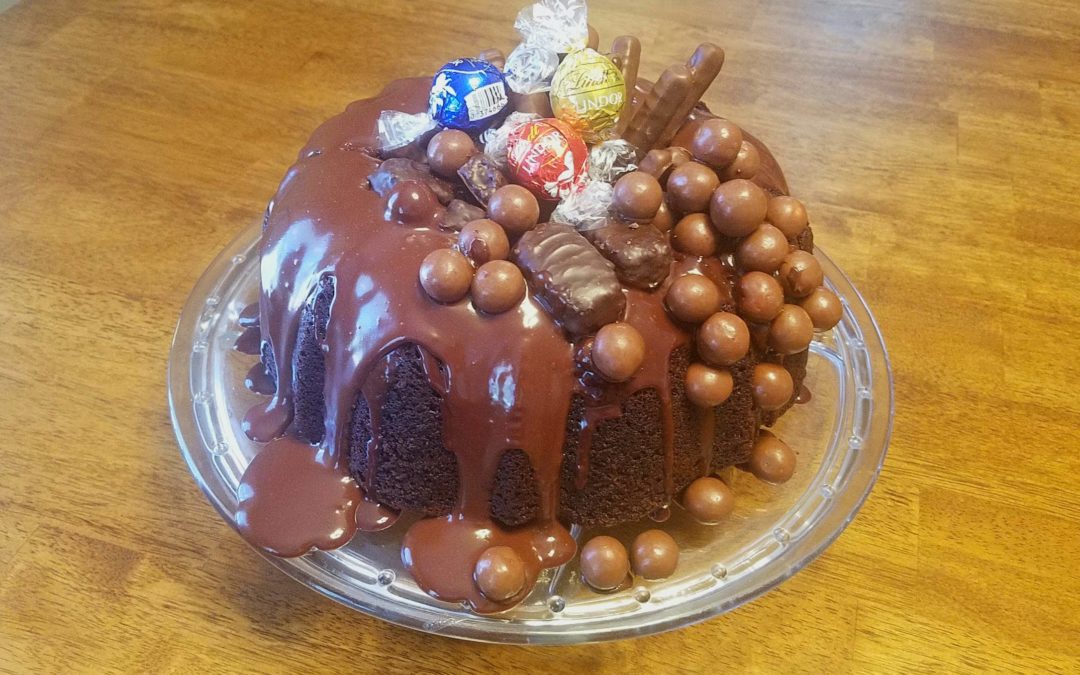
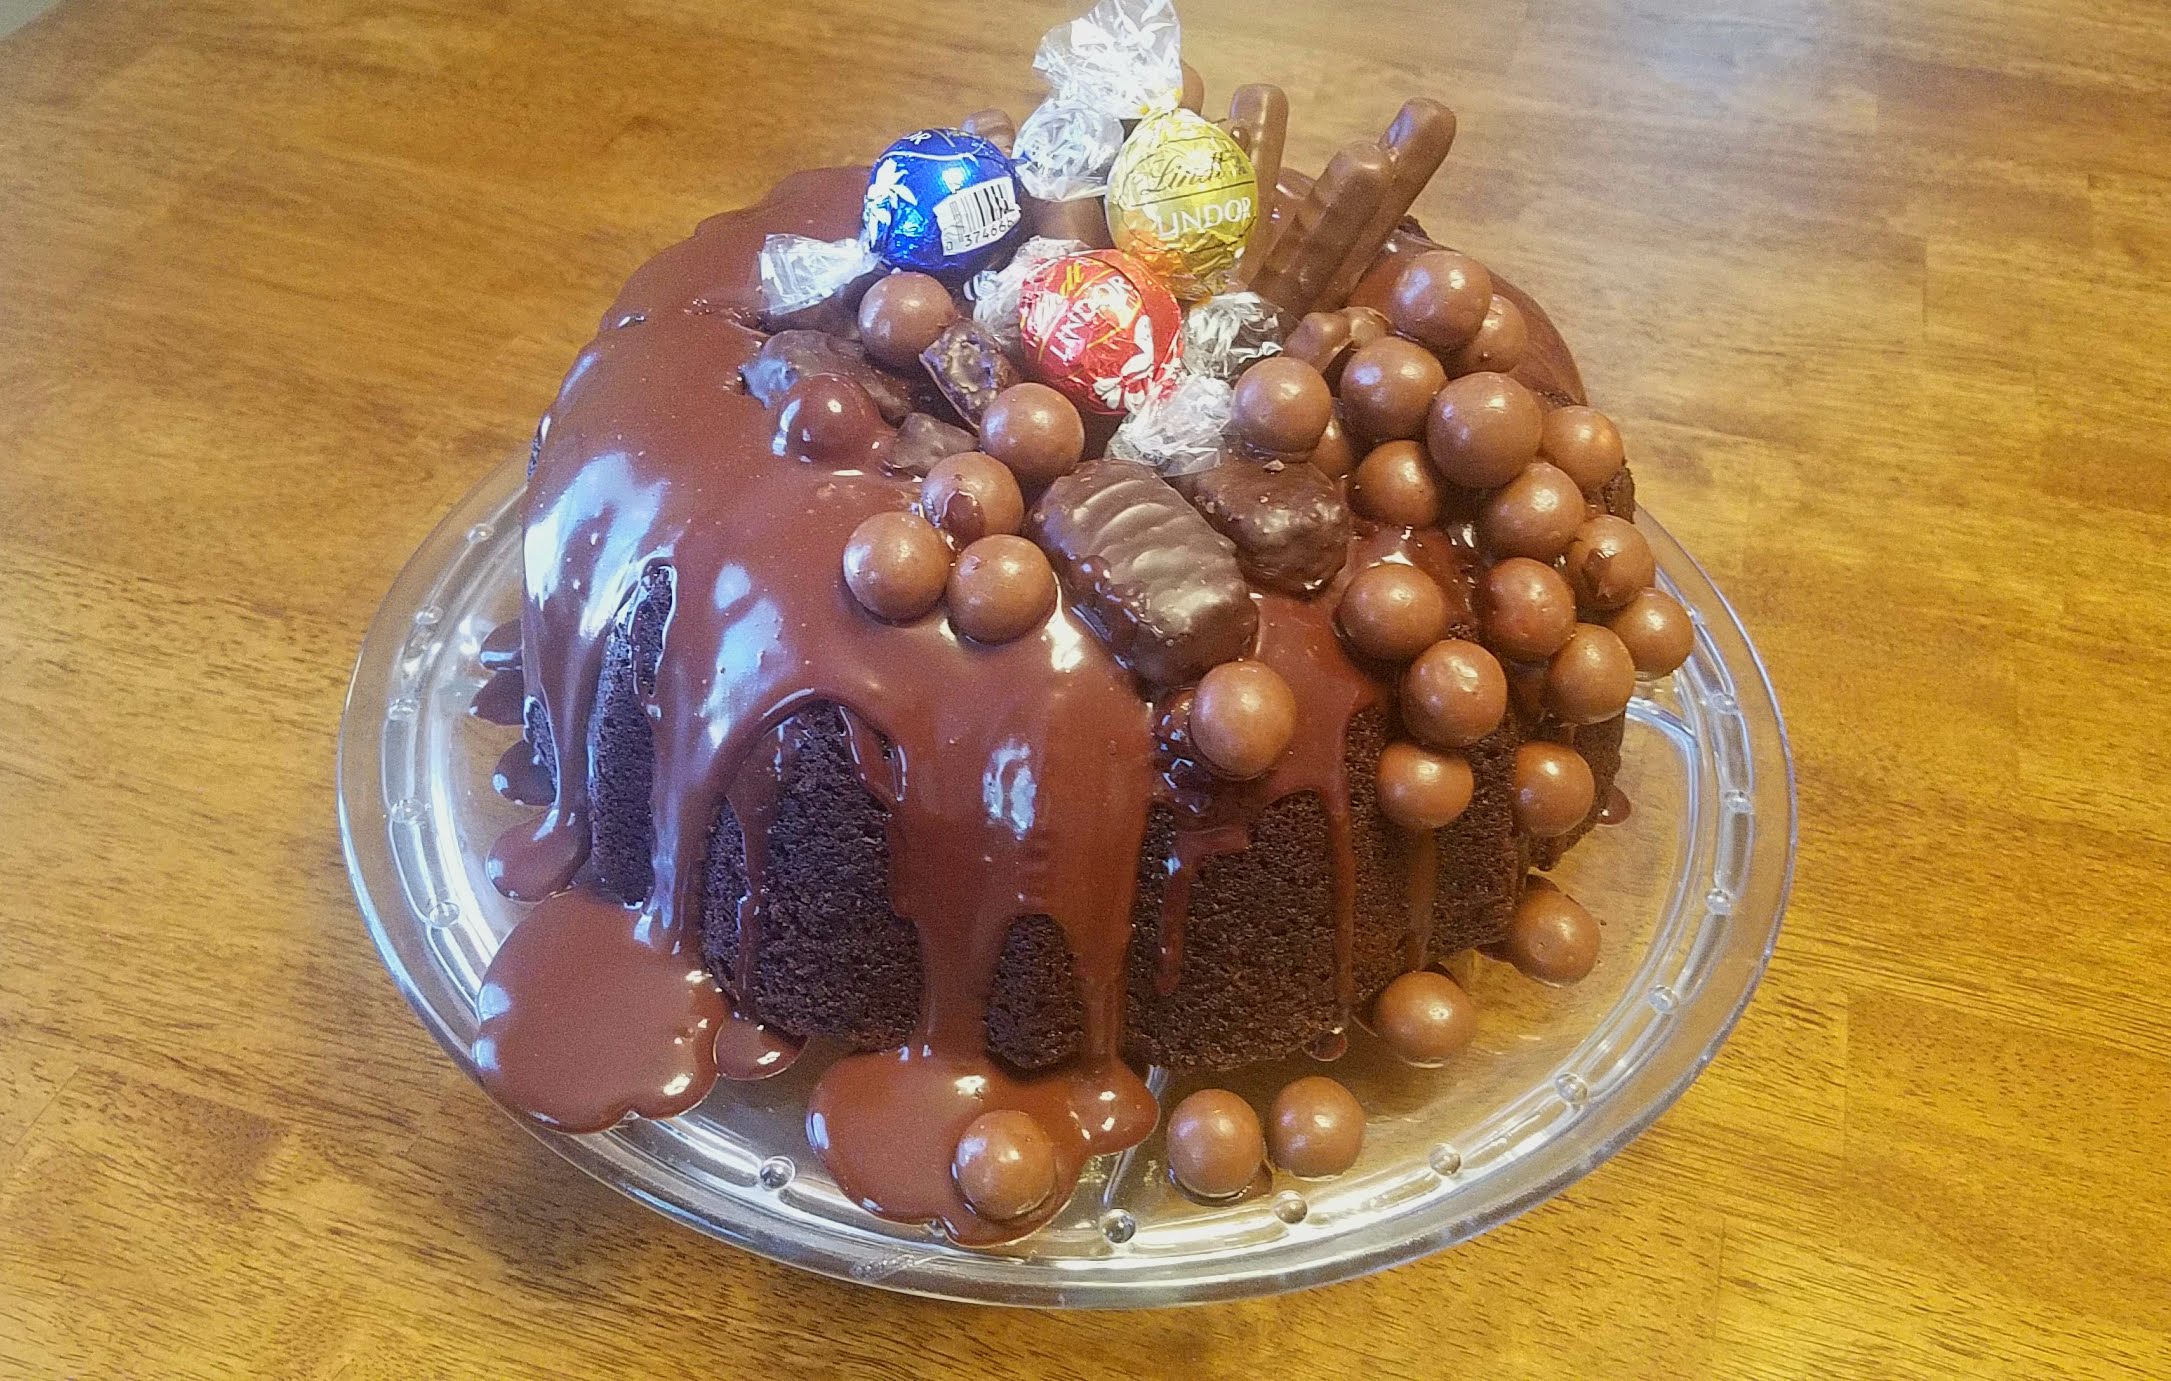
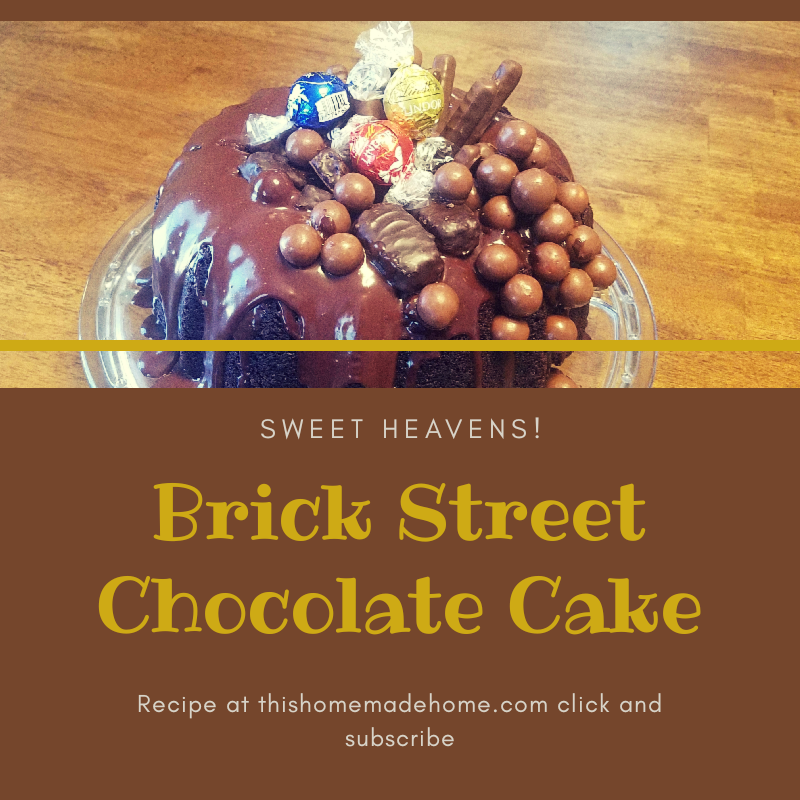
This cake is amazing! Dense, creamy, chocolate center with ganache chocolate poured on top. Decorated with with your choice of candy chocolates. A dream come true for the chocolate lover in your life. This recipe was adapted from throughherlookingglass.com
I have made a number of chocolate cakes throughout the years and while I don’t think you can go wrong with chocolate, this is one of my very favorites. I would have eaten the whole thing, but my son wouldn’t let me (thank goodness).
Brick Street Chocolate Cake
2 cups sugar
1 cup butter
1/1/2 tsp pure vanilla extract
3 large eggs
2 1/2 cups cake flour (I used 100% whole white wheat because I like the texture)
1 cup baking cocoa, sifted
2 tsp baking soda
1/2 tsp salt
1/2 instant chocolate pudding mix (small box
2 1/4 cups butter milk (or you can put a tbs of lemon juice in a cup of milk)
1 cup semi-sweet chocolate chips
In a large, electric mixing bowl combine sugar and butter until well combined. Add vanilla and eggs one at a time, beating well in between each.
In a separate medium bowl mix the dry ingredients flour, cocoa, baking soda and salt.
Then using a large serving spoon, add a few scoops of dry ingredient mix to the butter and sugar mixture. Blend just until mixed then add a portion of the butter milk or substitute version milk with 1 tbs lemon juice. Keep adding dry mix and then the butter milk mixture, mixing just till blended each time, until both the dry mix and butter milk mixture are gone.
Gently stir in the semi-sweet chocolate chips, these will melt into your cake and give bursts of rich chocolate goodness. Pour into a greased bunt pan and place the bunt onto a cooking sheet. Then just in case it flows over it will be ok. My pan didn’t flow over, it is 10 inches across and 4 inches deep
Cook Brick Street Chocolate Cake
Cook at 350 in a convection oven for 45-60 minutes. Check with a toothpick, if it comes out with batter on the stick let it keep cooking. I like to pull cakes out when a few crumbs of the cake are still sticking to the toothpick. If you pull out the toothpick and it’s completely dry, the cake has cooked too long and will be slightly dry.
For a regular oven without convection, bake at 350 for 30 minutes then lower the temperature to 325 and cook an additional 30-40 minutes.
Let it cool for about 10 minutes in the pan then loosen the edges with a plastic knife (so you don’t scratch the sides of your pan). Tip it upside down to slide the cake out. If it doesn’t come out loosen again with the plastic knife on the outside and on the inside ring of the cake. Let it cool completely on a wrack then cover with ganache.
Chocolate Ganache
Chocolate ganache is a mixture of equal weights chocolate and cream, melted together and used to glaze or fill cakes, whip into fluffy frosting or fill truffles and it’s amazing. For our cake today I kept it as a glaze and didn’t whip it.
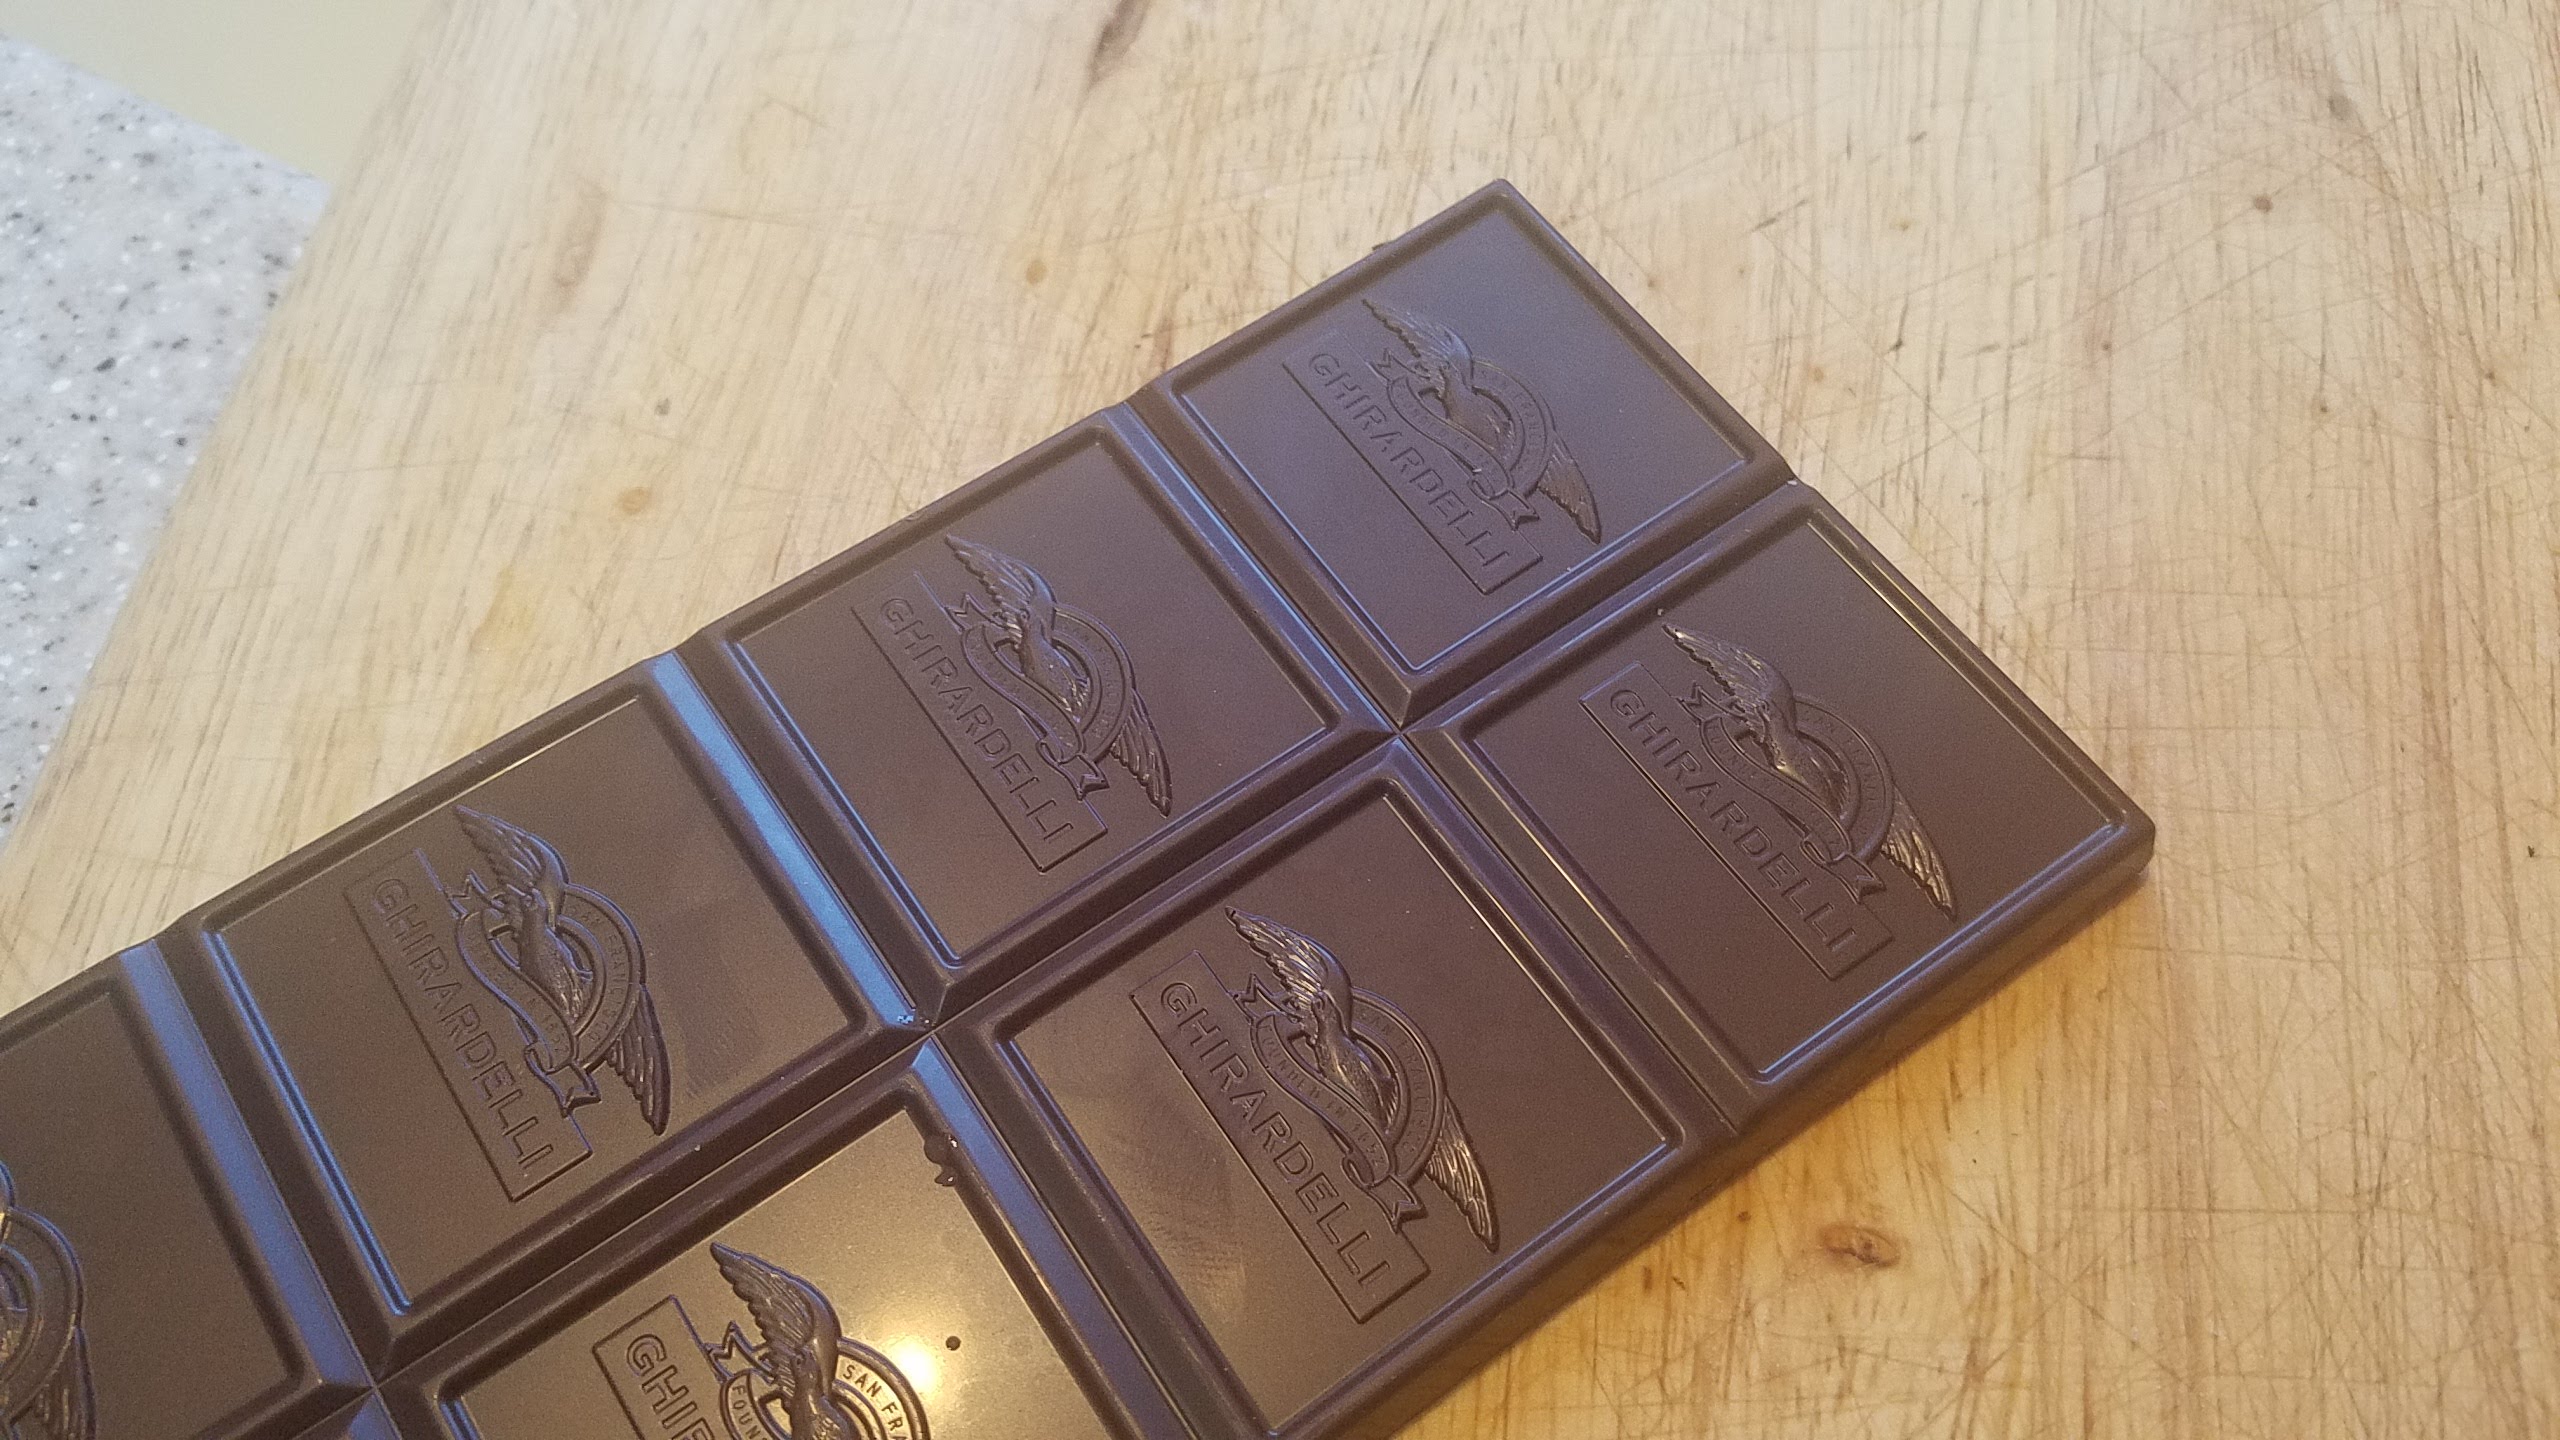
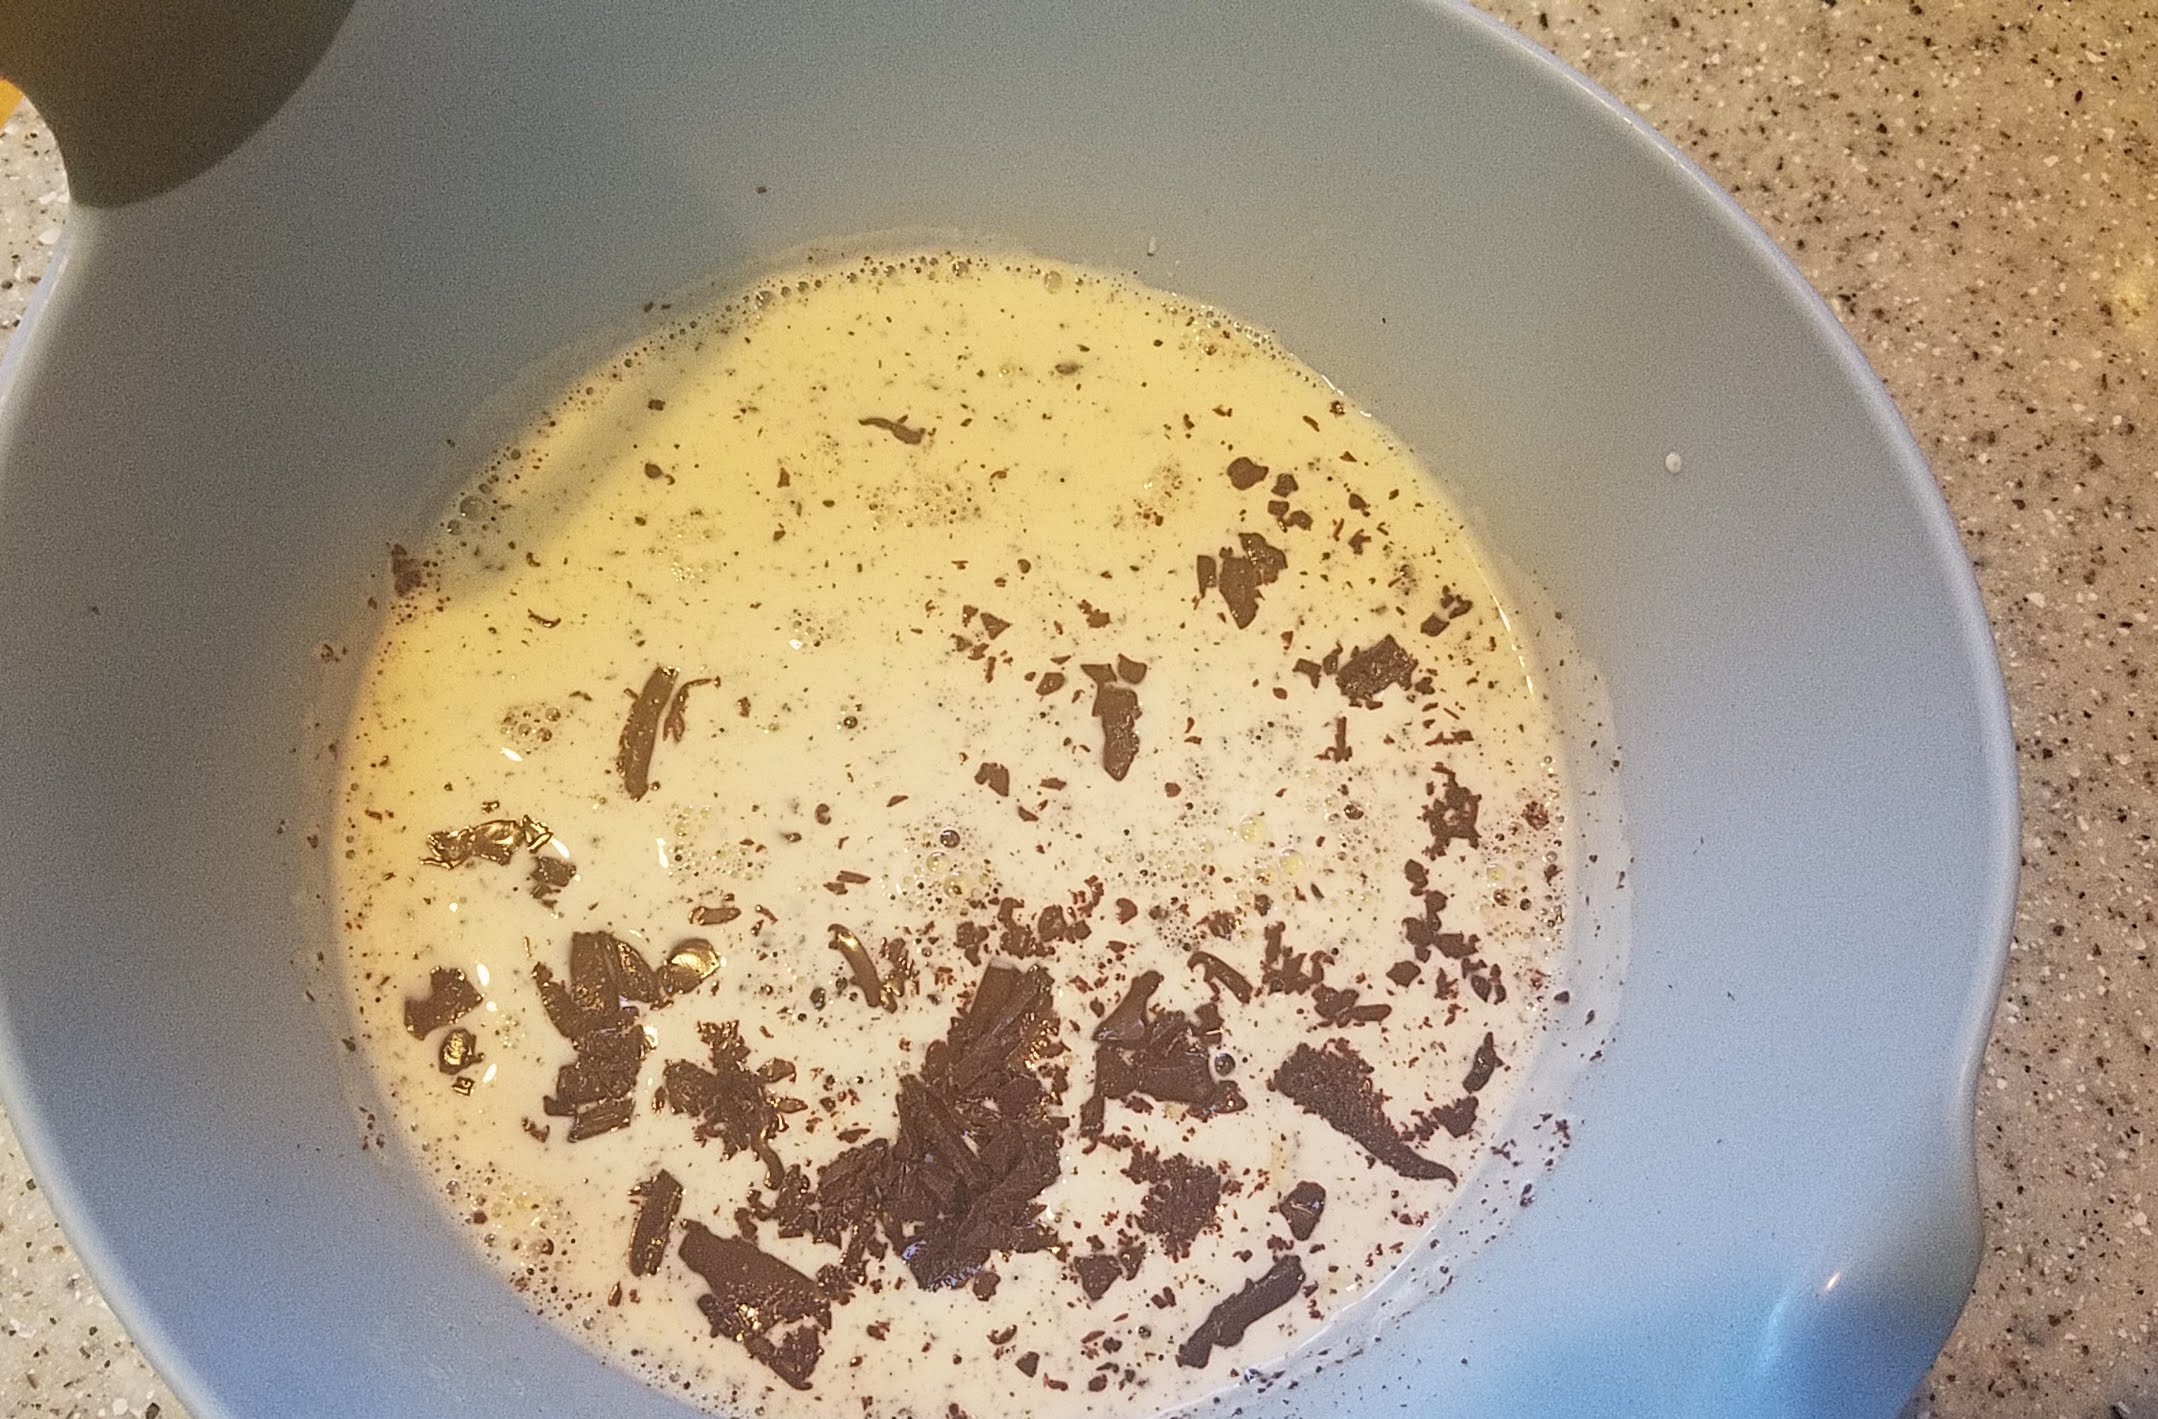
8 ounces chopped chocolate (the better the quality the better the ganache)
8 ounces heavy cream
Chop your chocolate into small pieces. I used Ghiradelli’s Dark chocolate, which makes for a very rich chocolate flavor. For a lighter, creamy chocolate use milk chocolate instead.
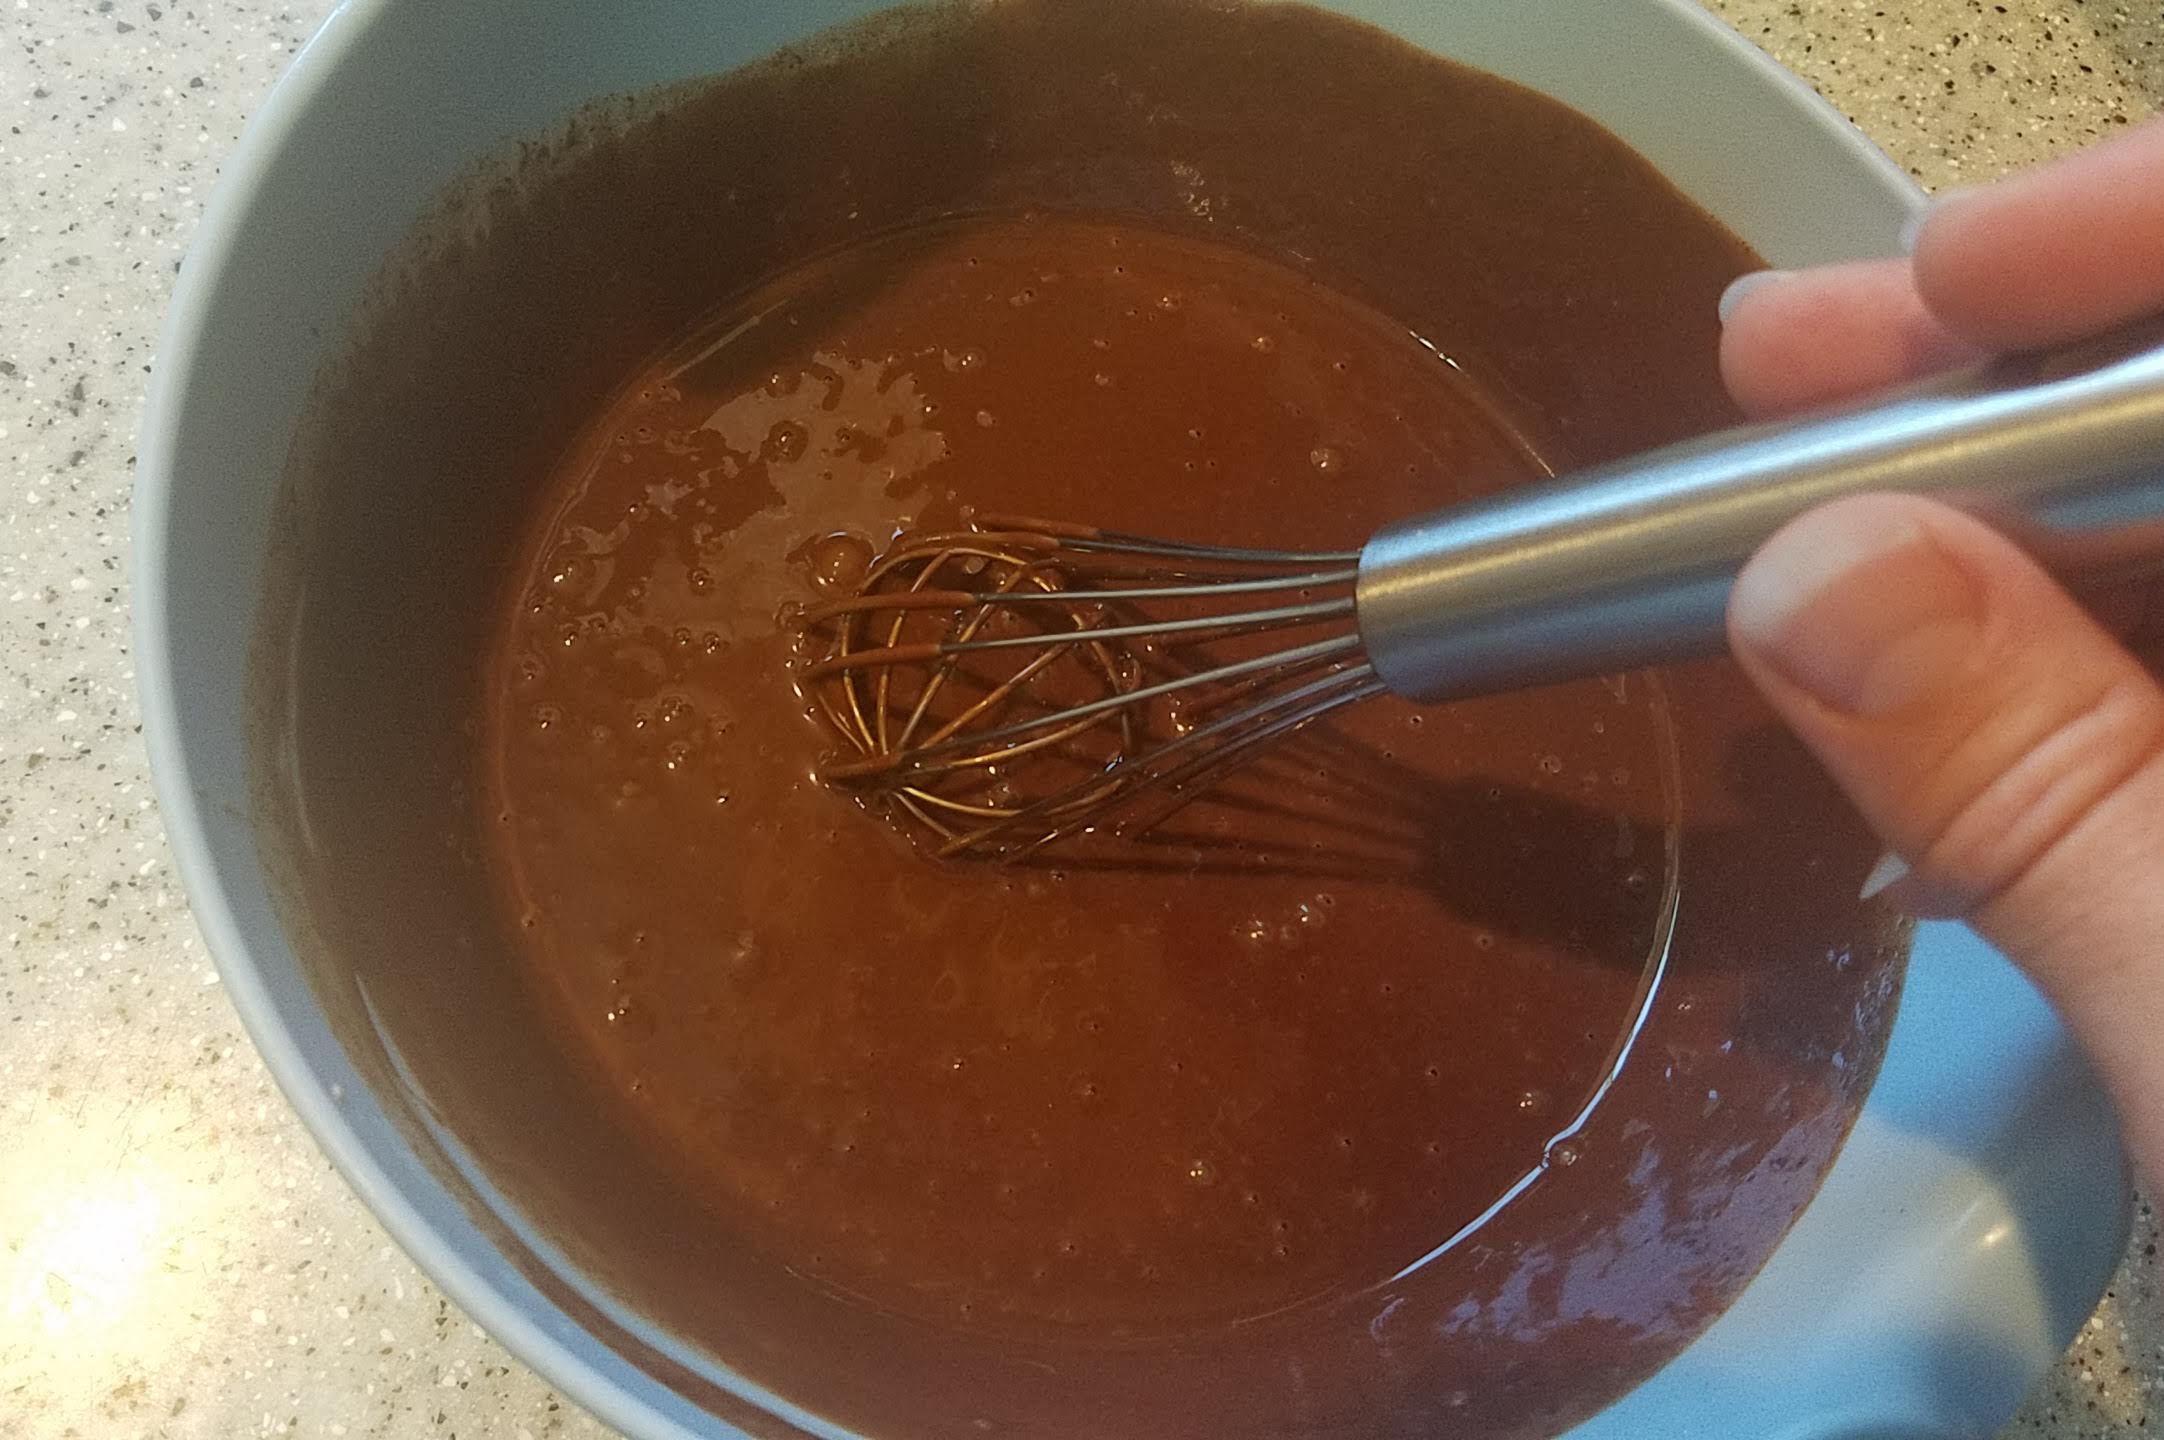
Heat up your heavy cream until very hot and pour on top of your chopped chocolate. I let it sit for a minute, then mix it together. Now let it sit for several minutes. I even put mine in the fridge to cool for 10-15 minutes, so it would go on thick. It will cool to a solid consistency, so watch the ganache and don’t let it cool too much.
How to Decorate the Brick Street Chocolate Cake
Pour ganache on the cake and decorate. I used several different chocolates to create an over the top appearance. 🙂 Which worked really well. I filled the center with chocolate covered coconut truffles and the flavors sunk into the core of the cake–pure decadence.
I also used orange sticks, malt balls and Lindt Truffles. The malt balls were pretty fun because they completed the bubbling over effect and were light enough to stay where I put them on the ganache topping.
Use a variety of chocolates and have fun with it. Until next time.
Natalie 😊

by Natalie | Sep 7, 2018 | Baking, Recipes
My son LOVES chocolate, even more than I do, so… it’s serious. Though, I am pretty committed.
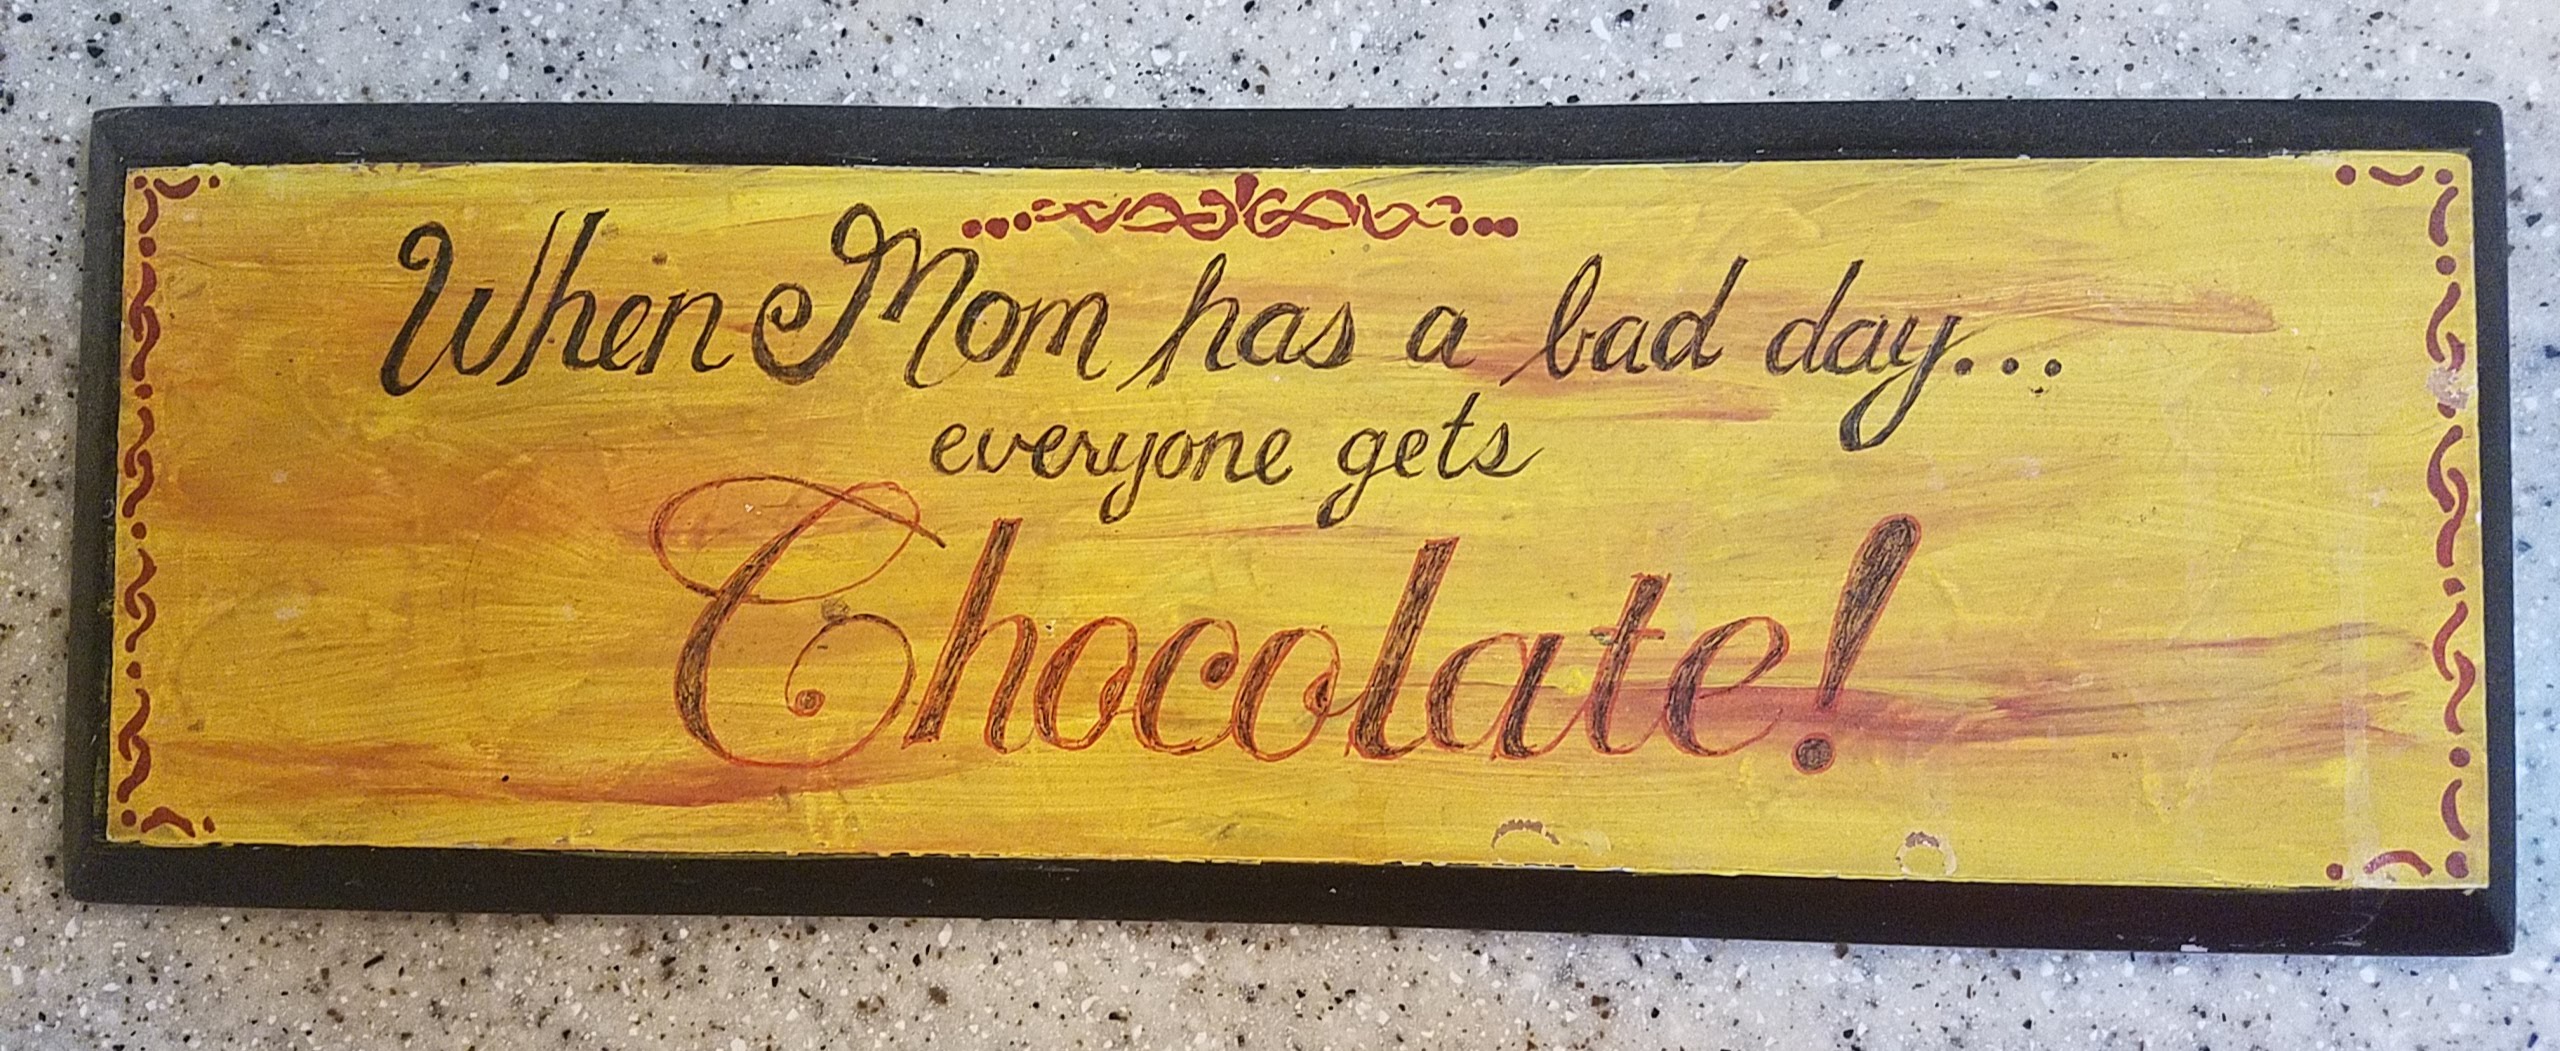
I have this sign in my kitchen, “When Mom has a bad day, everyone gets chocolate.” It’s a reference to, “When mom has a bad day, eveyone has a bad day.” This sign is a reminder to me that I don’t need to take my bad day out on others– we can just resolve it over chocolate.😊
For my son’s 13th birthday, he requested a Chocolate Iron Chef where we cook and he and his friends judge the winners. So while they were out jumping on the trampoline and goofing off we were working up a sweat, trying to win.
I claimed baking the cake because that is my right as mother. I also chose an entree to try to keep something palatable on the table. Since the requirement was, that everything made for dinner that night had to include chocolate, I didn’t want to send home a crew of hungry boys.
The menu went as follows…
Cookie Appetizer (my daughter’s entry)
Crepes (my entry)
Chocolate Fried Chicken (my husband’s entry)
Followed up with a Brick Street Chocolate Cake and ice cream. (also my entry)

The winner?? may surprise you, was the Chocolate Fried Chicken!
My husband said, “Take pictures, you’re going to want to post about this.” I said, “I only post things that are good.” I really didn’t think his would work – though it was daring. But it was amazingly good and the kids devoured them (chocolate and non-chocolate). So my husband won for daring and good taste.
Personally I feel I already won because I pulled off this awesome cake, but my son said he was only judging dinner and so it was disqualified –
I know!!!
For what other reason do I pour hours into a cake, than to win? But in all honesty, I love the big smiles and completely enjoy making my children’s birthday cakes.
The cake was enjoyed by everyone and then guarded by our new teenager with a sign that read, “I am watching you!” to make sure he got to finish it off –
That’s how I know I won, actions speak louder than words.
How much do you love chocolate, what would you have made for a Chocolate Iron Chef? Share you comments, I know there are chocolate recipes that would be amazing here.


Recent Comments