
by Natalie | Feb 28, 2019 | Recipes
Hands down the best way to eat summer squash and zucchini. Full of flavor with a sizzling, crisp taste. Done in minutes.
I used to steam my zucchini and summer squash – no one would really eat it, but my husband and I. Once I started to sauté the kids began to like it. I found that I liked it better too, now it’s the only way I cook them.

The squash gets a nice brown sear and adds a little great flavor to good-for-you vegetables.
Sautéed Summer Squash
2-4 Summer Squash and Zucchini, cut into 1/4 inch slices.
1-2 Tbsp butter
Garlic salt, fresh ground black pepper and parmesan cheese to taste.
Heat skillet to med-high, melt 1 Tbsp of butter, cover the skillet with a layer of squash.
Cook for 1-2 minutes or until a crisp light brown sear forms on the bottom.
Turn and cook squash another 1-2 minutes, sprinkle with seasonings – garlic salt, pepper and parmesan cheese.

Plated and gone very quickly after this photo was taken . ☺️

Enjoy

by Natalie | Feb 7, 2019 | Baking, Recipes
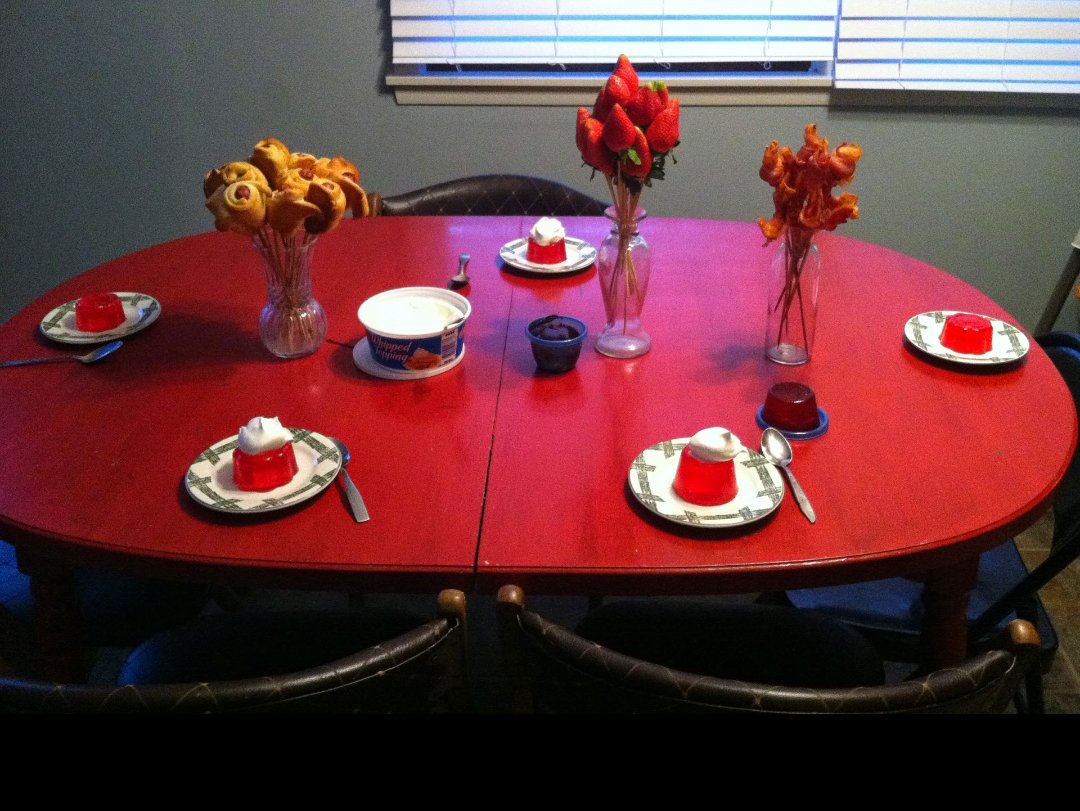
A few years ago I created a Bouquet Dinner for my family on Valentine’s. It was an immediate hit. Our kids now look forward to it as soon as they see the Valentine’s decorations go up in the stores (which is like right after Christmas 😅).
The thing I love about Valentine’s Day is we don’t have to spend huge amounts of money to show others how important they are to us.
Of course businesses are often trying to convince us that a diamond bracelet or luxury cruise is the only way to show your love. We all know better. 😊 While those things are nice, real love is expressed in less complex ways.
When I feel truly loved it is because someone remembered me. My husband gives me a music mix of the very best songs from the previous year. I love it because whenever I listen to it I think of him. The CD also introduces me to the latest hits which I have to admit is needed. I quickly get behind on what’s up and coming.
Children are natural Valentine masters. They are so incredibly loving and forgiving and their cards and presents are truly from the heart.

A few of the homemade Valentine’s I’ve gotten over the years. ❤️
Last year my son was struggling with keeping his cool. His teacher used a little post it note to track expected and unexpected behavior and send it to me at the end of the day. This is probably the most beautiful way he could show his love for me at the time. All smiles and no frowns ❤️❤️.

It seemed only natural for me to make a fun, creative dinner to show my affection for my family. I make notes and everything, but this way I can feed their bellies and souls. They also never forget this tradition, their eyes light up when they see Valentine’s Dinner.
It’s exciting to “pick” what you want to eat. With such a unique way of serving dinner the whole room is jumping with excitement.
A few needed items
- Flower vases to hold your bouquets
- Cooking skewers
- Your choice of meat, fruit /Vegitables and bread
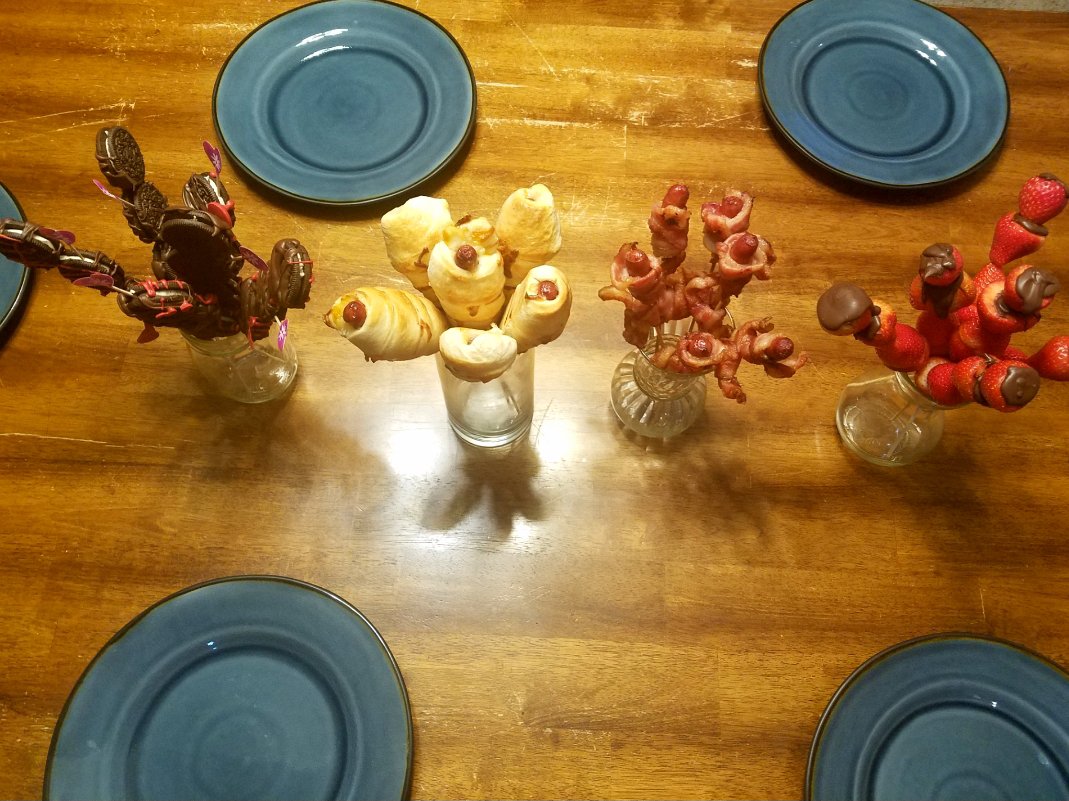
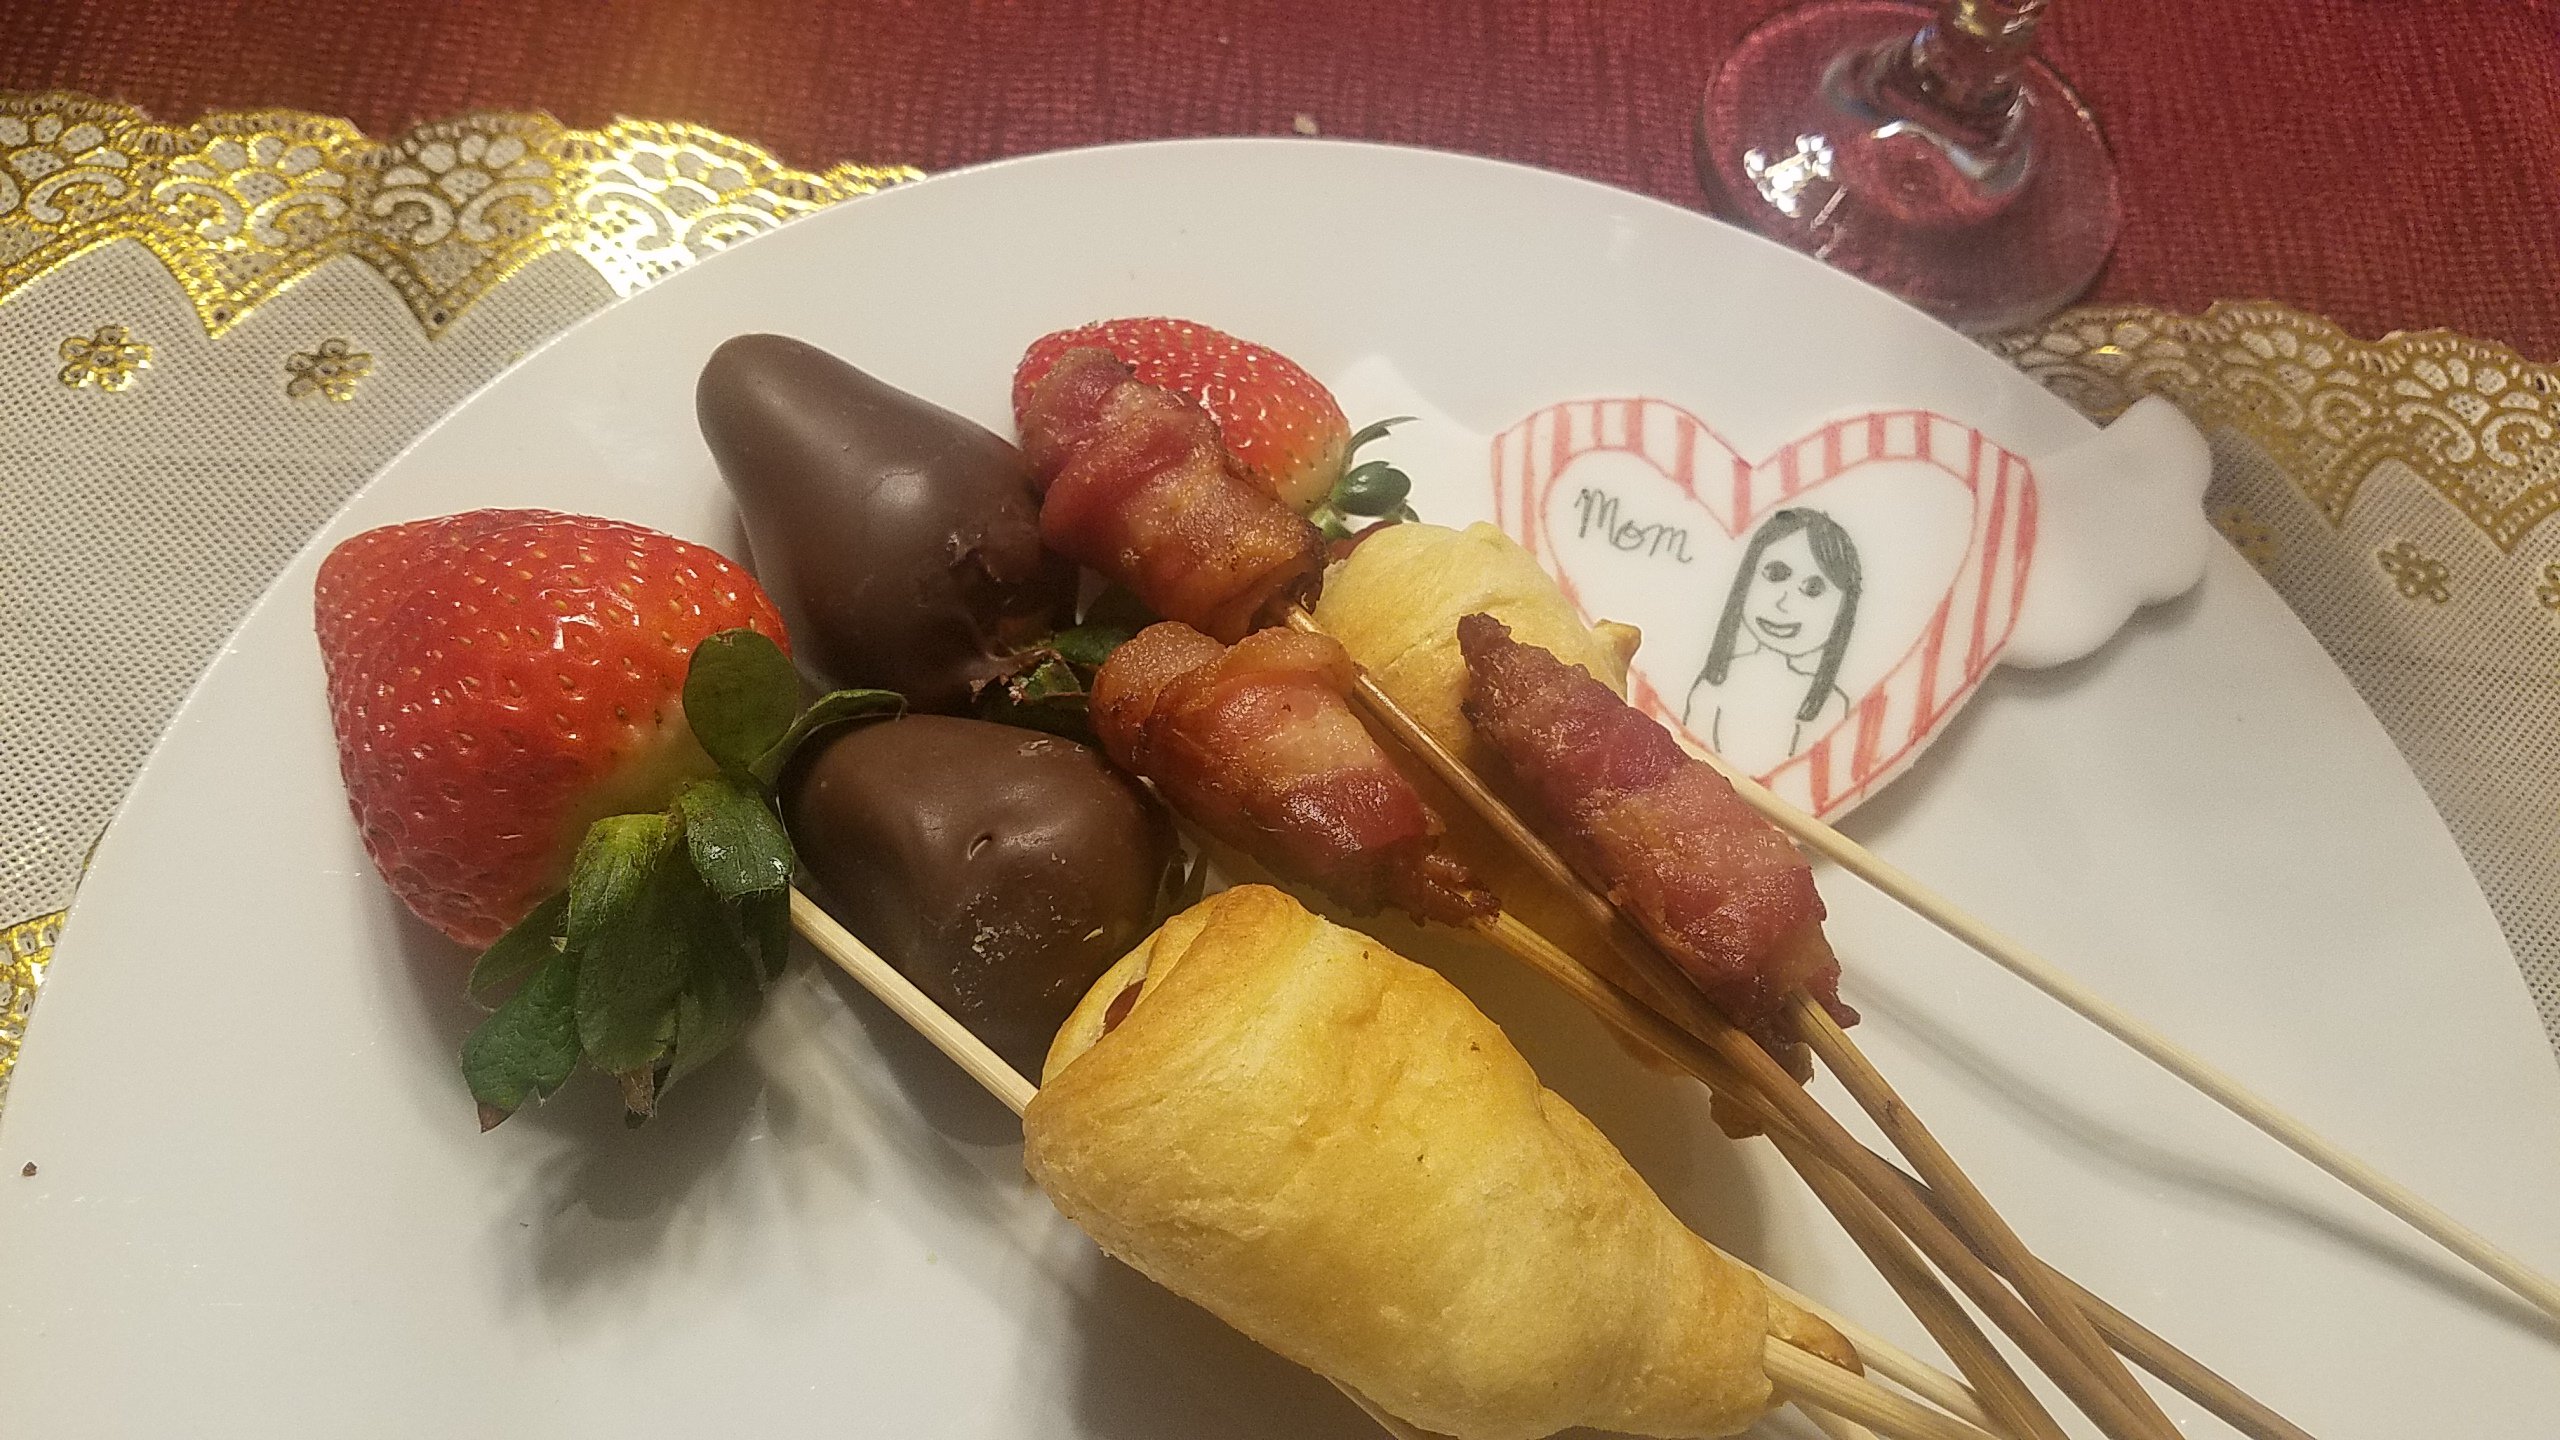
Our Bouquet Versions
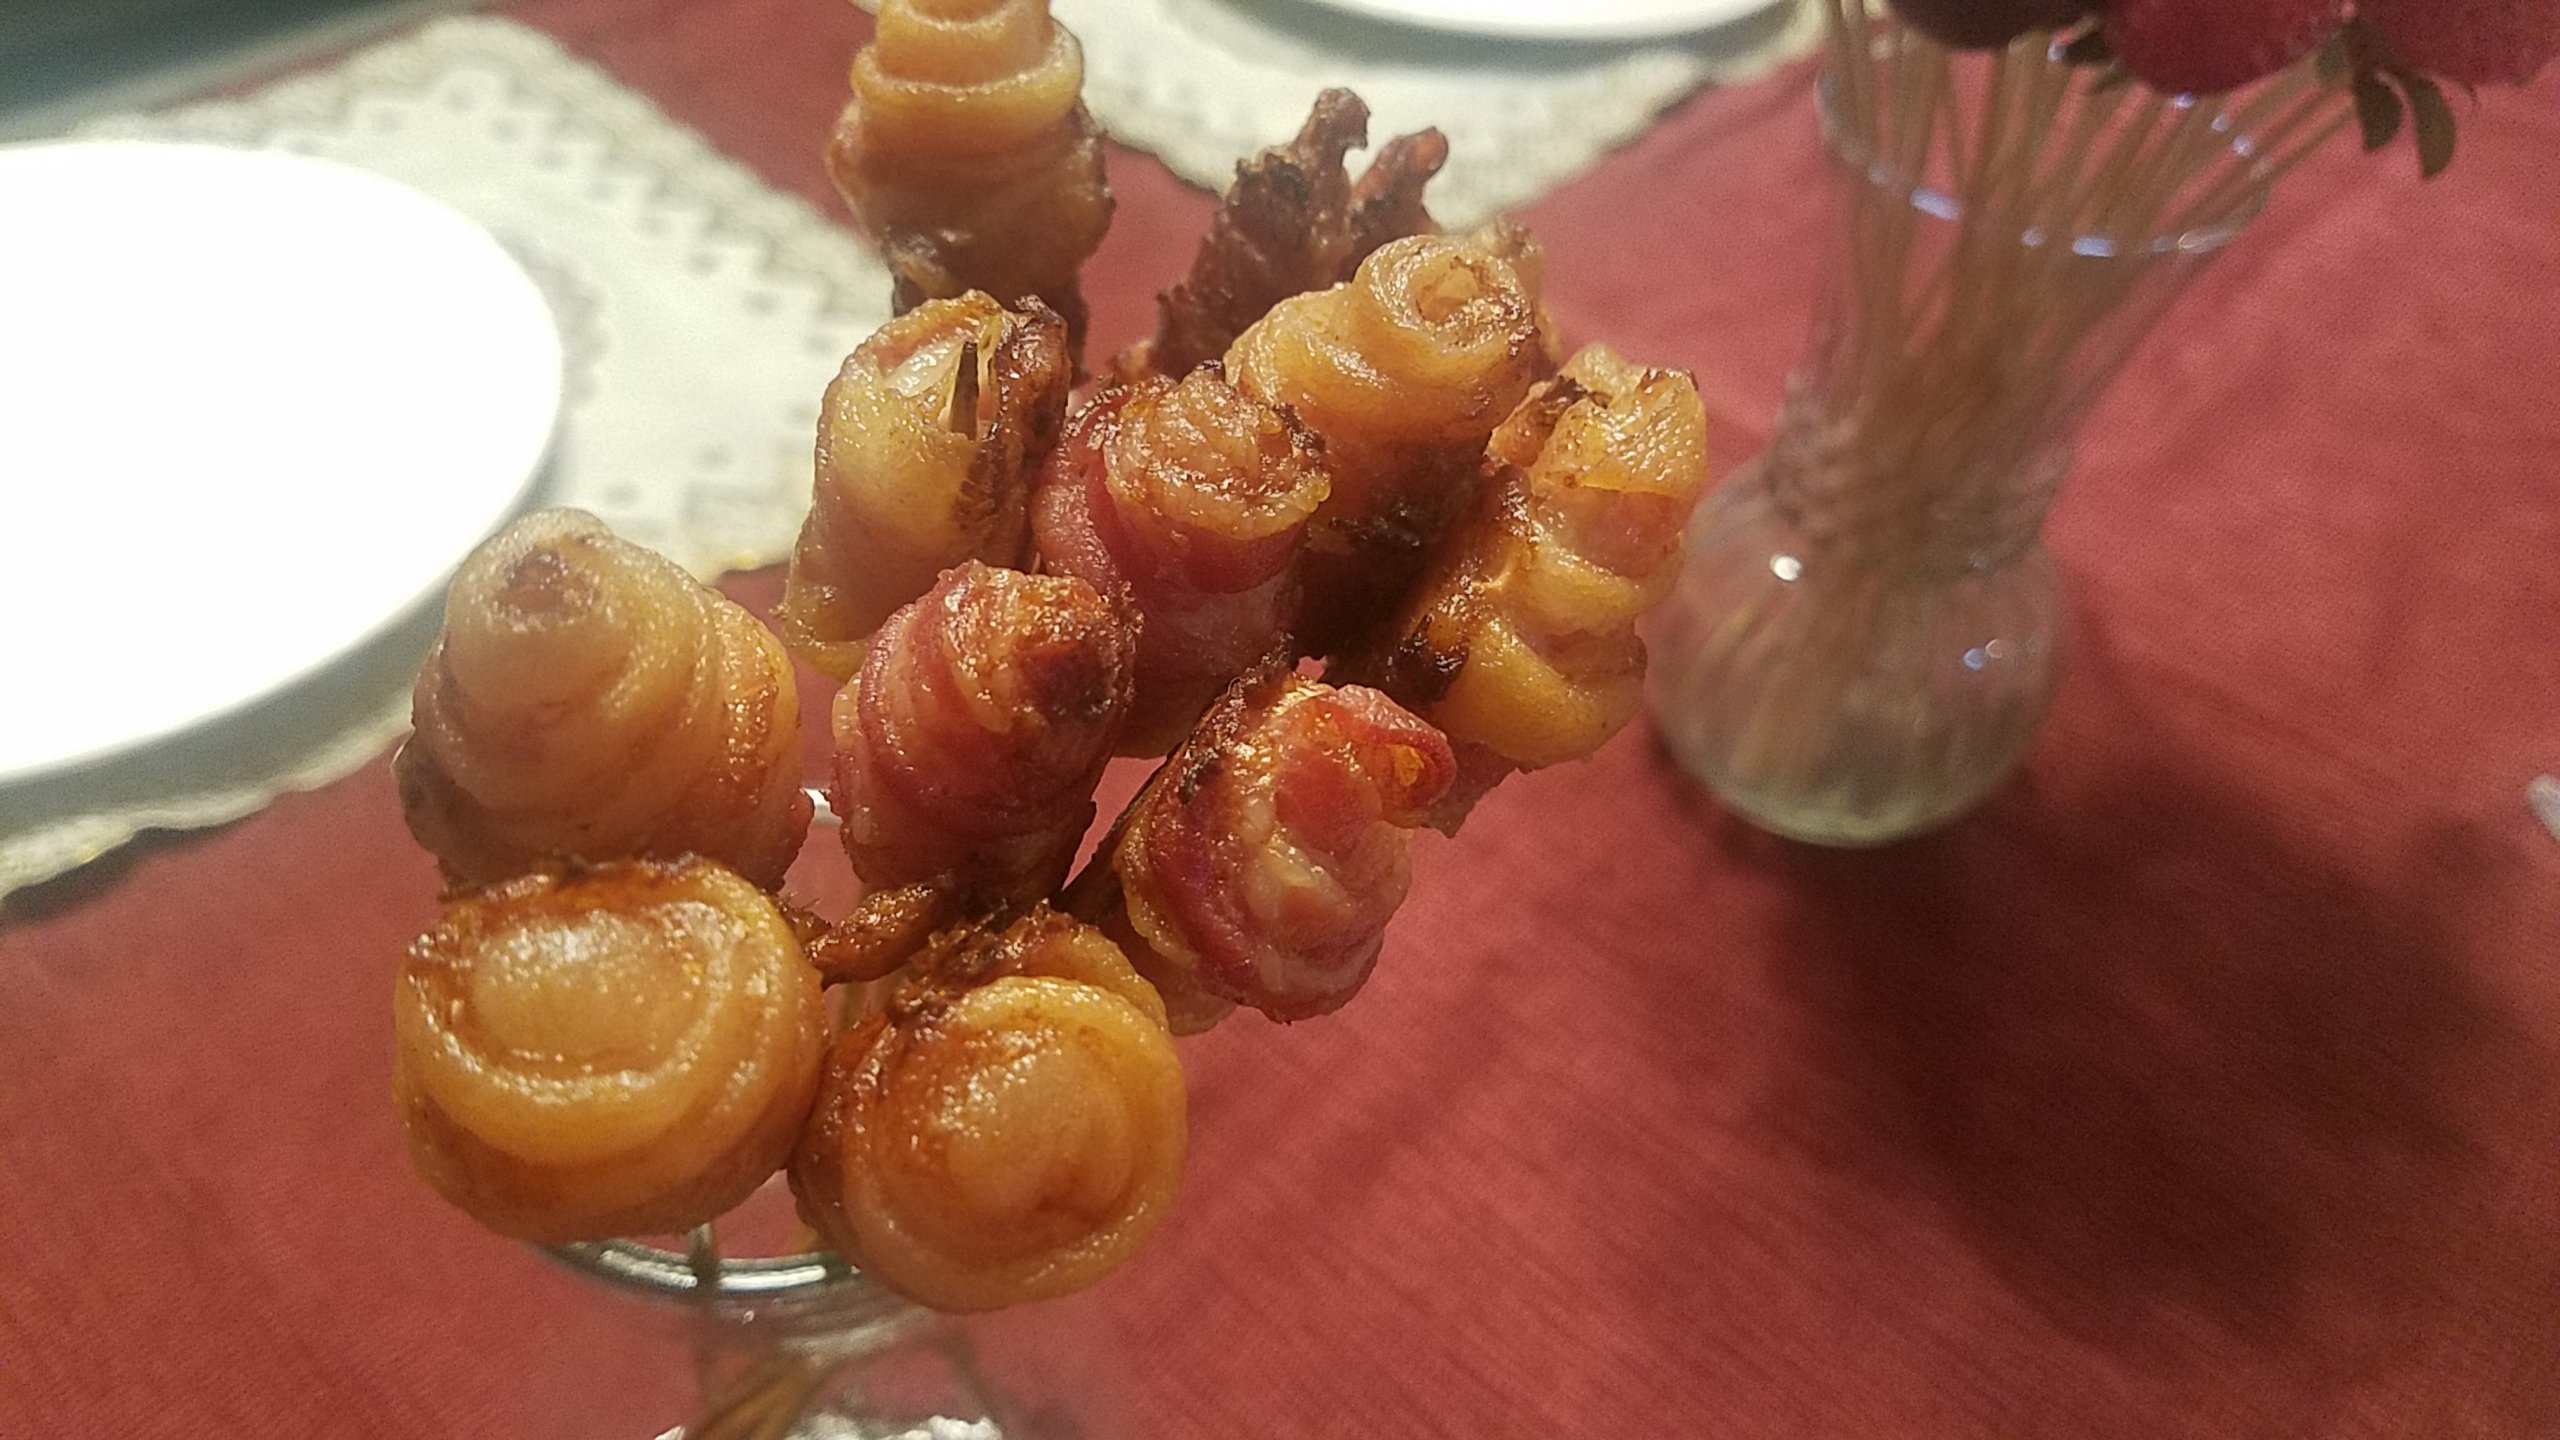
Each year we try something a little different. One year we had meatballs, smokies and bacon alternating on a skewer. Another year I tried my hand at bacon roses which I thought would be an especially tasty way to my husband’s heart.
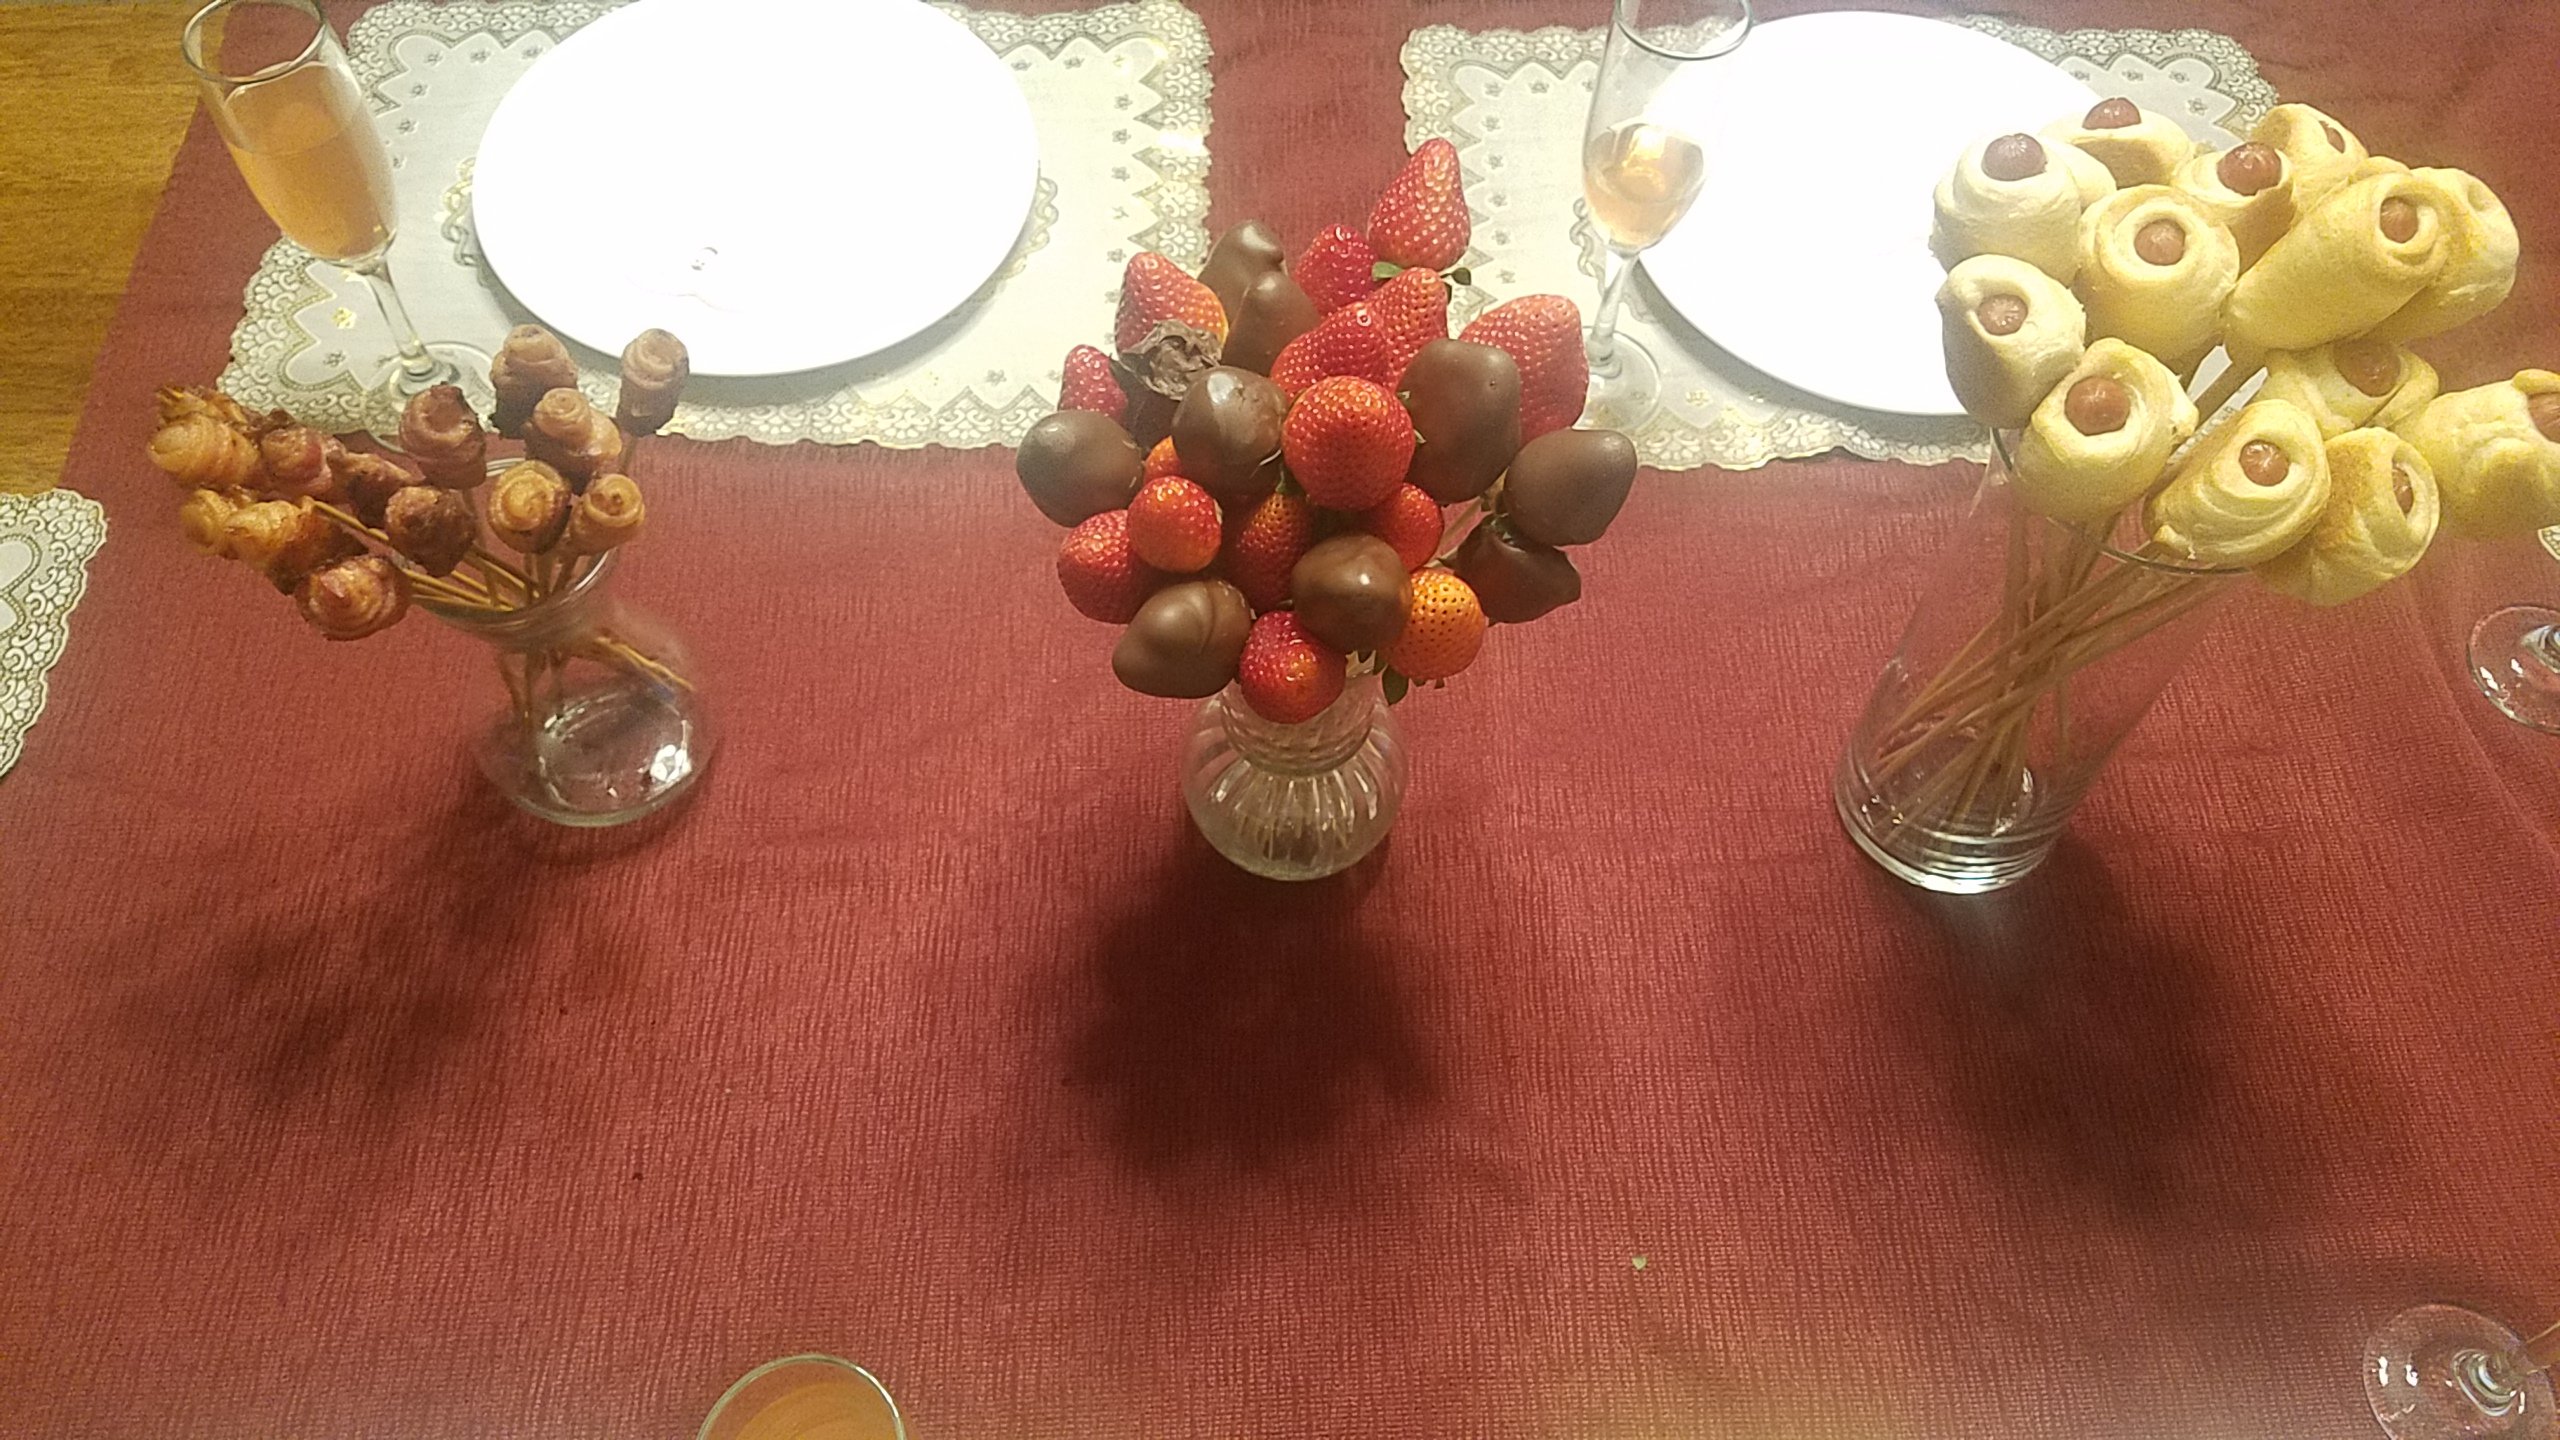
Chocolate Covered Bacon
You could also try chocolate covered bacon – which is actually amazing. Here is the recipe and how-to here. Or make bacon roses and then dip in chocolate! I will likely be trying that this year.
Inside-out Chocolate Strawberries
If you look closely, you’ll see these chocolate strawberries have the chocolate on the inside. I found that chocolate covered strawberries were a little messy to eat. The chocolate shell would break and fall off before you could eat it with the strawberry. You’re using two hands, one to eat and one to catch the chocolate falling off.
This version you simply pour the chocolate inside the strawberry. There is often a hole inside so it makes it easy. It’s perfect to eat for little ones and I actually like it better with a chocolate core.
Pigs-in-a-Blanket
Pigs-in-a-blanket are easy to do on a stick as well. To mix it up a little, try one of these versions Cheesy Ranch or a puff pastry crust.
I also just discovered this completely easy to make Soft Pretzel recipe, which I’ll probably do this year for the Bouquet as well.
I was surprised that the Oreo’s on a stick were not a hit. I think the kids had already had so much sugar from school Valentine’s that they were ready for real food by dinner.

My amazing Valentine. He makes it easy to want to make Valentine’s Day special.
There are endless ideas to create a Bouquet meal. What would you put in an edible bouquet?

P. S.
You may be wondering if we get alone time – for an actual romantic dinner? The answer is yes, we will be going out just the two of us on the weekend.😊
Happy baking, until next time – which will likely be a home DIY!
Natalie

by Natalie | Jan 18, 2019 | Baking, Recipes
With the holidays over and sugar rushing through our veins you may be looking for a few healthier options.
The Blended Blueberry Pancakes were created for this exact reason. With all the ‘Superfood’ ingredients you’ll be amazed at how good they are for you. Even better – my kids beg for them. They taste amazing straight from the skillet or later from the freezer for an easy snack. (my kids actually love them frozen – don’t judge ’til you’ve tried it 😉).
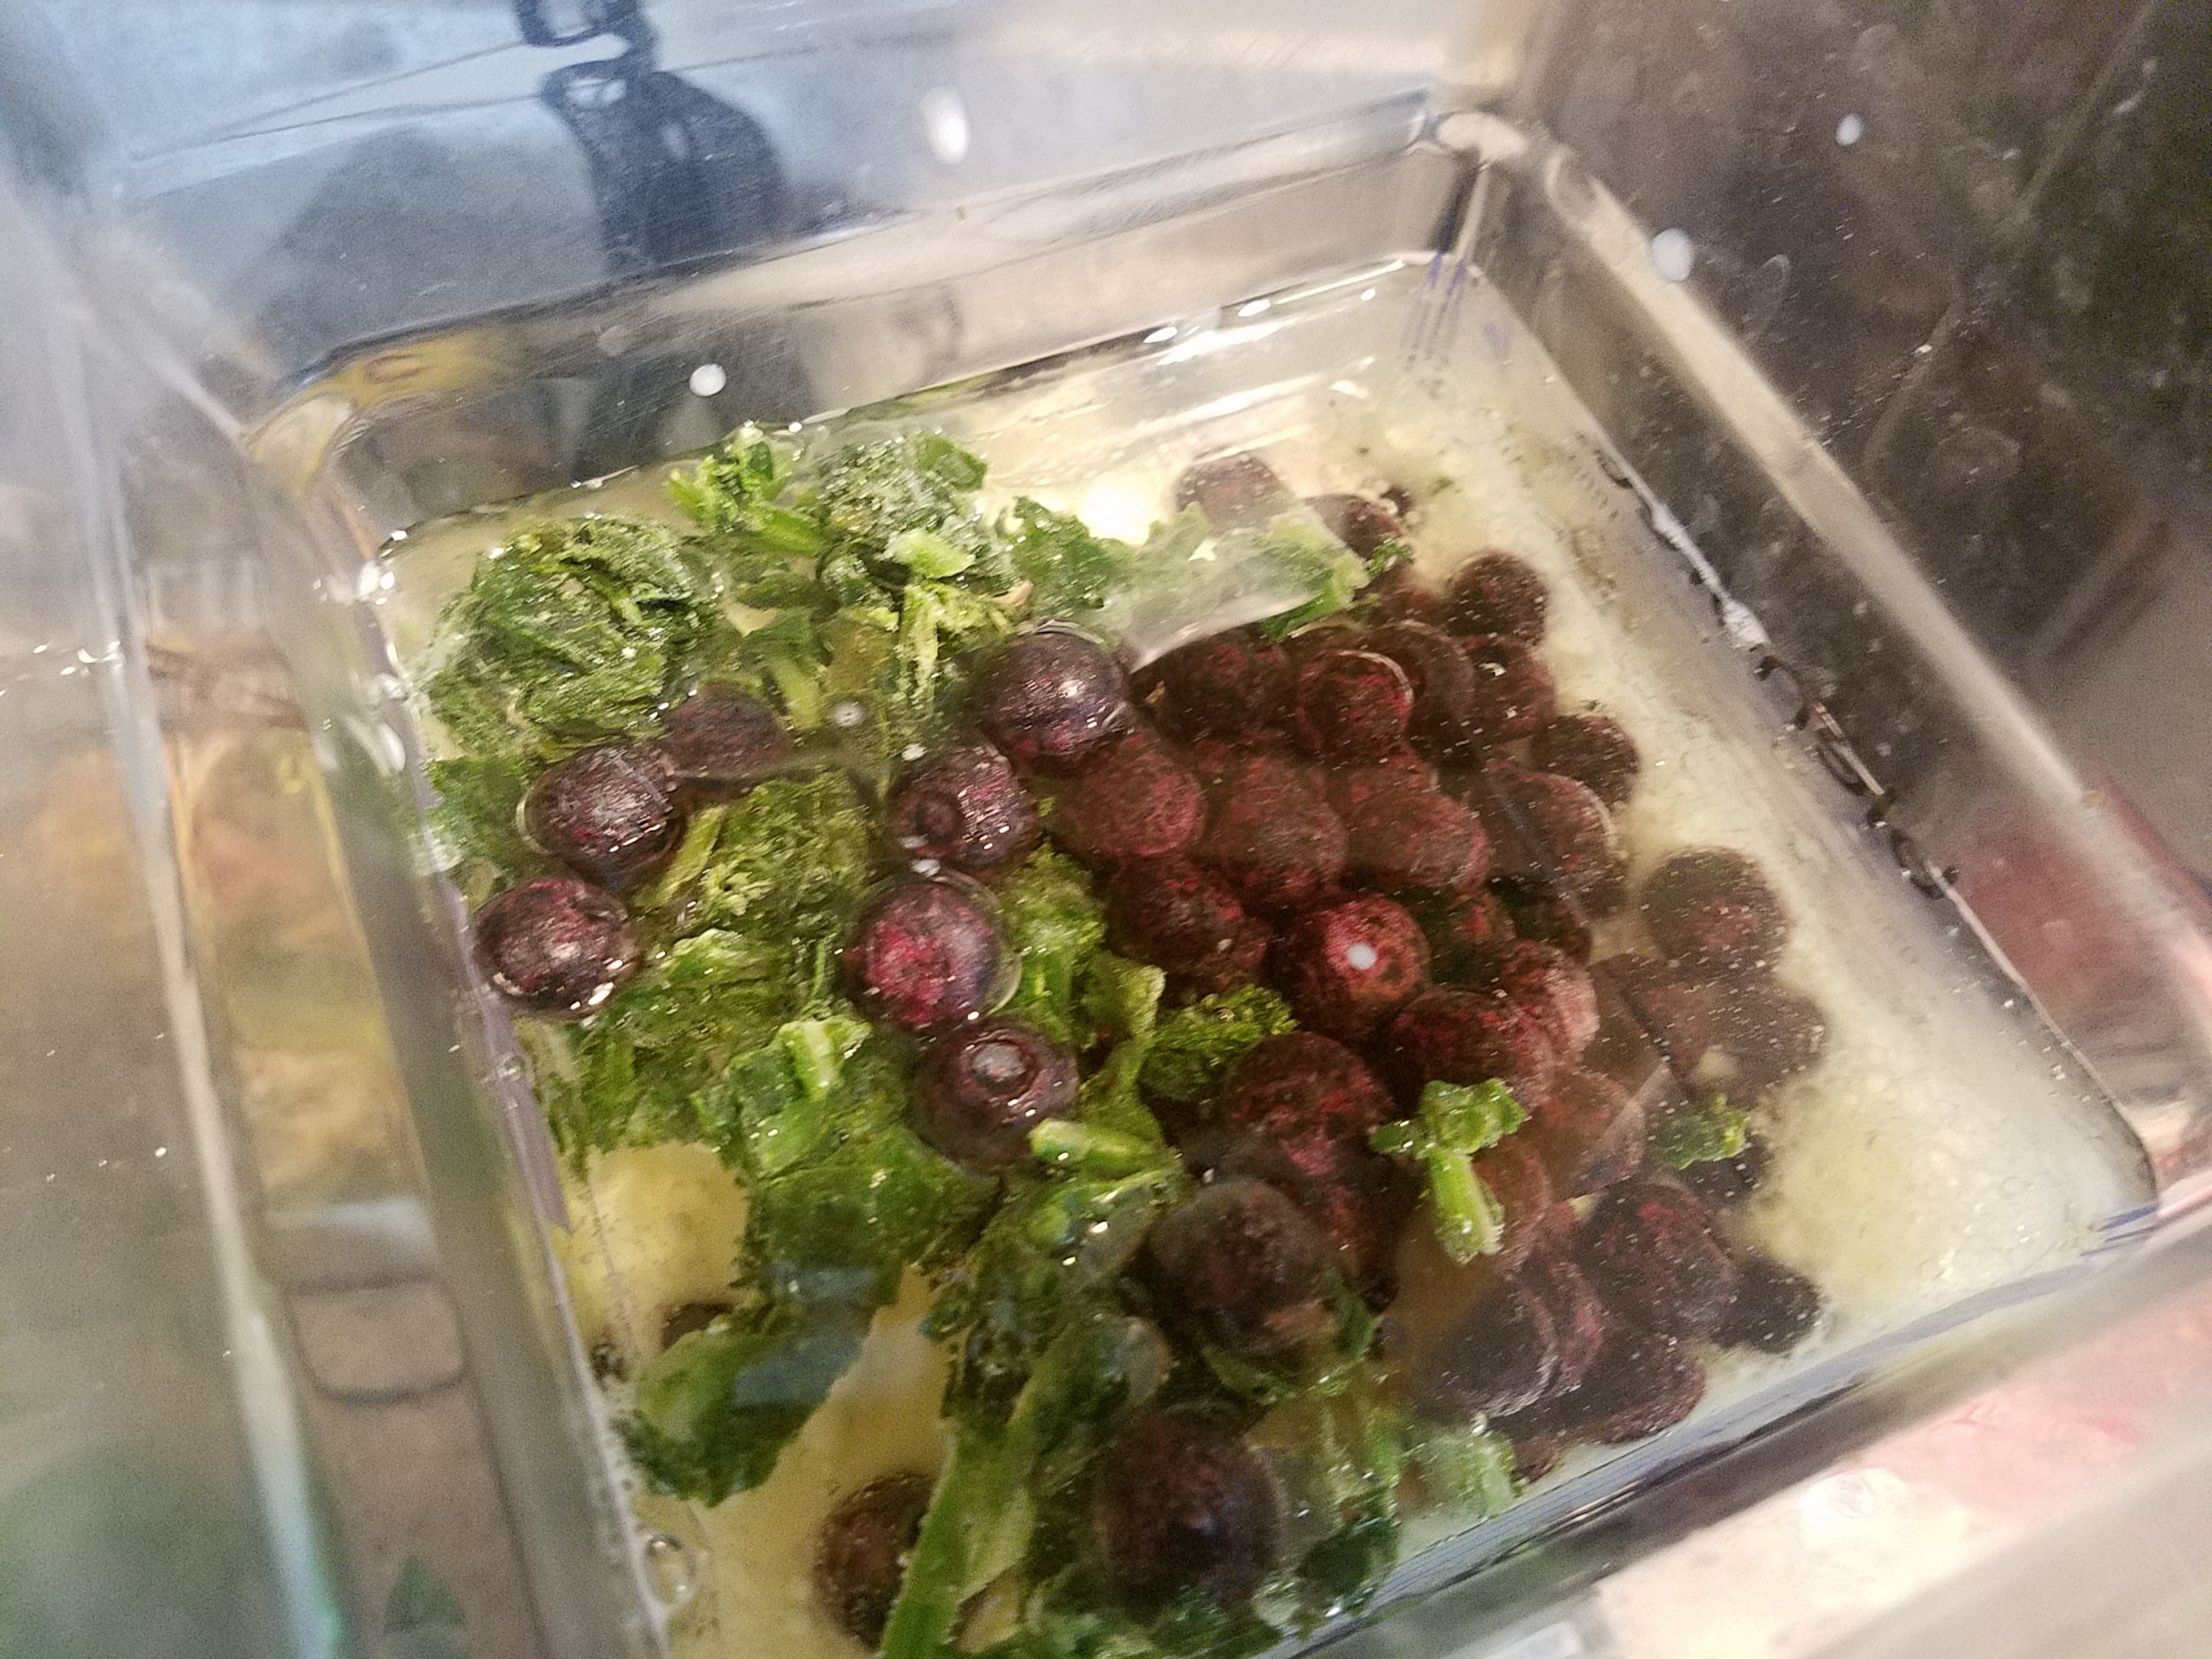
We use a Blendtec Home blender. It gets ingredients very smooth and comes with like a great warranty. In fact at the very end of the warranty the ball bearings began to stick and they shipped out a new container. It’s still going strong, I think we’ve had it 9 years now. Check out their company if you want (not a sponsored post, just an avid fan).
These pancakes are awesome. They taste great and are packed with nutrients, protein and antioxidants. Follow the links below for health benefits.

Wet ingredients to blend, milk, oil, eggs, blueberries, spinach. I forgot to put the flax and chia seeds in the picture. Oops
Blueberries and Spinach
My kids never liked whole blueberries in their pancakes, but blended up it becomes a treat.
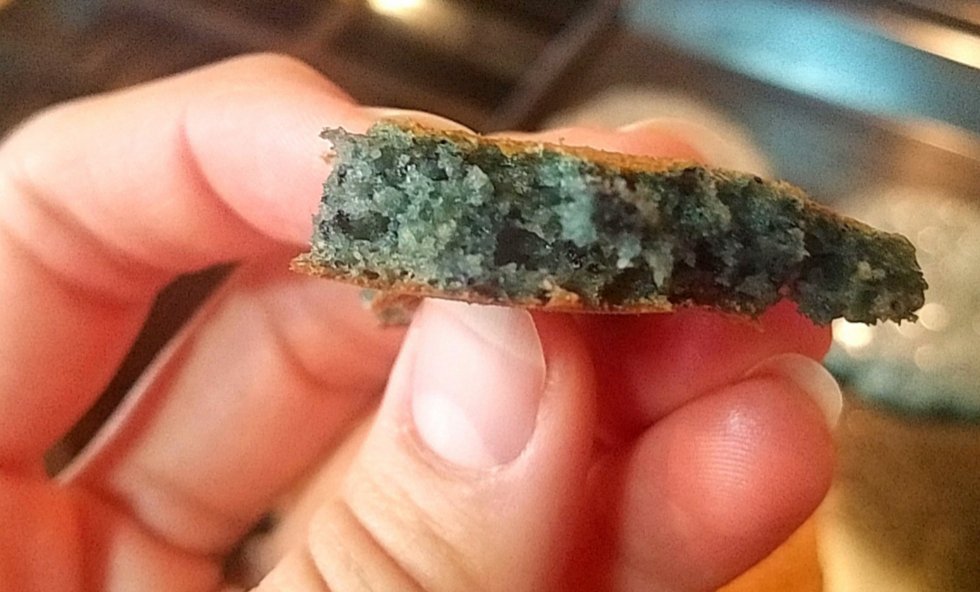
The blueberry juice also hides other super foods like spinach – no one will ever know it’s there. The berries and leafy greens turn the pancakes a nice deep blue color which makes it all the more enticing.
Blueberries are packed with antioxidants and phytoflavinoids – that act as an anti-inflammatory and help fight heart disease and cancer.

Fun fact here, by heating spinach it unlocks even more of the superfood nutrients, making it easier for your body to absorb – pancakes are a tasty way to cook spinach and still have it look and taste delicious.
Flax Seeds
I also add flax seed for omega-3 fatty acids and fiber which help with digestion and lowers blood pressure and bad cholesterol. These need to be blended up to access the nutrients inside the seed, so adding them to blended pancakes and smoothies is great.
Chia Seeds
Chia Seeds are a good source of omega-3 fatty acids, fiber, antioxidants, iron, and calcium. A 28 gram serving contains 5.6 grams of protein. It’s a super power food wrapped in a tiny seed. These are best served in some sort of liquid so pancakes fit the bill.
Vitamins
I also add a few chewable vitamins. I bought this huge bottle because it was a great deal on Amazon and then my kids hated them. I just started throwing a few into smoothies and blended pancakes. They still love the pancakes and little do they know – all the vitamins too… 😁
Whole Ground Wheat
Wheat has quite a bit of nutrients, if you grind it yourself you are able to eat it before the flour loses the nutrients. I grind mine about 10 cups at a time and store it in the fridge. I like my Blentec wheat grinder because it easily stores out of the way. I also like hard white wheat because it is lighter and still full of whole wheat fiber.
Some recipes blend all the ingredients together. I like to blend just the wet ingredients and fold into the dry.

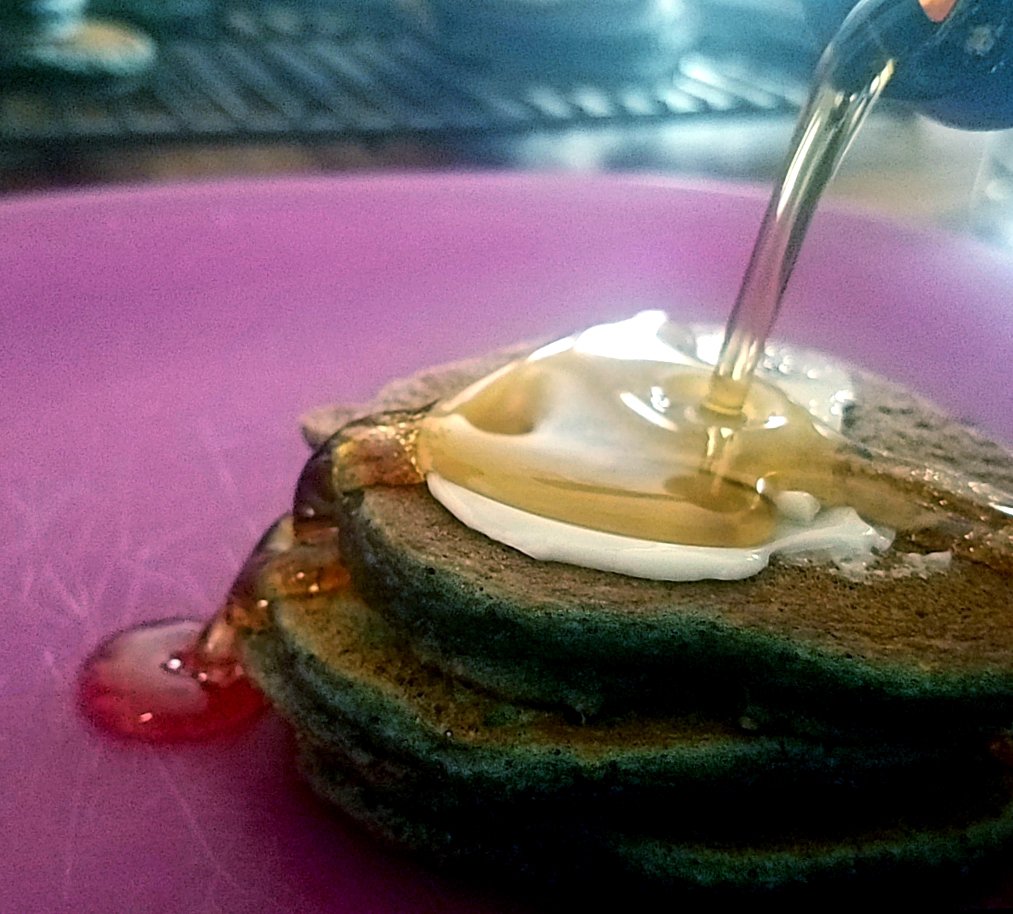
There is more fruit and vegetables than flour so it makes a wetter batter. To cook it evenly inside, spread out into thinner cakes. I am ok with thinner cakes because I want more fruit and veggies going in my kids.

If you want fluffy pancakes you can easily add 1/2 cup to 1 cup more flour, till the batter is a thickness you like.
Blueberry Blender Pancakes
Mix in a large bowl
3 cups flour
2 TBS sugar
4 tsp baking powder
1/2 tsp salt
Combine in blender
2 eggs
2 cups milk or almond milk
4 TBS oil
1 1/2 cups frozen berries
1 cup fresh or frozen spinach
1 TBS flax seed (optional)
1 TBS chia seed (optional)
Pour wet ingredients from the blender into the bowl with dry ingredients and gently fold in until just combined.
Cook on a medium high skillet until light brown on both sides. I like to make mine small, 3″ in diameter, and use as an after school snack.
Freeze leftovers for up to 3 months. The flavors crystallize and taste great as a frozen snack.

by Natalie | Dec 22, 2018 | Recipes
Making gingerbread houses is a well loved tradition in many homes. Originating in Germany in the 16th century, Gingerbread Houses eventually made their way into being a Christmas activity.
The original houses were adorned with foil and gold leaf – and probably much more ornate than what we do.
Since our family was looking for Christmas activities for children, we tweaked and streamlined until gingerbread decorating was as fun and stress free as possible.
Graham Cracker Structure
It’s a common practice to use graham crackers for your gingerbread house structure. Did you know the better tasting Honeymaid brand is more brittle, making it harder to build with?
Save those expensive crackers for eating and buy a few boxes of the cheapest brand, we had best luck with the Kroger Store brand. It was a little more forgiving.
When making the roof, attach the two pieces together and let harden off of the house first. Once it’s good and firm place it on top with more frosting to hold it in place

When Preschoolers are involved you may want to build a simple structure ahead of time so they can just glue on candy. It makes the gingerbread house tradition much easier.
This year my daughter built her own, with just a little help from me, she was ecstatic.

I let my kids use as much autonomy as possible to increase creativity and problem solving skills.
The Secret to Acquiring All that Candy
There is so much sugar in our society, too much really. I started using candy from trick-or-treating in gingerbread house making to reduce the amount we are buying and eating. Read here to see how I make it acceptable for our children. 😉😅

Decorate with candy on hand.
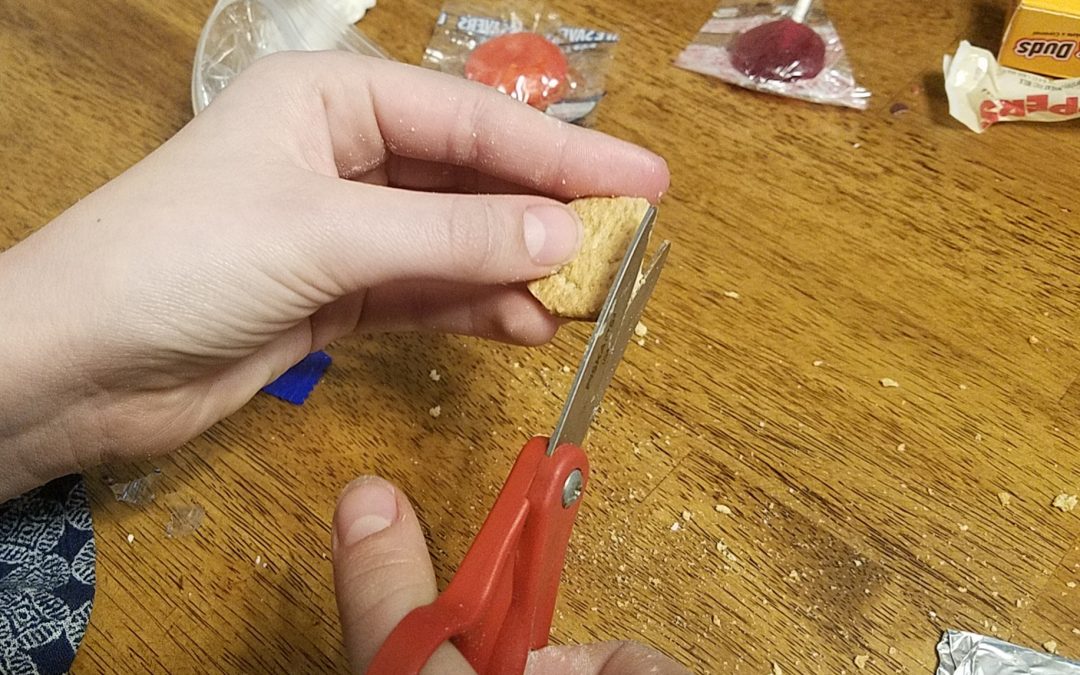
Tricks for Cutting Edges
This little trick will make it easier to define the edges of your crackers. Beware, it does not cut straight through a cracker, a serated knife will help with that.
If you just want a smooth edge, or an angle, use scissors to trim Graham crackers for your gingerbread houses.

Using scissors to trim, cuts down on unwanted cracks and breaks.
Building base
I used to stress (a bit 😉) about cutting out carboard, wrapping it in tinfoil… This year I just said, “hey everyone if you want a tinfoil base come make it.” Then I pulled out paper plates for everyone else. 😂😂 So much easier and one less thing for me to do, I love it. ☺️

When you want something quick and easy, use a paper plate, turned upside down and a flat roof.

My son made gingerbread kids having a snowball fight, while being yelled at by the preacher. 😂 He is very committed to his chapel theme.
The Best Glue Frosting
My favorite gingerbread house frosting by far. You know it’s good frosting glue if it can dry quickly and hold pieces together.
There are several different recipes out there with varying levels of egg white, cream of tartar and powdered sugar.
Less is more with this recipe, kind of like super glue, if you put too much on it takes longer to dry.
Gingerbread House Frosting
3 Egg Whites
1 lb Powdered Sugar
1 tsp Vanilla
1/2 tsp Cream of Tartar
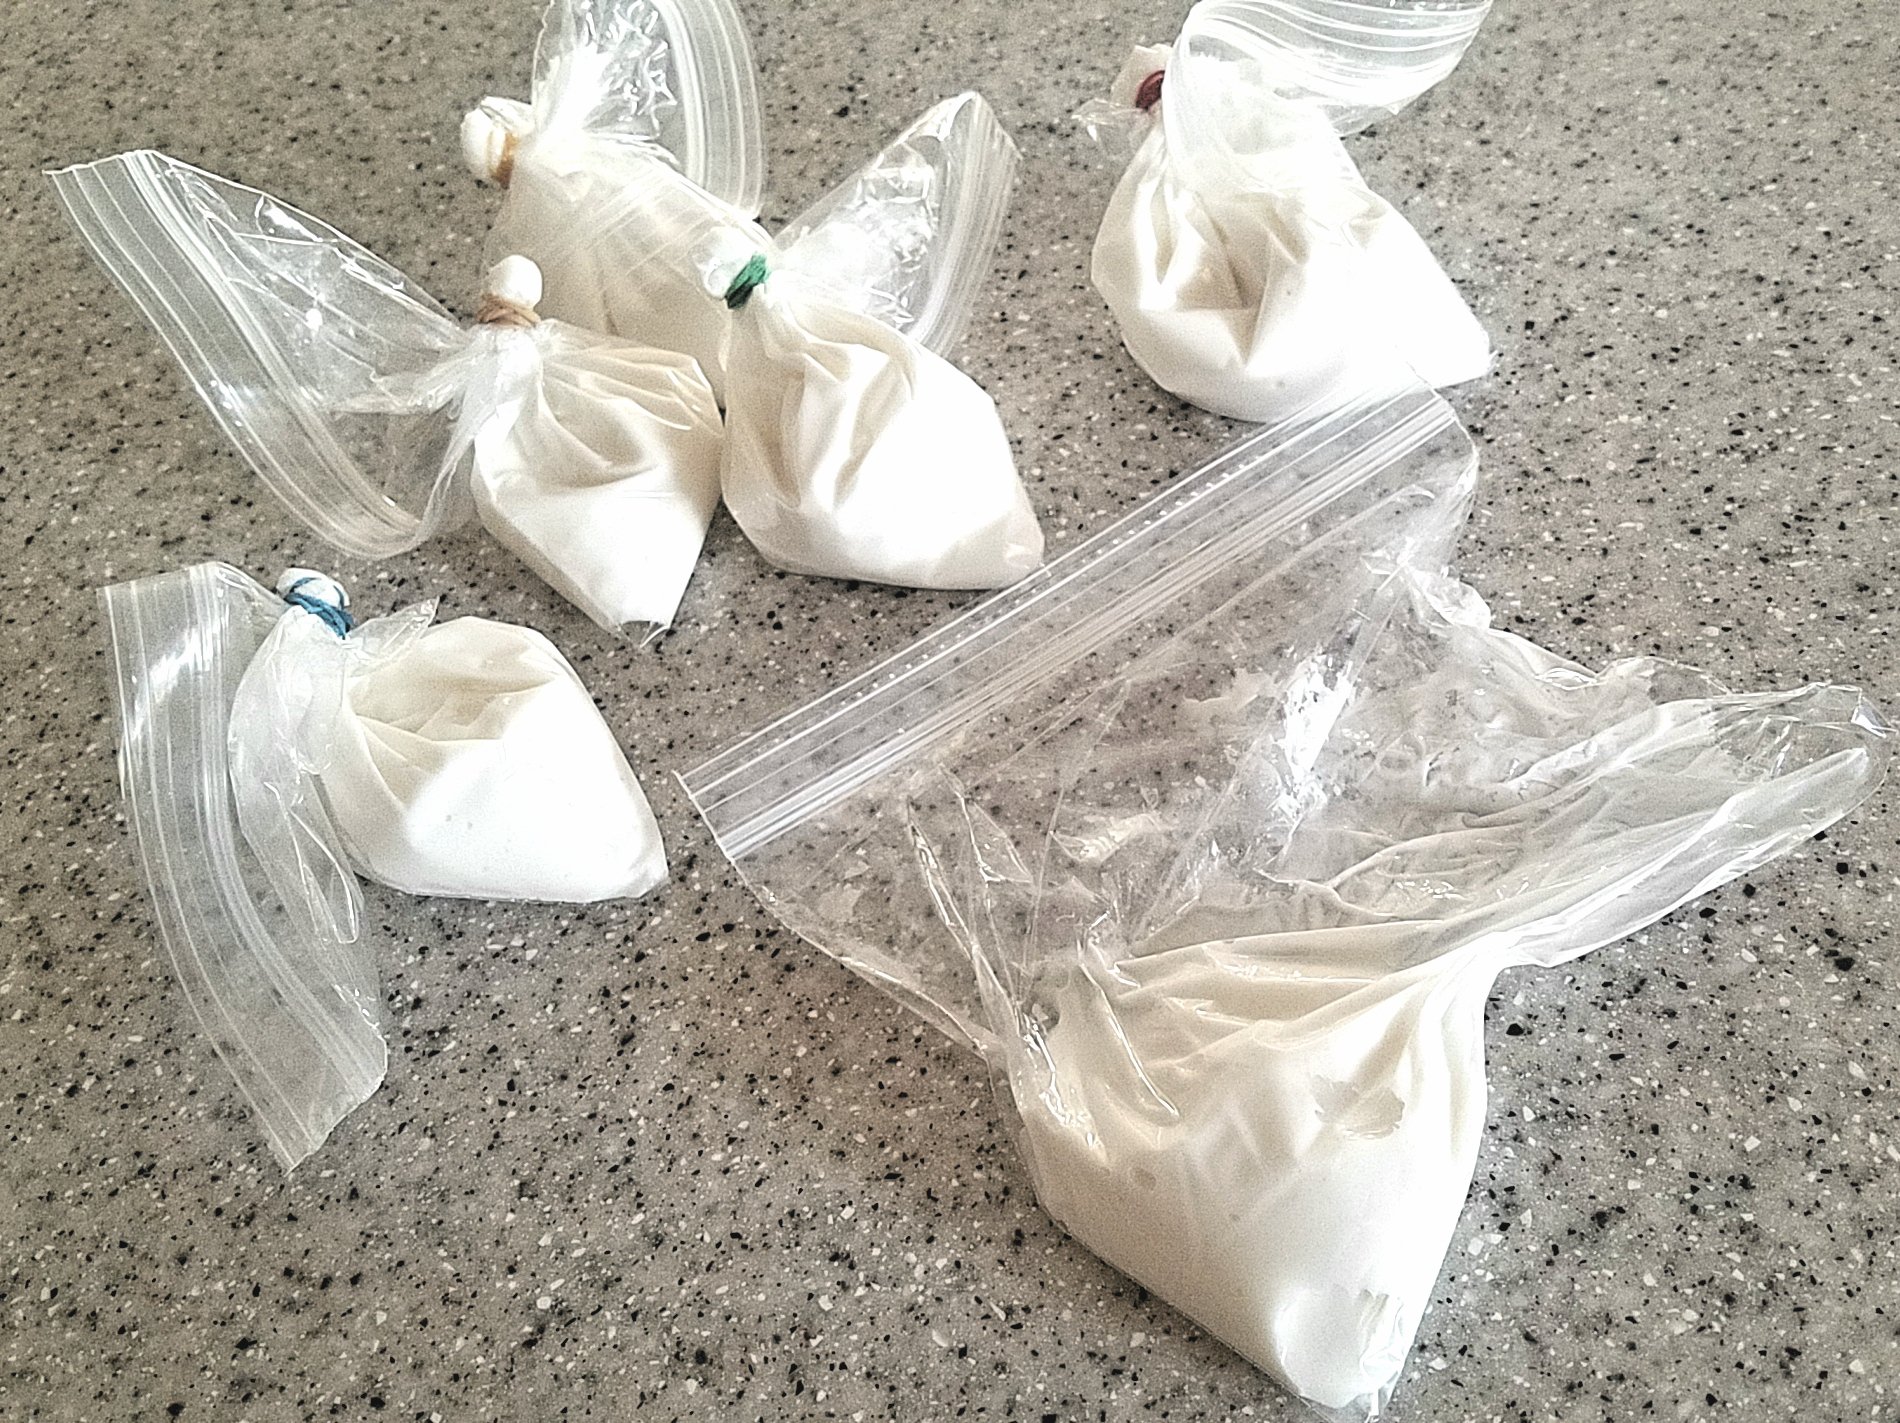
Beat the egg whites till frothy. Fold in powered sugar, vanilla and cream of tartar.
Place in a zip lock bags and also rubberband the top closed. Then trim a very small hole off one corner . You can always cut a larger hole later if it’s too small, but start on the small end.
And you’re good to go.
What other Gingerbread House Hacks have you tried? Share below.
What do you wish there was a hack for? 🤔
Take care and happy building.

by Natalie | Nov 30, 2018 | Baking, Recipes
Caramel making is a science and an art. With these three easy tips you will have success every time. If you’ve ever had a batch of caramel not work out, or turn back into a block of sugar instead of a chewy consistency you know what I’m talking about, but there is a simple way to caramel bliss.

Tip #1 Substitute the cream
use sweetened condensed milk in place of cream – this makes it so you will be done in 15 minutes instead of 45 min.
Tip #2 Mix on low heat
Mix your butter, corn syrup, sweetened condensed milk together on low heat. This is important because the ingredients need to be mixed well before you increase the temperature. If you get the mixture on the sides of the pan while the heat is turned up for boiling it will change the chemical reaction in the caramel.
Mix first on low.
Tip #3 Clean the sides of the pan
Before you turn up the heat to medium high, wipe down the sides of the pan with a damp cloth. This will clean off any bits of sugar that may have splattered on the sides and keep all your caramel cooking at the same speed. You know how I said this was a science? What happens is the caramel on the sides of the pan will cook at a higher rate than the caramel in the the mixture, as you stir your caramel the cooked caramel bits on the sides will come off into the mixture and start cooking your caramel at a faster rate and actually cause your caramel to overcook without you realizing it.
Set yourself up for feeling awesome and wipe down the sides of the pan before you turn up the heat.
Homemade Caramels
You will need a candy thermometer
1 cup butter
1 16-ounce pkg (1 1/2 cups) packed brown sugar
1 14-ounce can sweetened condensed milk
1 cup corn syrup (light colored)
1 tsp vanilla (or desired flavoring)
1) Prepare:
if you want to pour into a pan and cut into caramels, line the pan with tinfoil and spray with butter
If you are carameling apples, let it cool slightly in the pan (5-10 min) then dip the apples right in the pot.

When dipping pretzel rods I also dip from the pot. Then I pour the rest onto buttered tinfoil.
2) Combine ingredients
In a heavy 3-quart pot, on low heat, melt butter, add brown sugar, sweetened condensed milk and corn syrup. Mix well, wipe down the sides of the pot and turn to medium high. Cook and stir till the mixture boils being careful to not get any splashing on the sides of the pot. You don’t have to mix fast, just constant.
3) Cook
Clip a candy thermometer to the side of the pot and reduce heat to medium. Continue boiling at a moderate rate. Stirring frequently and controlled (to avoid splashing caramel up the sides.

Cook till the thermometer registers 248°, firm-ball stage (test by dripping some in a cup of cold water, it should hold shape, but remain pliable). This takes about 15 minutes.
4) Remove from heat
Remove from heat as soon as it reaches 248° degrees. Remove thermometer and stir in vanilla (or flavor of your choice)
Now you can dip food in or pour into prepared pan. After it cools, cut into rectangles and wrap into cut pieces of wax paper about 3X the size of the caramel piece and twist the end closed.


by Natalie | Nov 20, 2018 | Recipes
There are many ways Brussel Sprouts should not be eaten – boiled being the epitome of all that’s bad.
But…
There is one way that is spectacular, the way God intended Brussel Sprouts to be eaten,
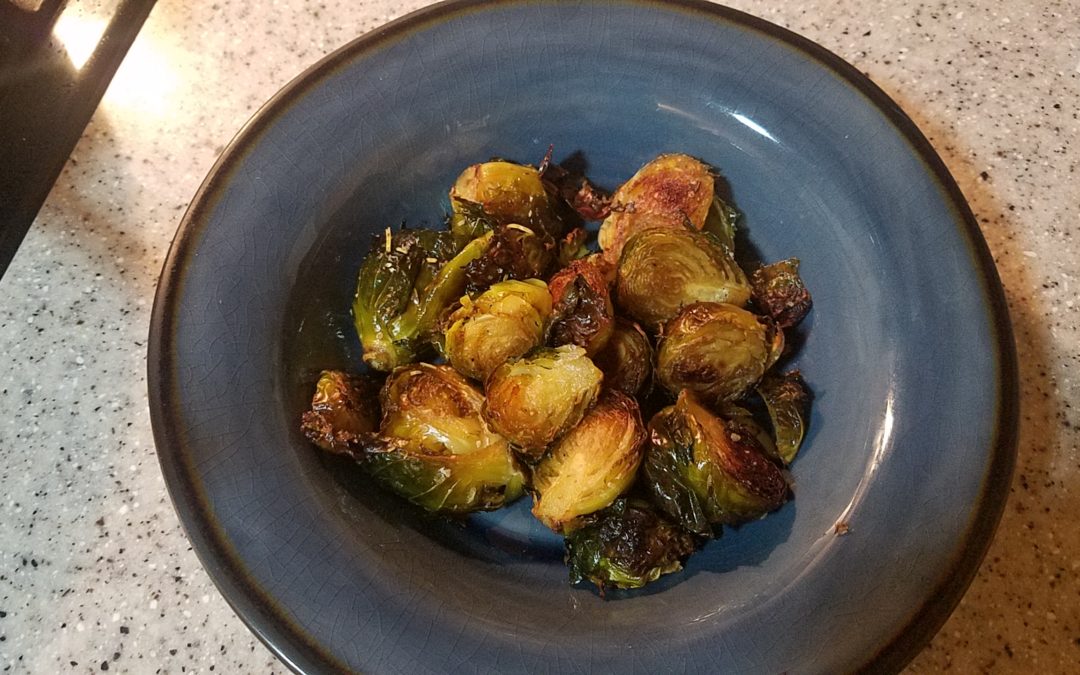
Roasted.
If you are looking for the perfect side dish to your holiday meal. If you want to turn heads when you walk in the door, look no further.
Ingredients
1 lb Brussel Sprouts
1-2 TBS Olive Oil
1/2 tsp Course Salt
1/2 tsp Black Pepper
1 tsp Crushed Rosemary
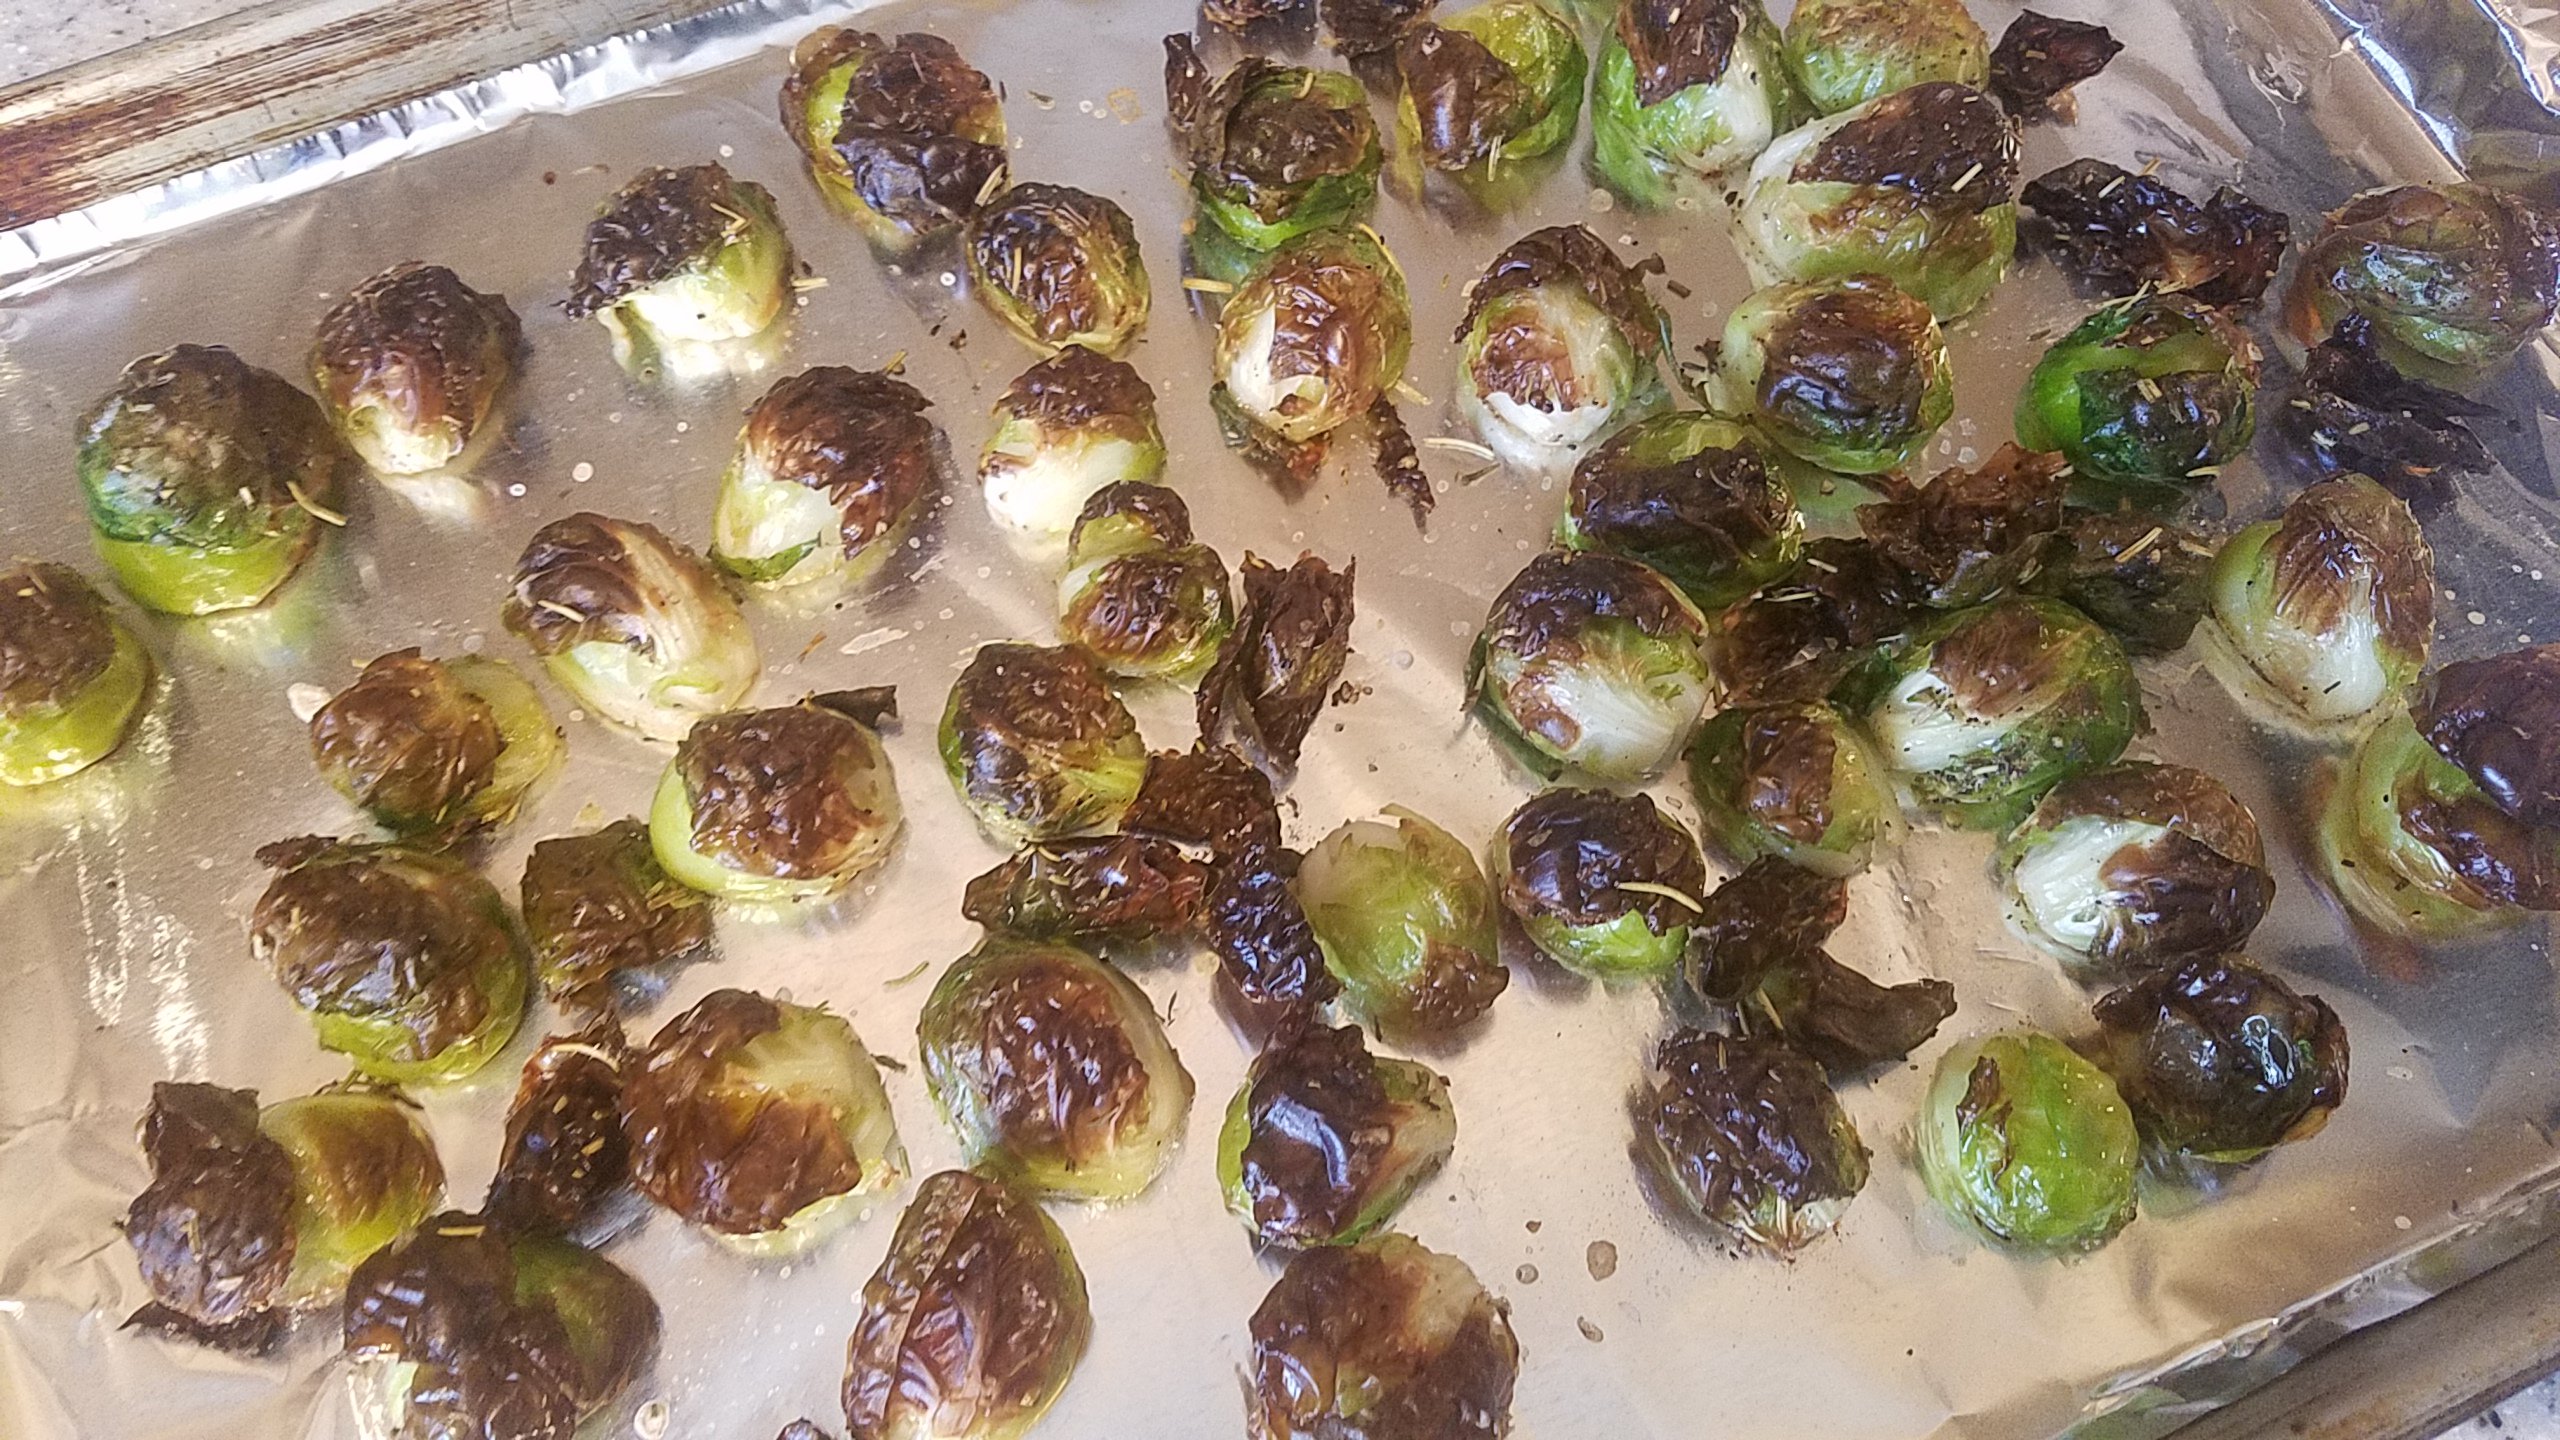
Pre-heat the oven to 400°. Trim brown edges and yellowing leaves from Brussel Sprouts and cut into halves. In a large bowl, toss with olive oil- mix well, then add salt, pepper and thyme. Roast in the oven for 35-40 minutes, toss in the pan half way through.
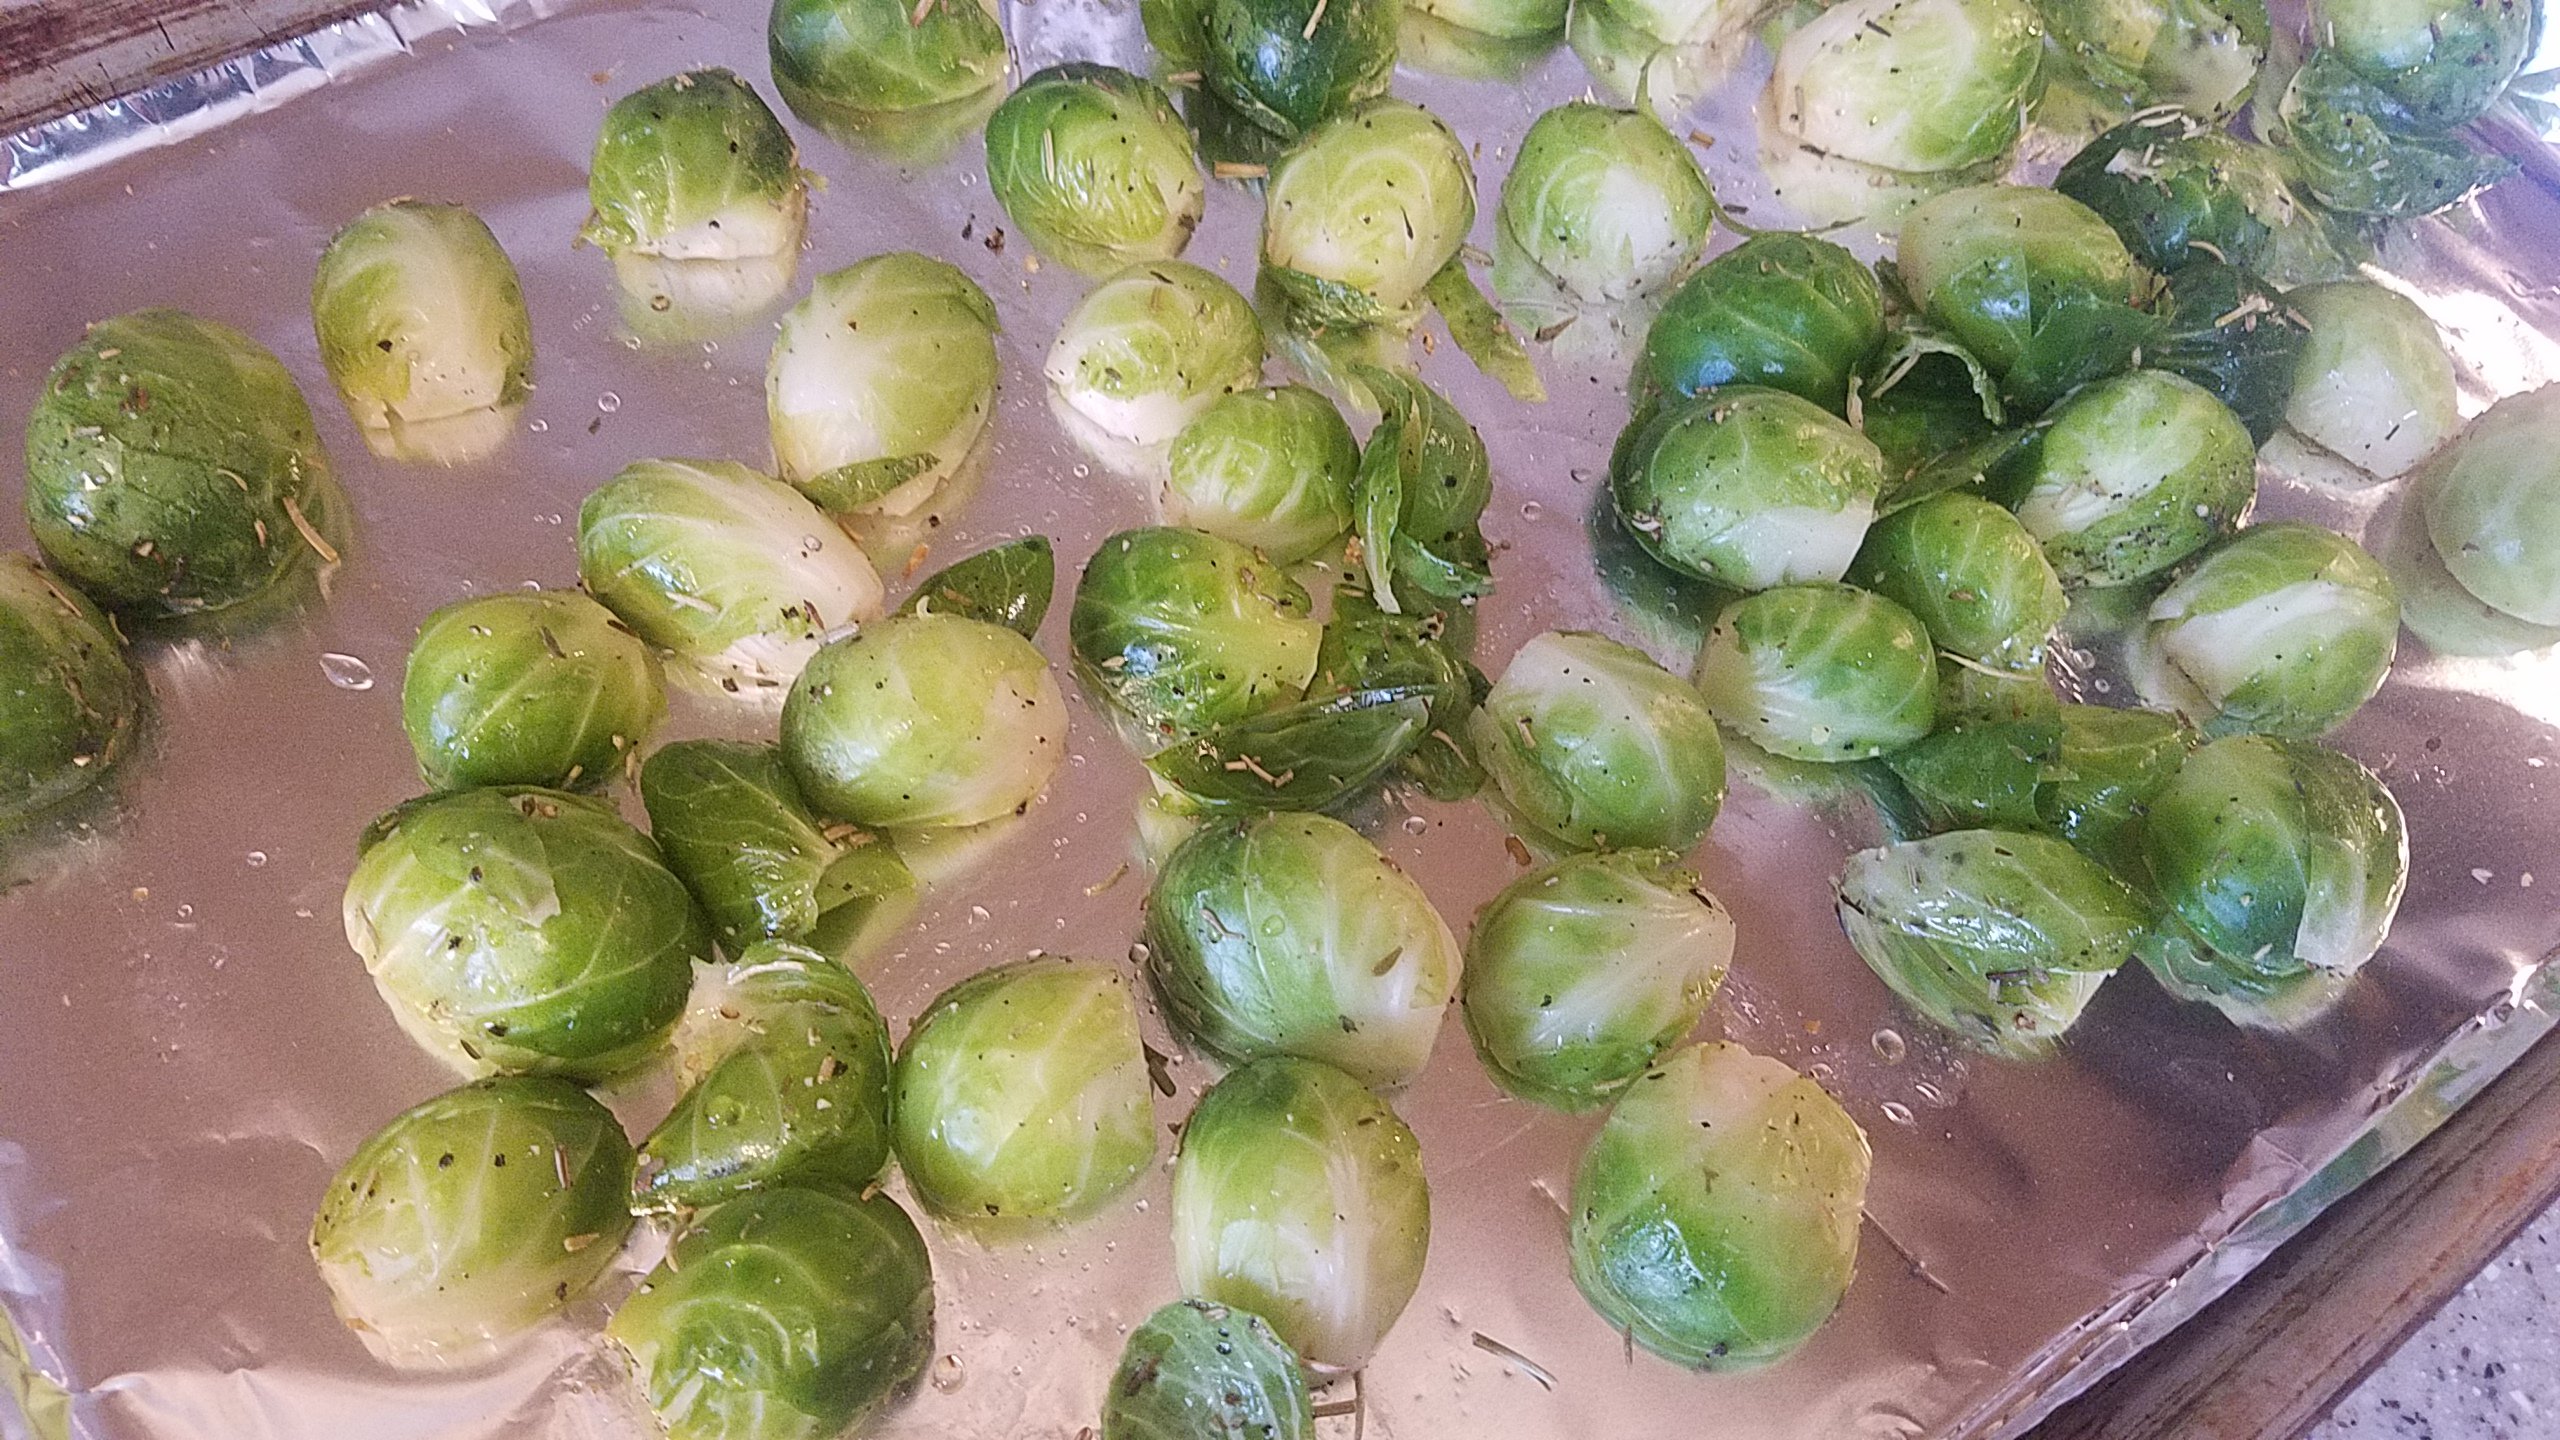
For these to be completely awesome, it’s important to do the whole roast, which means slightly black on the edges of the leaves and a nice brown on the flat sides facing down in the pan.
I personally like to eat these with a side of ranch. You can also dress them up with some fancy caramelized onions.
Caramelized Onions
Ingredients
2 cups Sliced Onions
2 tsp Olive Oil
3 TBS Fresh Thyme or 1 tsp Dried
1/4 cup Apple Cider Vinegar
1/4 cup Brown Sugar
1/4 tsp Salt
Heat a medium sized pan over medium heat. Add olive oil and onions stir till brown, about 8-10 minutes. Add a TBS of water when it gets dry.
Next add thyme, vinegar, brown sugar and salt.
Stir until liquid reduces and onions become thick and caramelized.


Recent Comments