If you haven’t already noticed, I love to throw things away. Much of the clutter in a house is from things that just need to be thrown (or recycled, composted etc.). This all means easy access to trash cans = a less cluttered house. I really wanted a trash can under the sink that pulled out, to make cleaning easier – but have you seen the prices?

$83.00
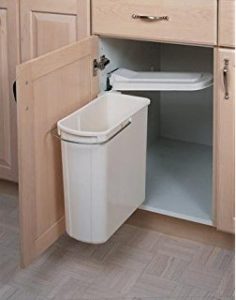
$123.00
$83 ! and $123!
It’s a lot! I just wanted to put my money somewhere else other than in the trash. 🙂
So I came up with this very simple, inexpensive design to simplify the world and make it a cleaner place.
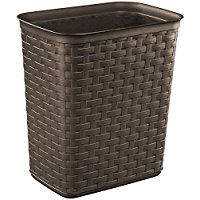
Find a small trash can that is roughly 3/4ths or less the width of your cabinet door. This will help it fit well and not be too heavy for the door. I found this one at Walmart for $4, you could also check the dollar store or score a thrift store find. If you want this exact trash can you can pay $12 on Amazon.
A straight edge works better than round as you see here. It works, but not as well as a nice straight edge.
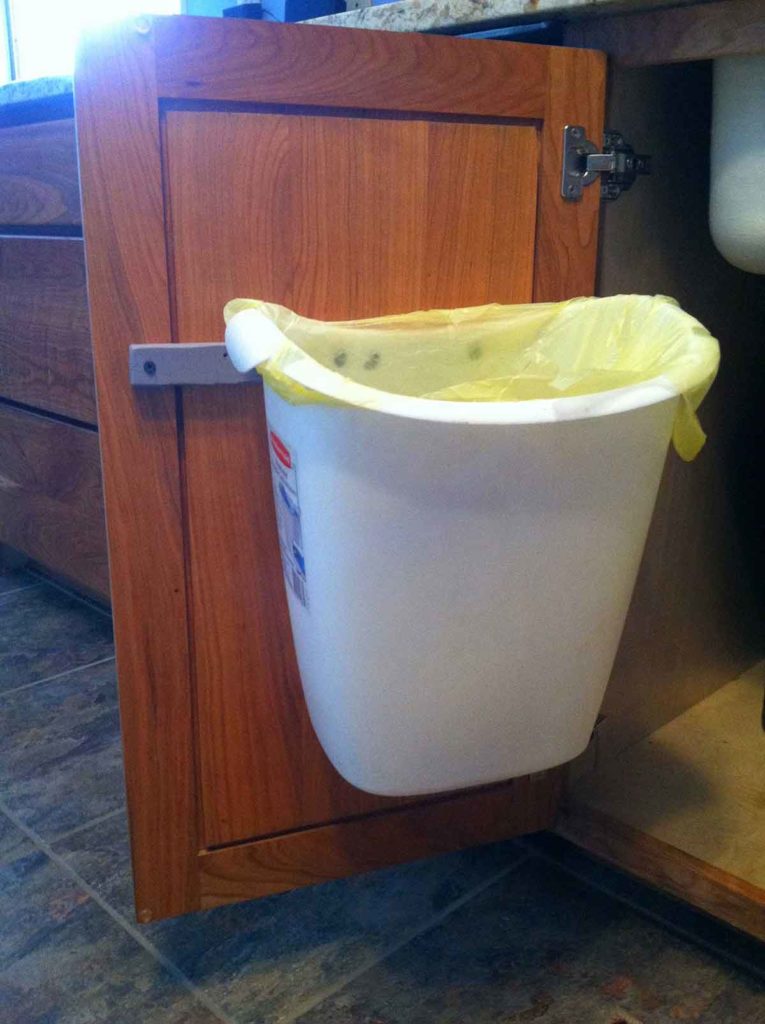
Before drilling any holes, hold the can on the door and see if there are any potential problems. As seen in this picture of my first project, a common problem is the kitchen sink or pipes, they may hang low enough that you need to lower the position of your trash can on the door. You likely want to position it in the middle of the door and about 4”-8” down from the top, depending on how tall your door is.
Next, look at your door type.
First type of door
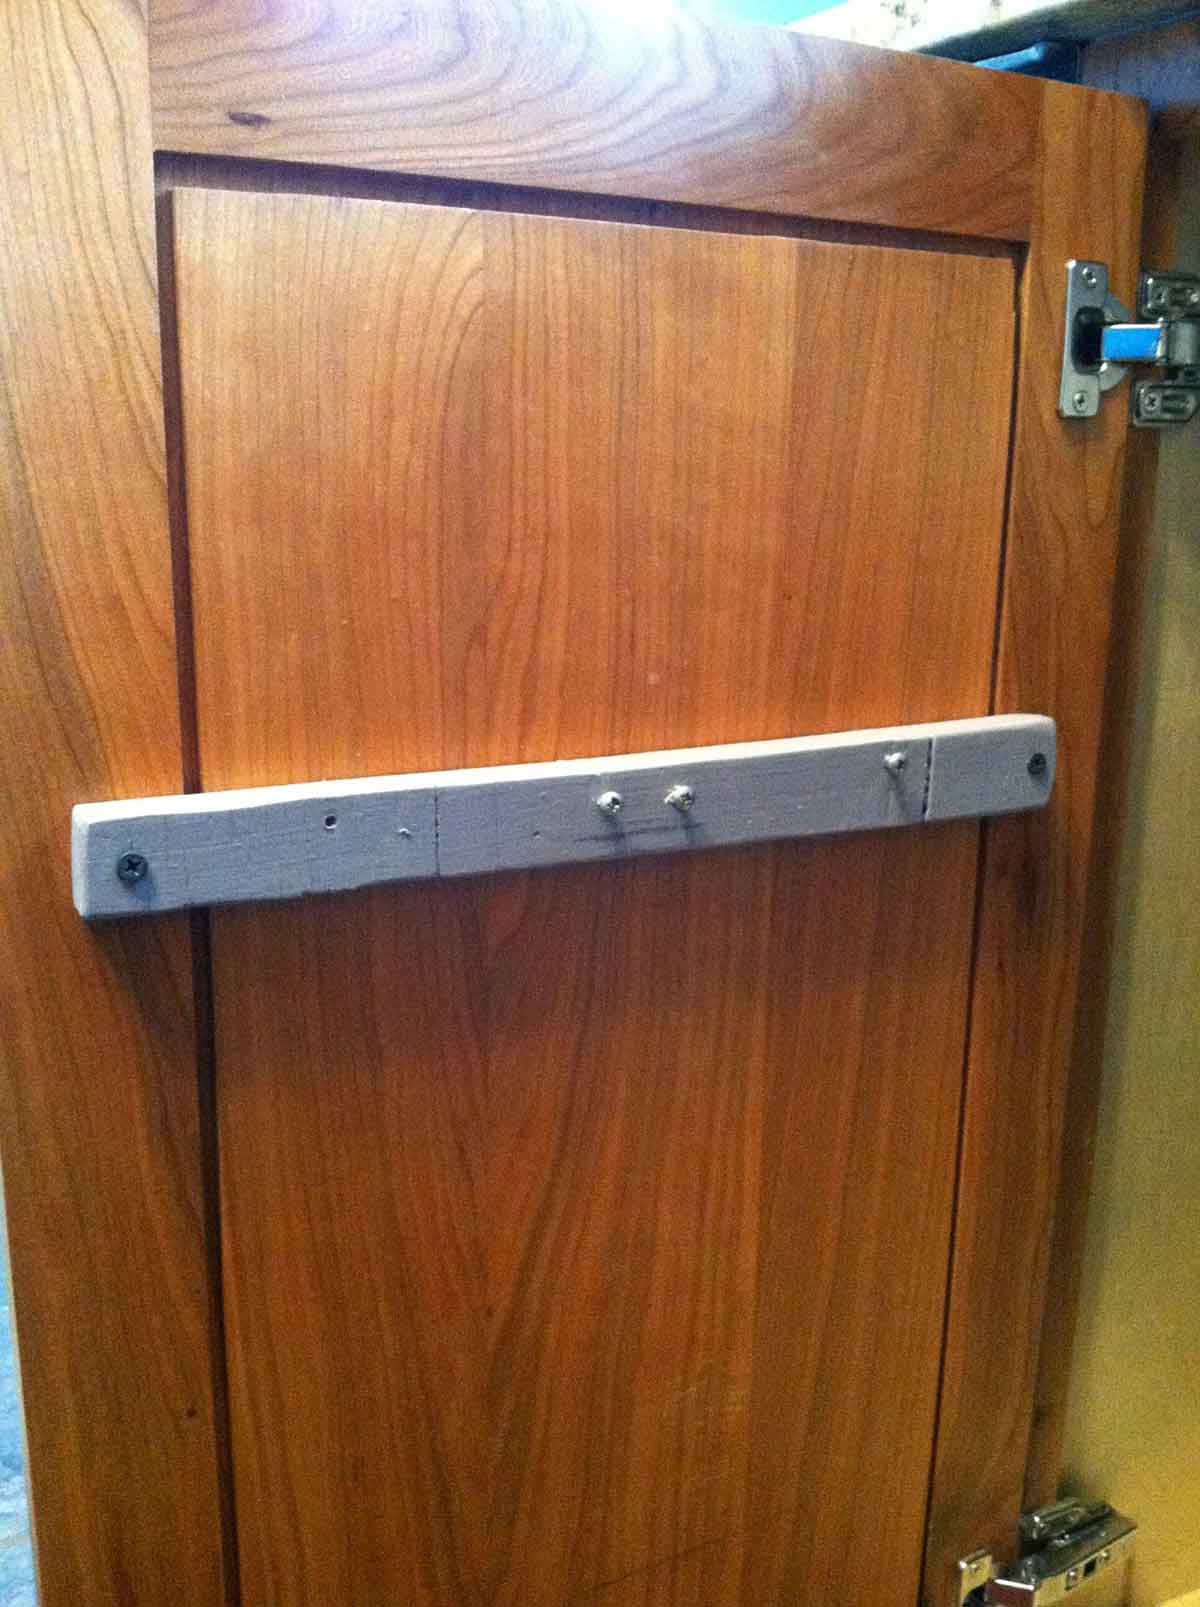
Some doors have a thin ¼” panel on the front and hardwood only along the edges. For this door you will need a support board about 1 ½” wide, ½” thick. Most cabinets have a ½” overlay on the outside of the cabinet–so the board needs to be the length of the door minus 1” on boths sides. screws on either end of the board to attach to the board to your cabinet.
Second type of door
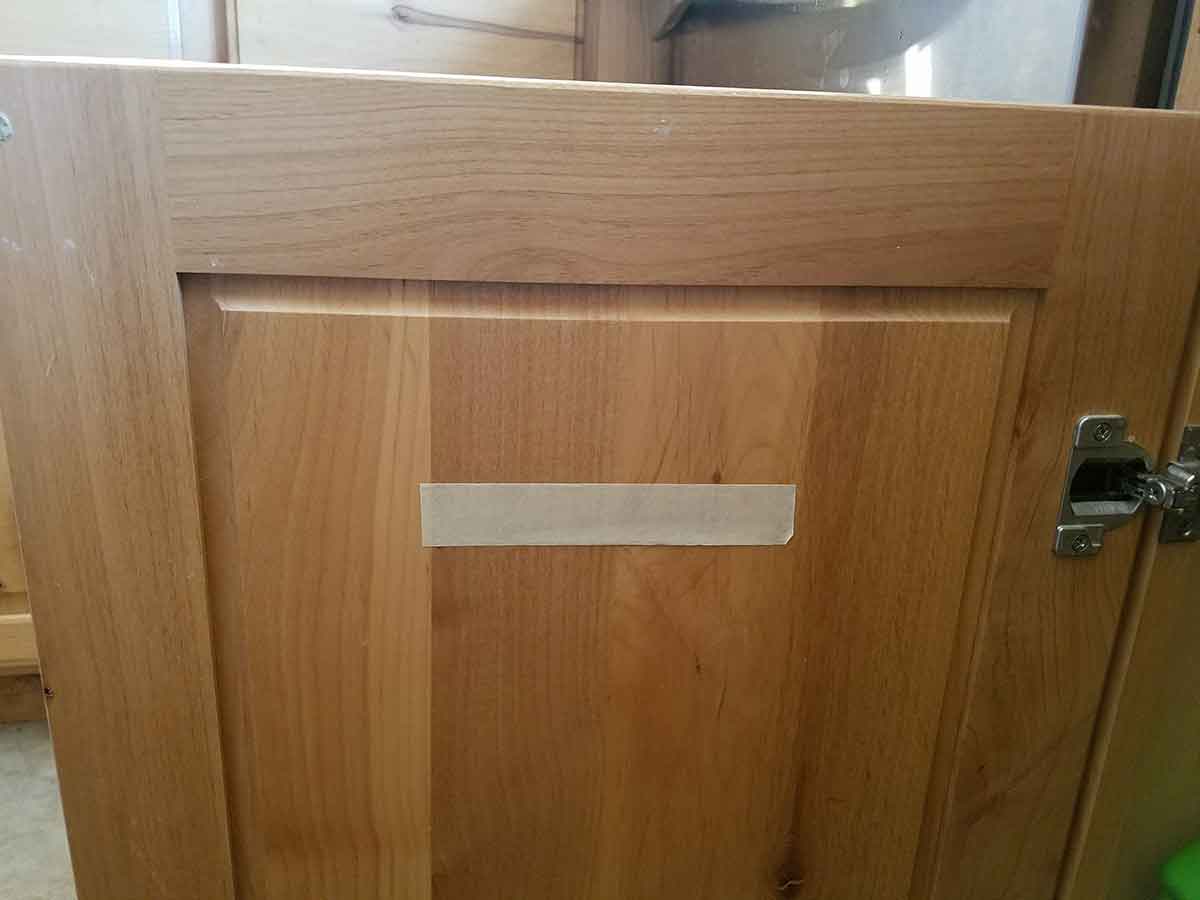
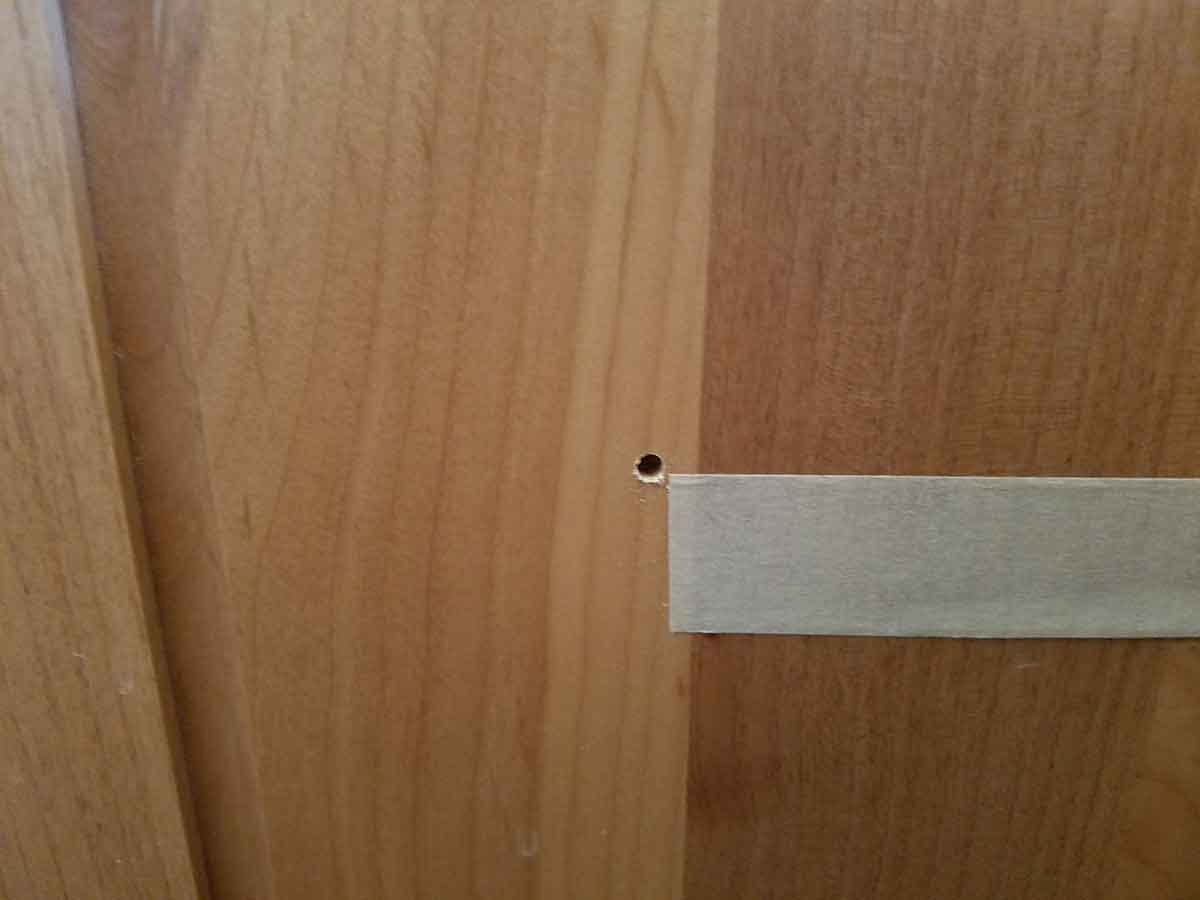
Other doors have solid wood panels so no support wood is needed. Simply measure where you want the holes. I used a piece of tape so I could have the exact distance on the trash can and on the door.
(Drill holes in the can I placed mine, 5 ½” apart on an 11” wide can.
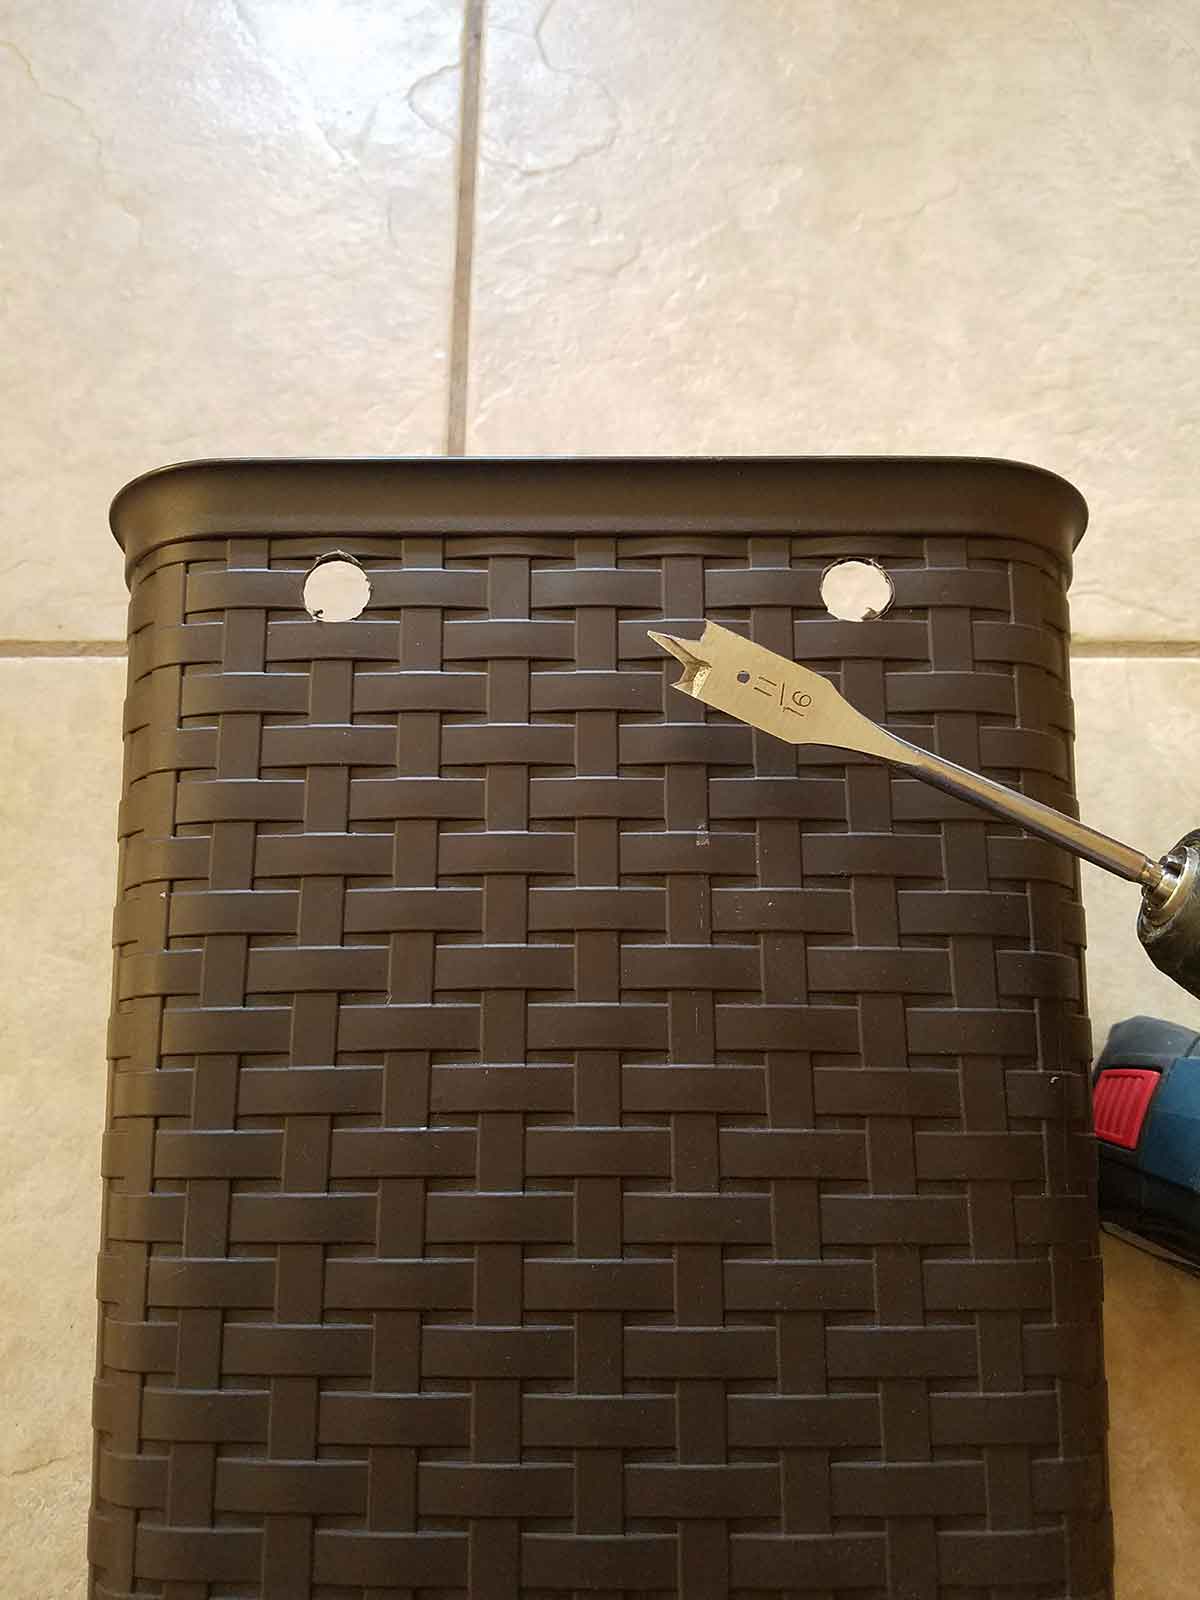
Use a drill bit that is slightly larger than the screw head (purchase here).
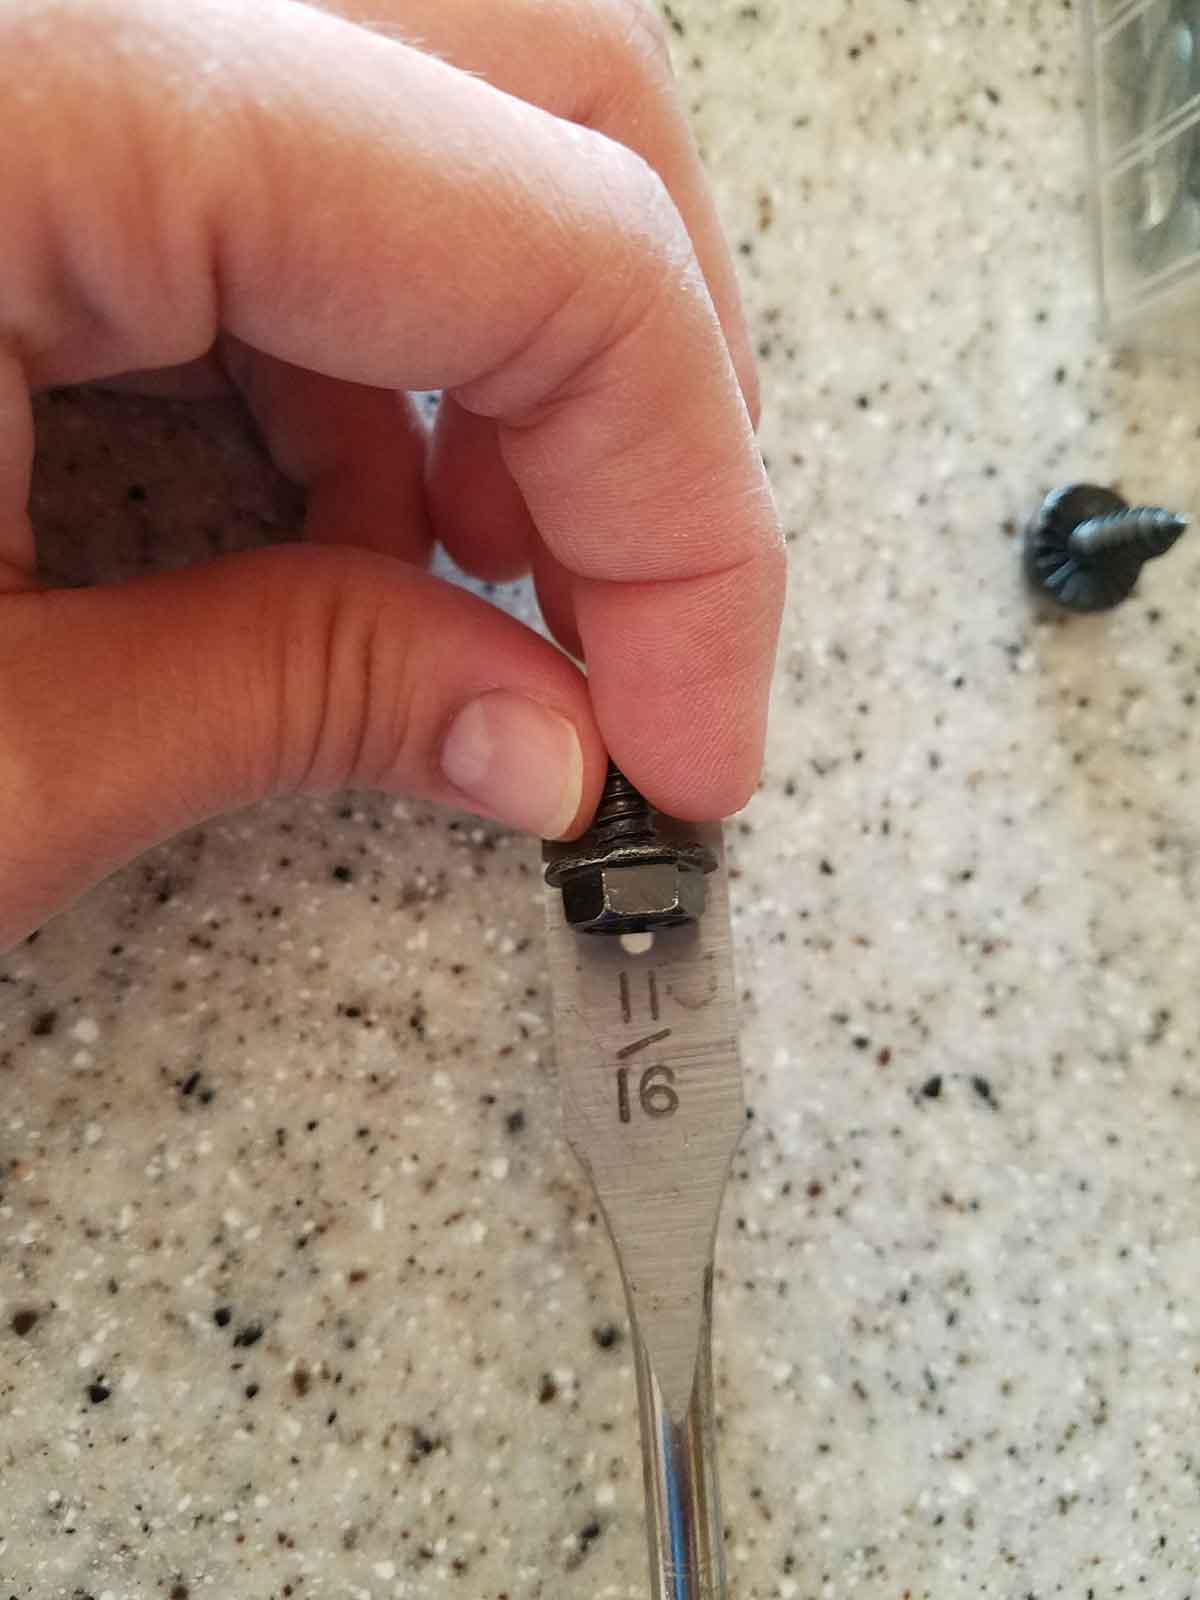
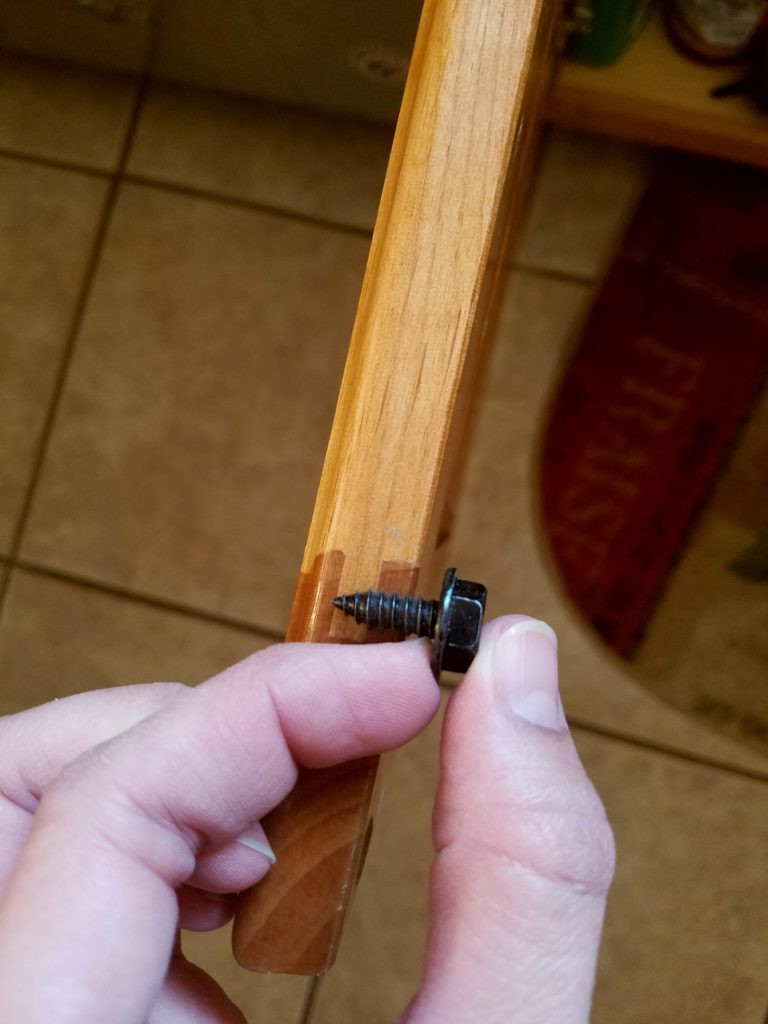
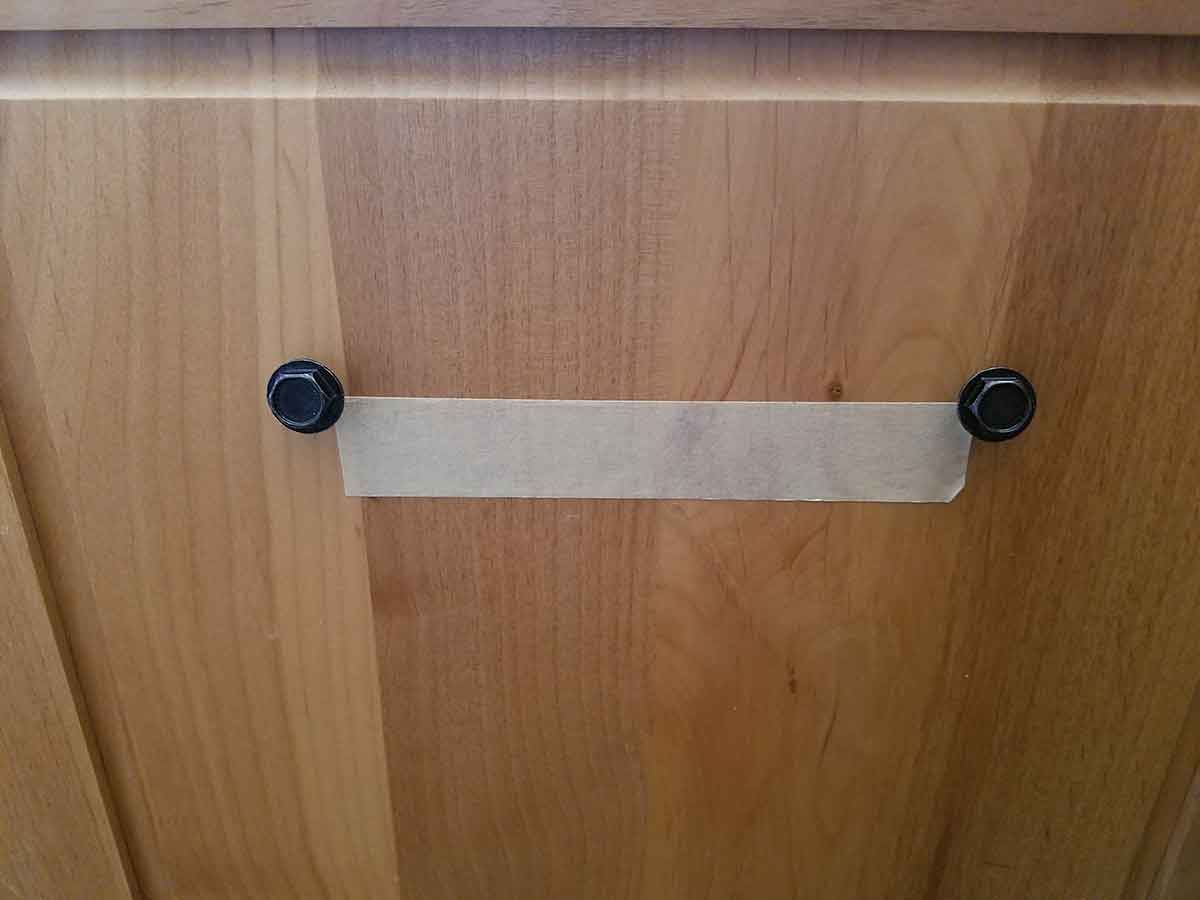
Make your measurements, use a level to make sure the screws are balanced. Pre-drill with a drill bit slightly smaller than the width of the screw body (not head), this will keep your wood from splitting.
Attach screws leaving room for (about ¼”) for your trash can to slide into place.
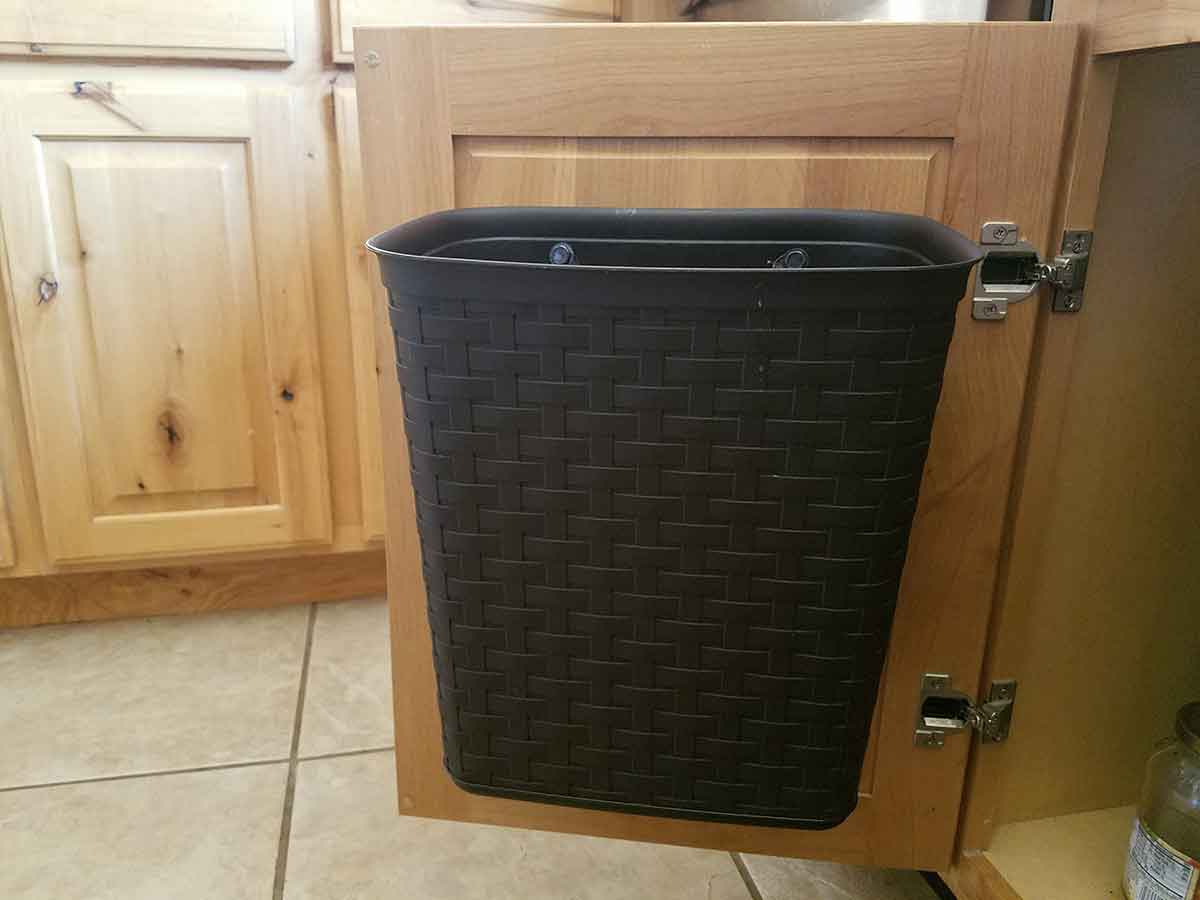
Place garbage can on screws, like this and you’re done! You may need to tug a bit to get the holes over the head of the screw, but if you are needing to tug too much either adjust the screws or make the holes in the can larger.
Share pictures, I’d love to see what you come up with. Each situation is different and may help others as they work on their projects. Happy building!


Recent Comments