
We recently landscaped our backyard and our quality of life immediately went up once the grass was in.
Since we had done a complete overhaul on our last home, we promised ourselves we wouldn’t take on any major home projects for a year. We wanted to give our lives a bit of normalcy. It also meant we planned and dreamed and changed plans and improved dreams😊.
I’ll update posts as I describe each area we are implementing, but today I will show you how and why to install a paver edge along your grass. It may surprise you to find (it did me), that the work is strangely therapeutic. I have a friend who hammers jewelry and she once called it therapy. I understood once I started installing the pavers.
Pavers require a good bit of hammering with a rubber mallet and since it’s rubber it doesn’t hurt your ears. I found myself looking forward to coming home and finding time to install more pavers. For me hammering was a stress release. Something about the pressure of the mallet pounding out any built up tension from the day. I hope it works for you too. 😊 I always felt a bit calmer afterwords.
Not all projects are this rewarding while you work. I love all my projects once they are done, but there are a few of them I have had to endure.
Paver pounding? You will love it!
With the right preparation, tools and material it will be a great stress reliever and you’ll have a bonus awesome yard.
Skill level: moderate
Tools
Rubber mallet
Hammer with metal head
Materials
Pavers of your choice, ours were 99¢ each at The Home Depot
Weed barrier, landscaping material
Landscaping staples
Play sand $5 a bag, we used 3-4
Pavers sand
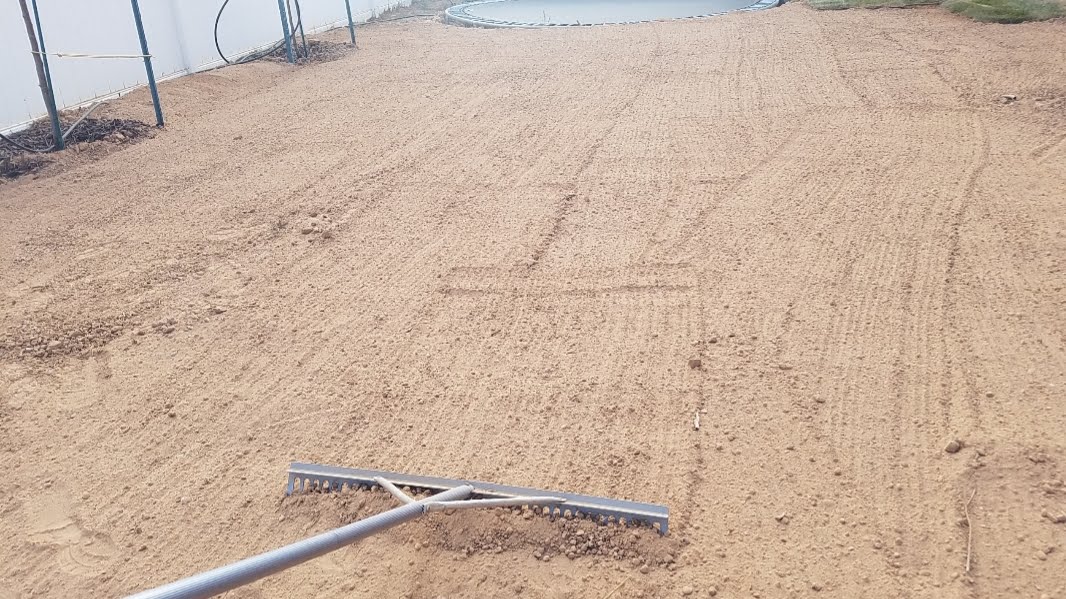
We started the paver edge once the sod was down, but there was no landscaping outside of this. So we had a nice edge to follow for the pavers.
Prep the ground by running the sprinklers an hour before working, this makes the dirt softer and allows more movement while hammering your pavers into place.
The purpose for installing pavers is to create a nice edge between the lawn and fence and other landscaping and so it creates easy mowing and less need for a weed wacker.
We had quite a bit of grass growing next to the fence from our neighbors yard. To combat this, we pulled out all the grass and sprayed the edge with grass and weed killer to prevent further growth and to kill any grass seeds left.

We also built the soil up an inch or two and put down landscape material. I’m serious about avoiding annoying upkeep down the road. I love yard work, but there is only so much weeding a person can love.
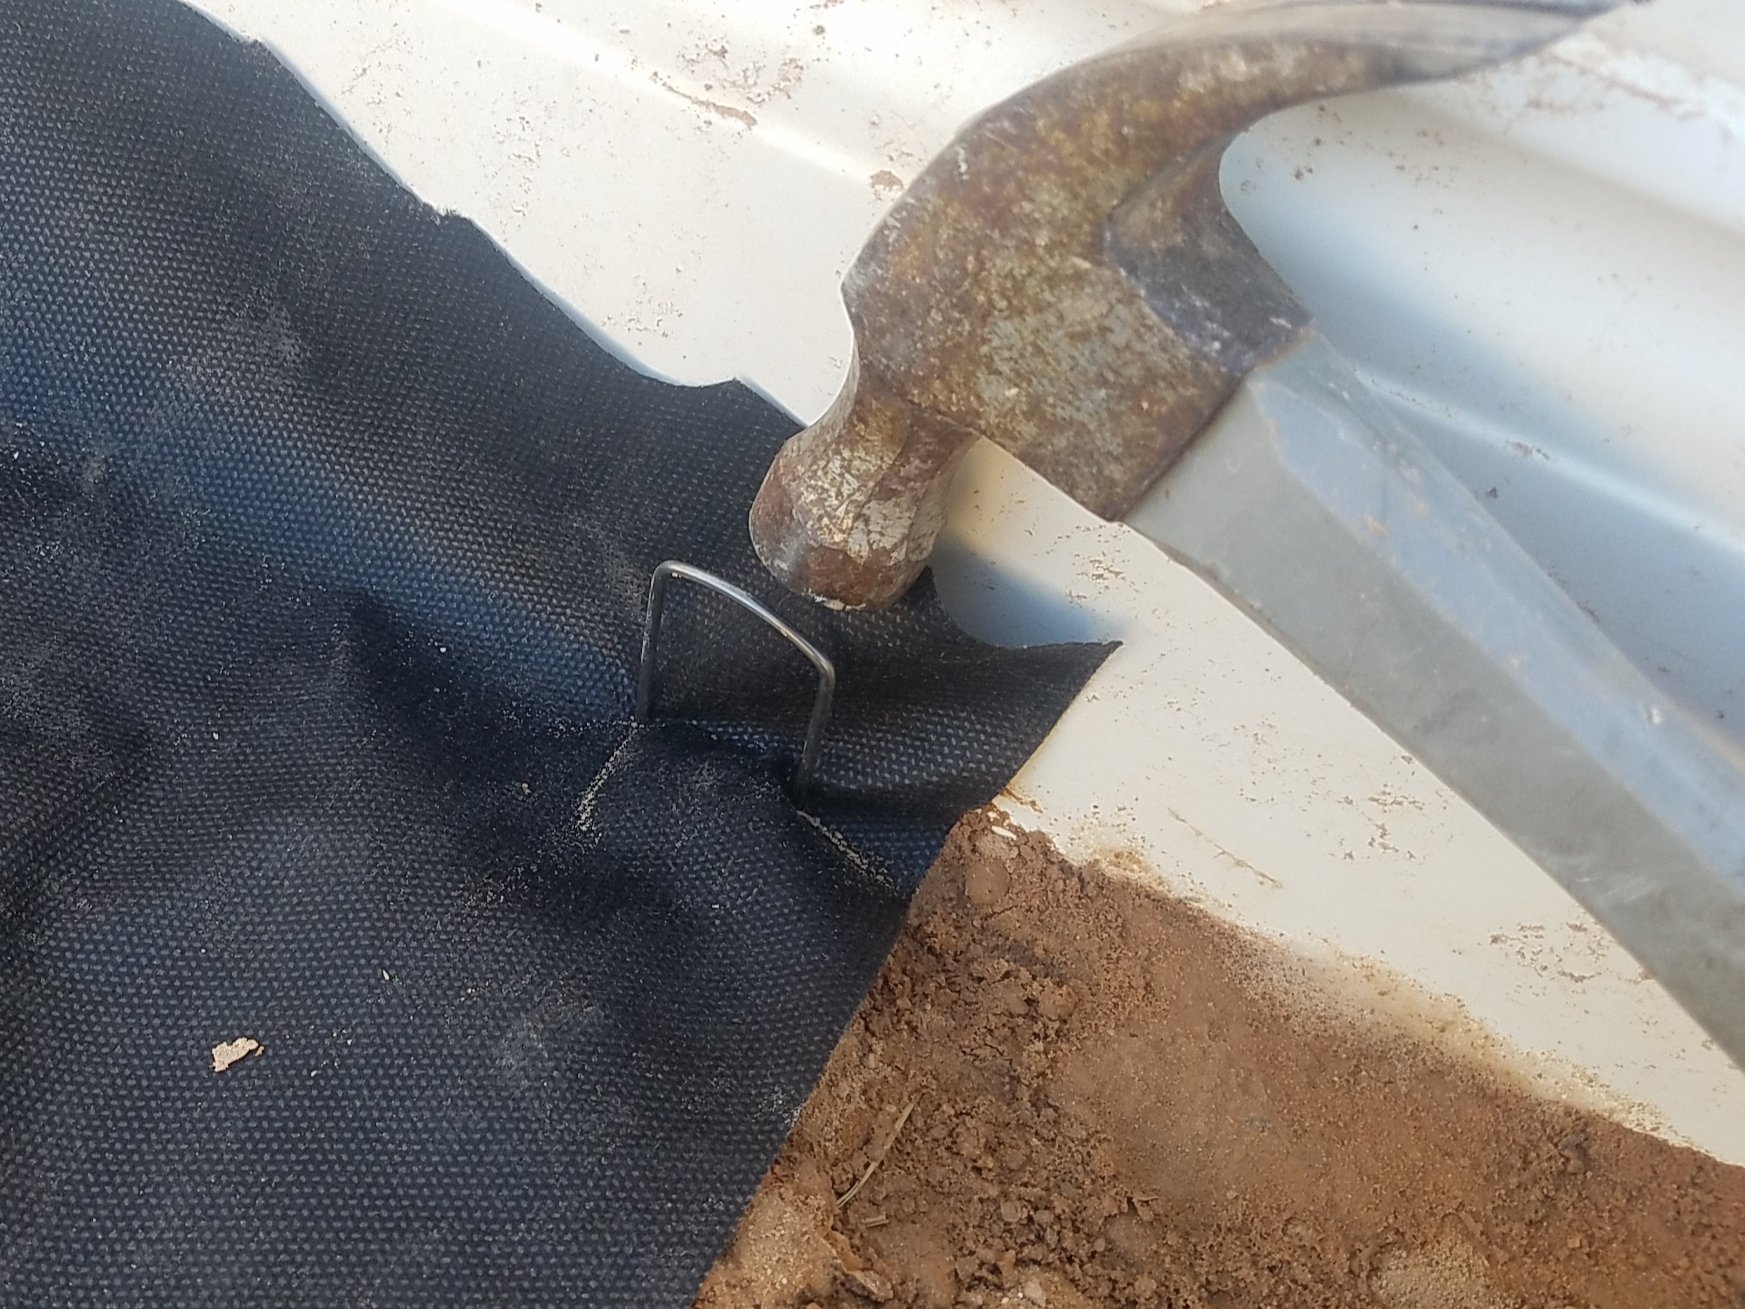
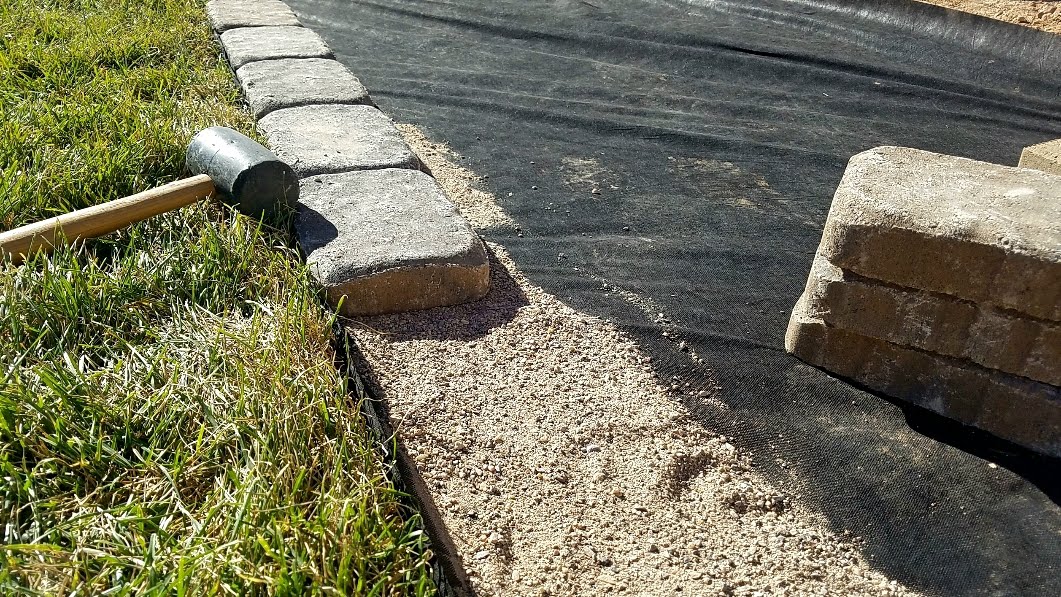
Use landscape staples right up next to the edge of the fence. I also have the landscape material coming up an inch or two to discourage unwanted weed and grass growth. Use the metal head hammer for this otherwise the staple pounding eats up the rubber mallet.
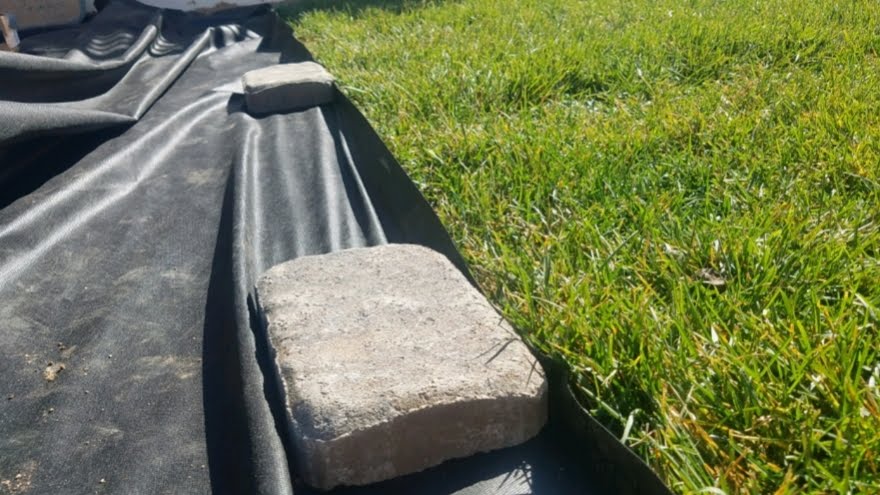
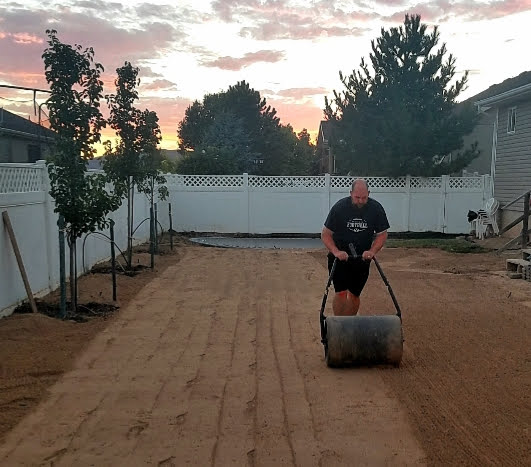
Some people use string and a level to make sure the pavers are straight. We had already done alot of work to level the ground with raking, rolling etc. so I didn’t use a string – in fact I eyed it. If it looked straight I left it, if I noticed a bulge in the line of pavers I hammered it into place with the mallet, very easy.
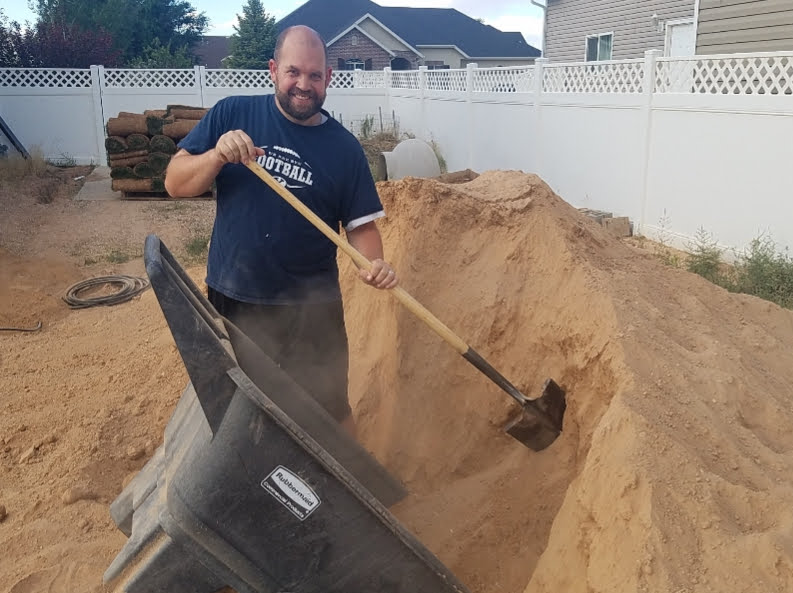
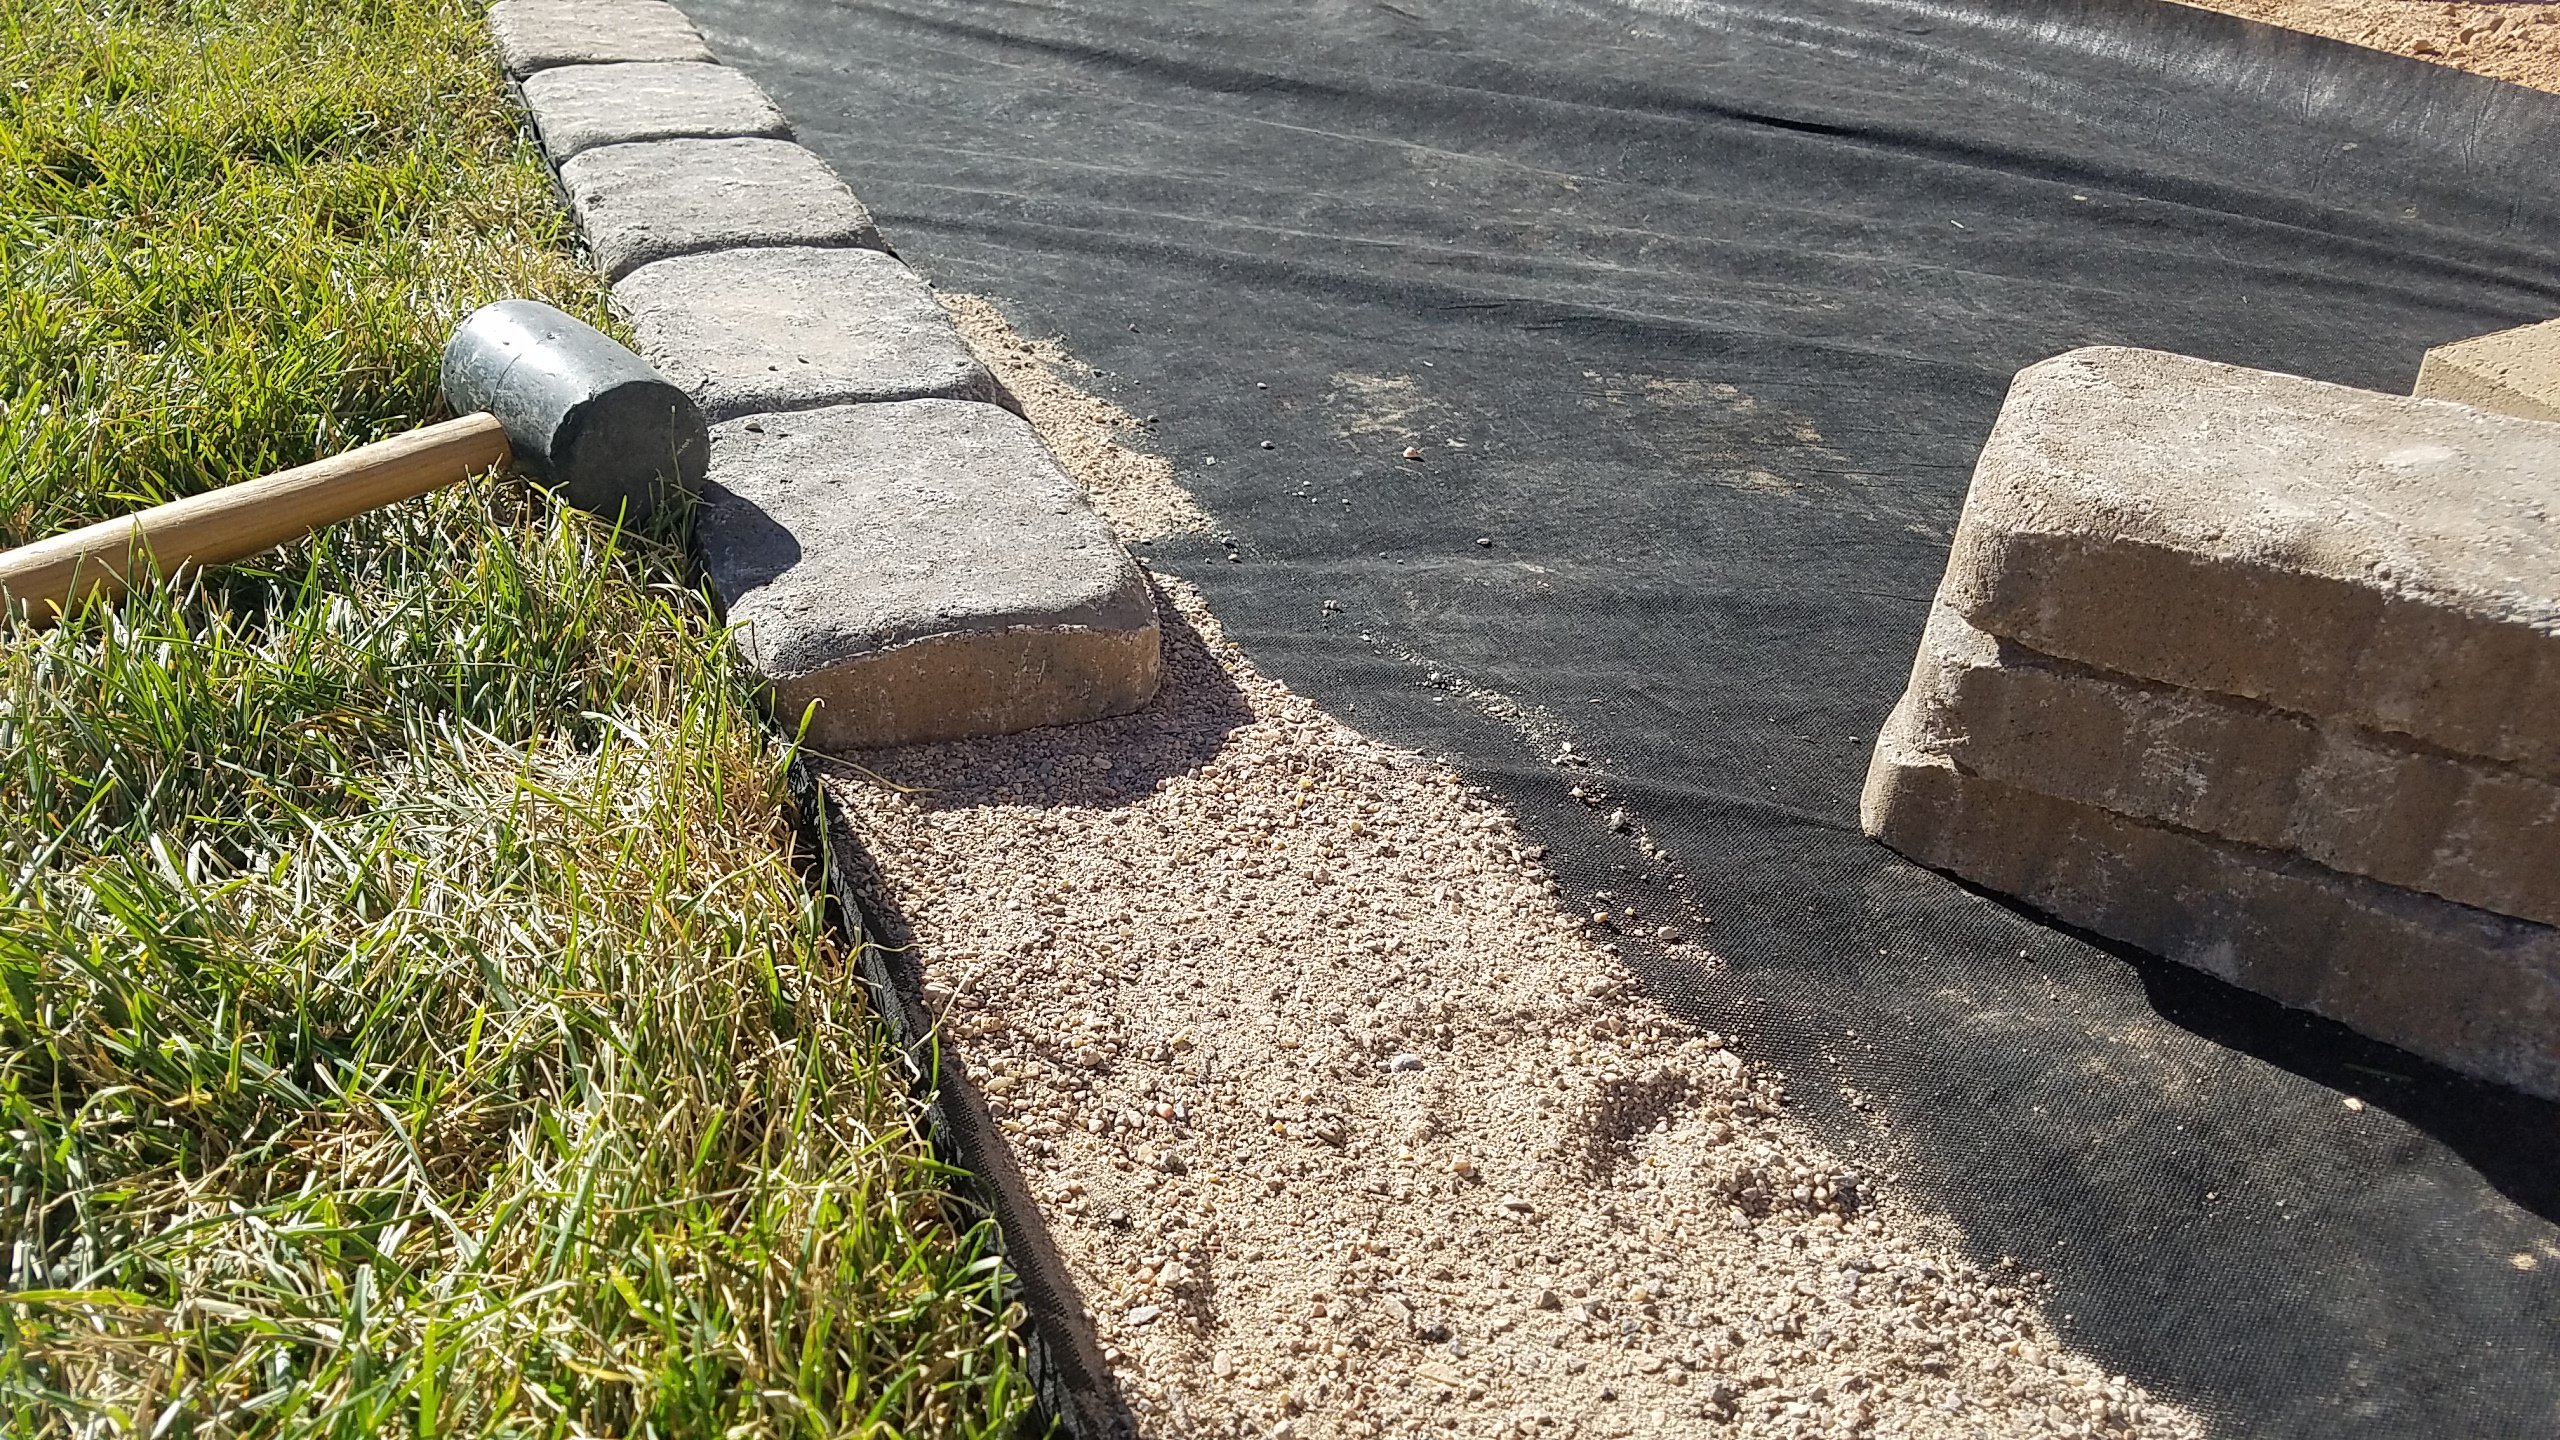
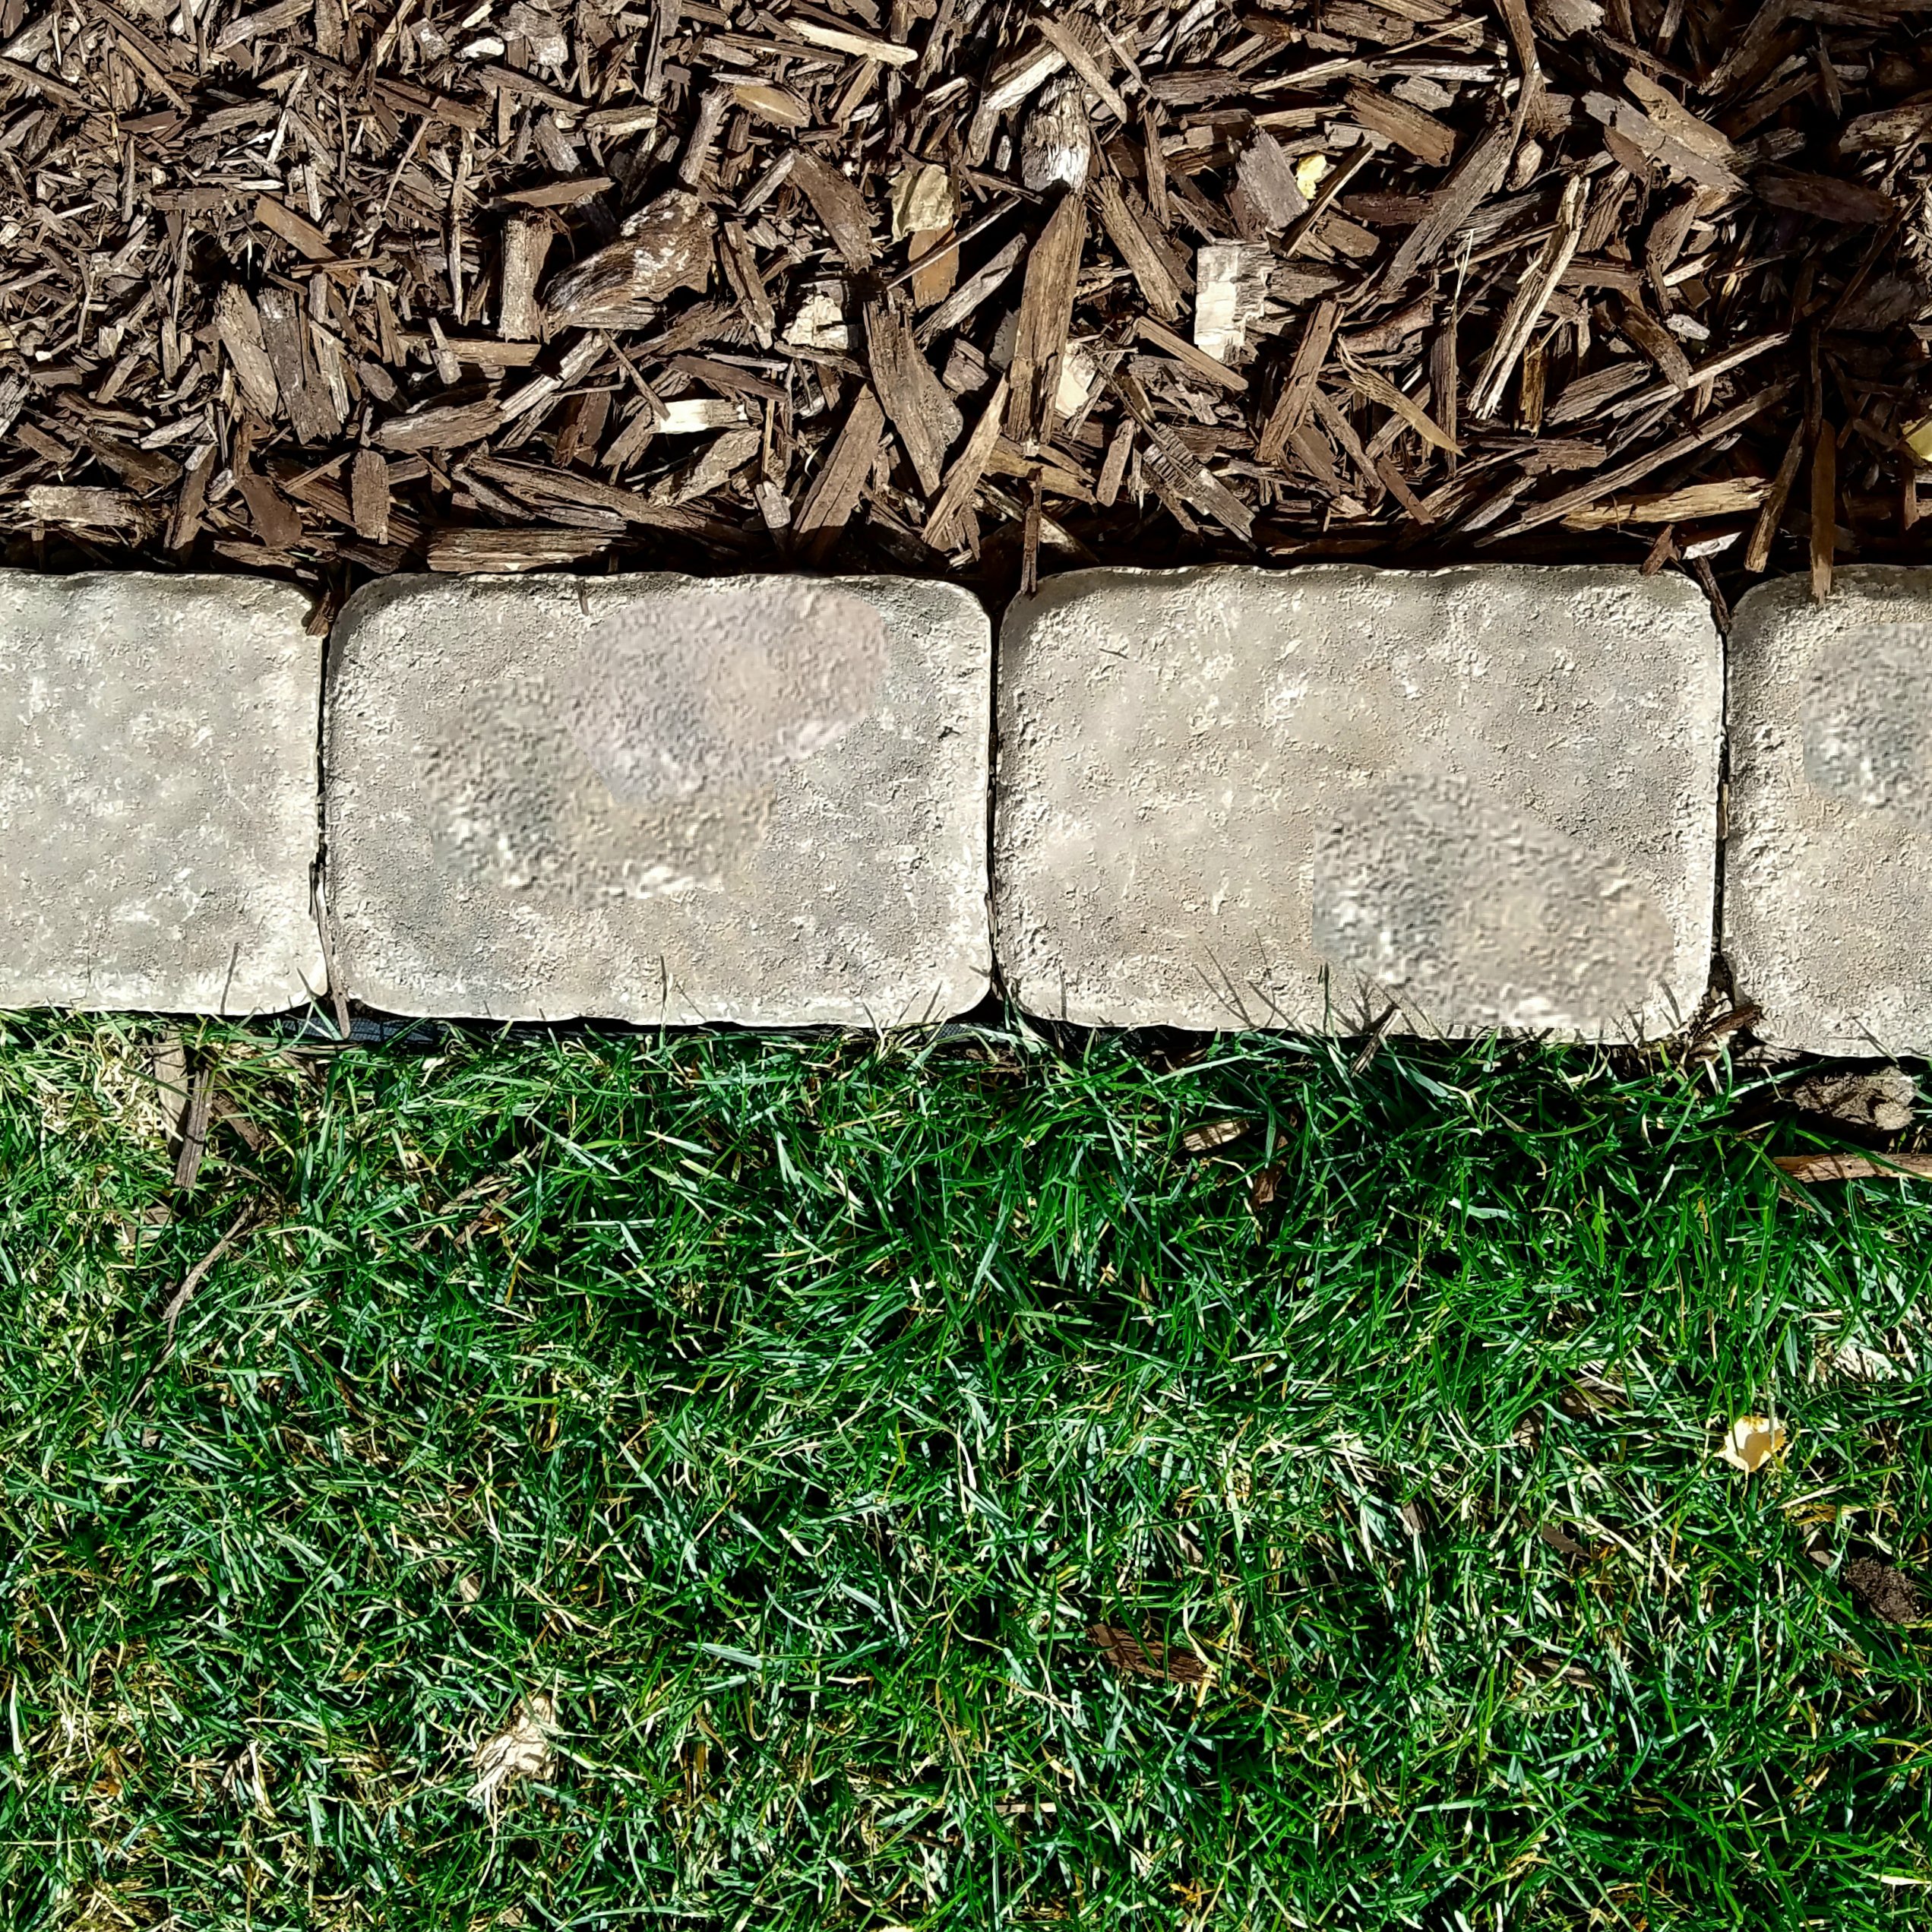
To give your pavers a nice foundation to sit on and reduce pavers shifting through the years, lay about an inch of play sand (play sand because it’s cheaper, we’ll use the nice stuff at the end). Sand will also help the paver not tilt when it’s walked on.
Set the paver where you want it to go and hammer it into the ground slightly. The sand holds it in place, the soft dirt gives way and surrounds the paver, setting a nice sturdy line for a professional look. My pavers were about the same thickness as our sod, so I hammered until the paver was even with the height of the grass.
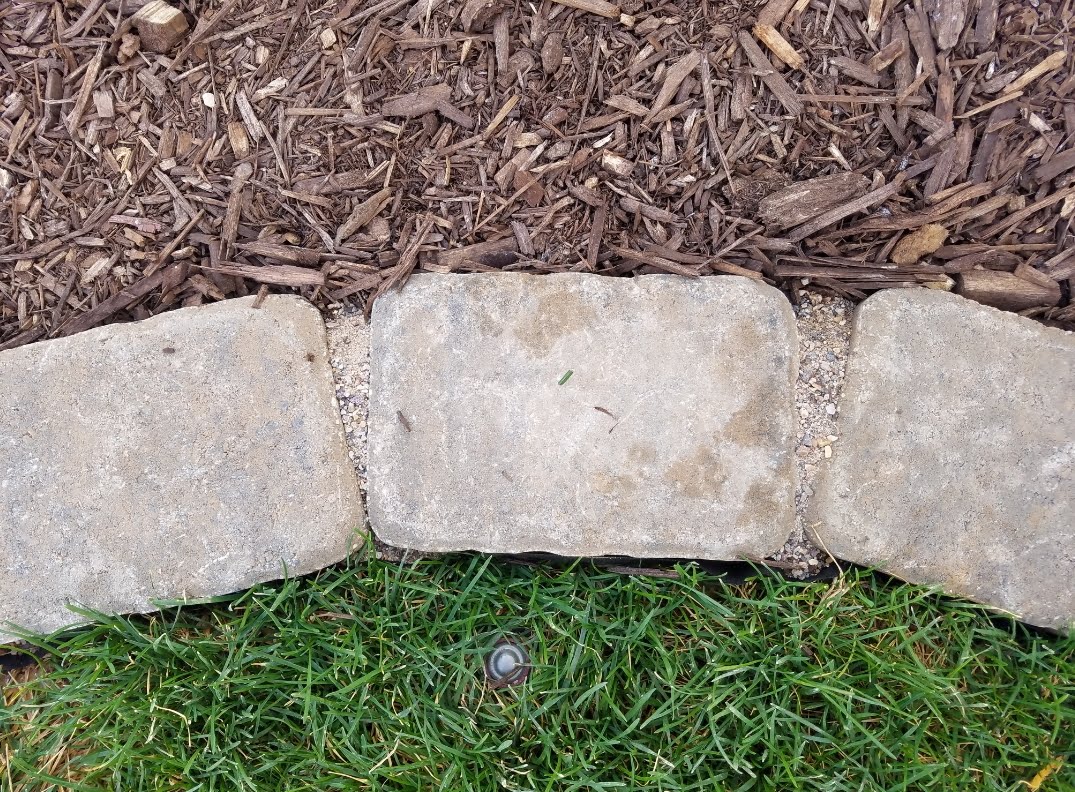
To further seal in the pavers, spread paver sand on top. It is very fine sand and will fill in all the little crevices making it harder for weeds and grass to move in and cementing in your well pounded design with very little wiggle room.
To finish off the look and hold down the rest of the weed barrier fabric we put down a few inches of chocolate mulch. If we ever want plants in any of these areas we will can cut a hole in the fabric, but for now, the weeds are held at bay.
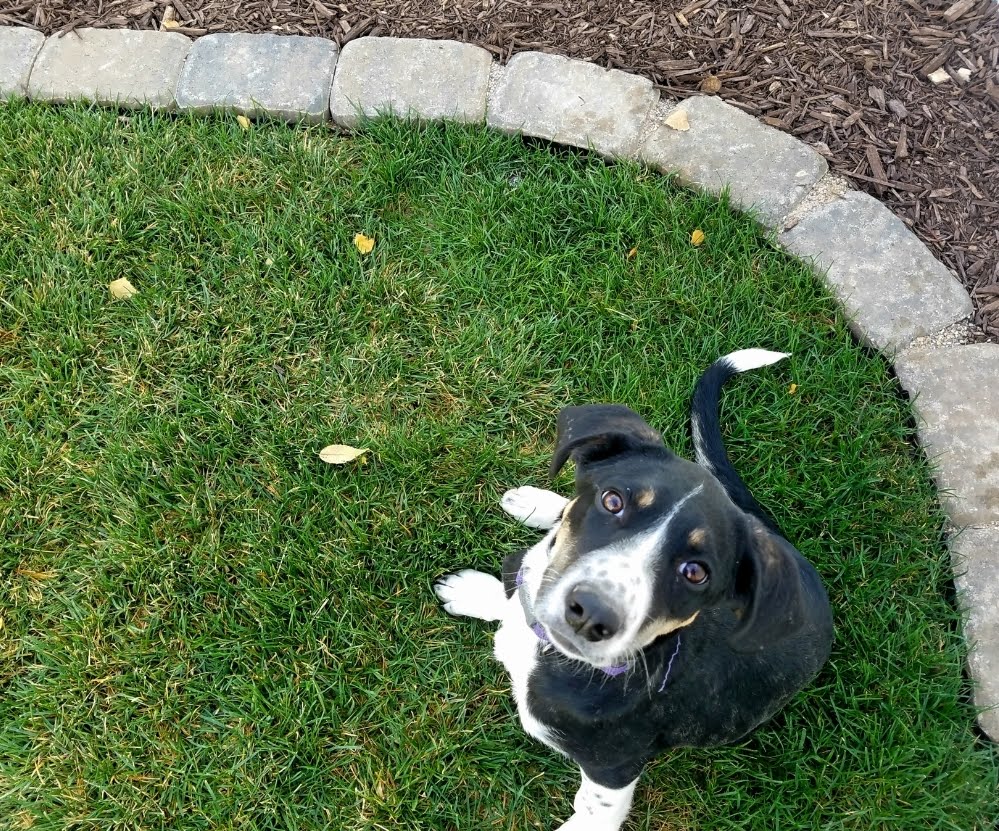
I am so happy with the way this paver edge turned out. The pounding was actually fun and we are going to have a much easier yard to care for. Our dog literally wanted to be in every photo, so she gets to wrap it up.
Are you planning a lawn edge soon? What edging are you considering. Feel free to leave your comments below and best wishes with your next project.


Recent Comments