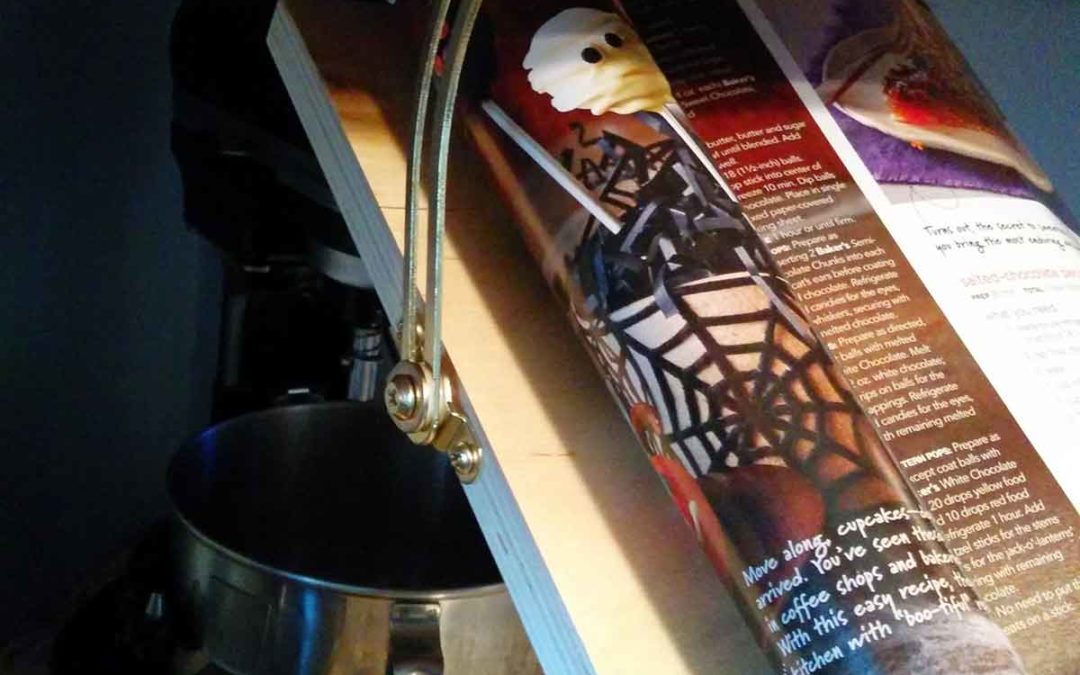
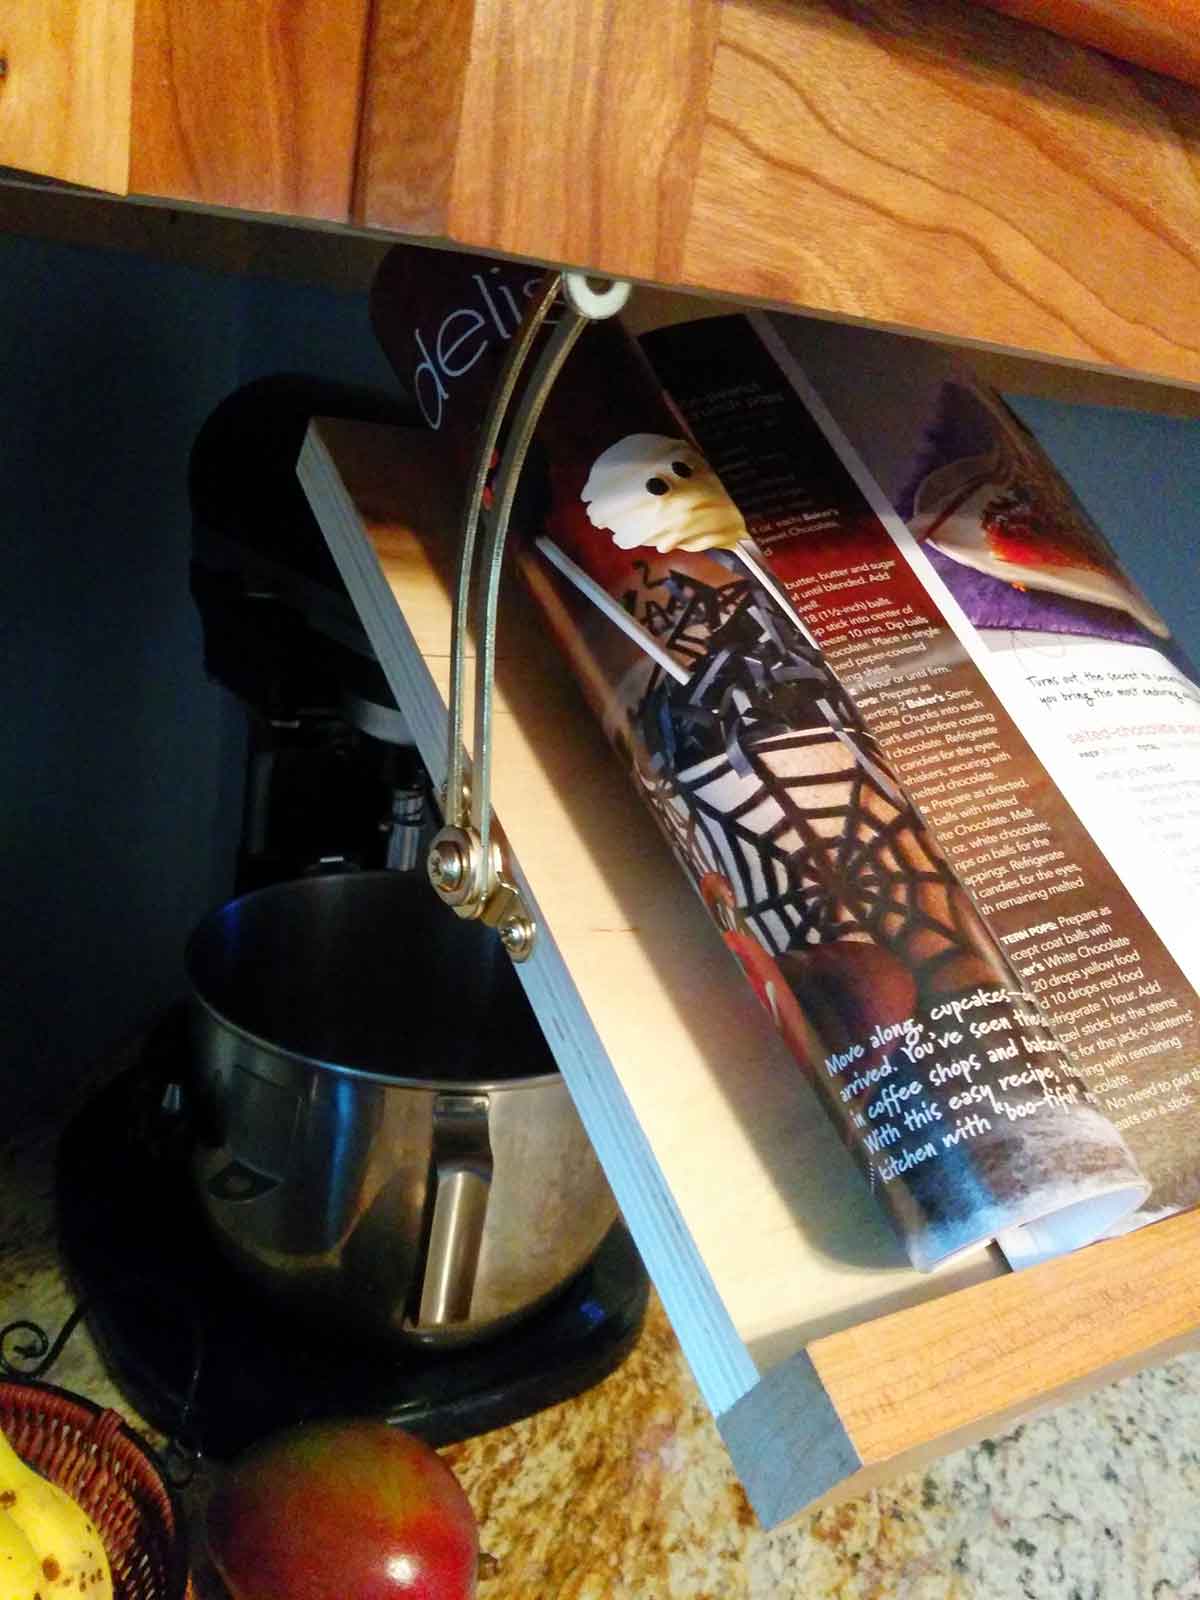
Somethings in life just make sense, like being able to see the recipe on your tablet or smart phone while your hands are sticky. I didn’t realize I wanted a recipe card/ tablet holder, until I saw the idea from RealityDaydream.com, I began to see the advantages and had the perfect corner cabinet to attach it to. I also had a small shelf I wasn’t using from my newly installed cabinets and thought I would try it out. All you need are the friction lid hinges one for the left and the right, a square piece of wood the size you want for your device or magazine, and a magnet. The magnet is used to hold up the back of the board when you fold it in for storage, otherwise it hangs down. RealityDaydream acknowledged this was a problem and invited others to send their solutions. This was mine and I’ll show you how to install it below.
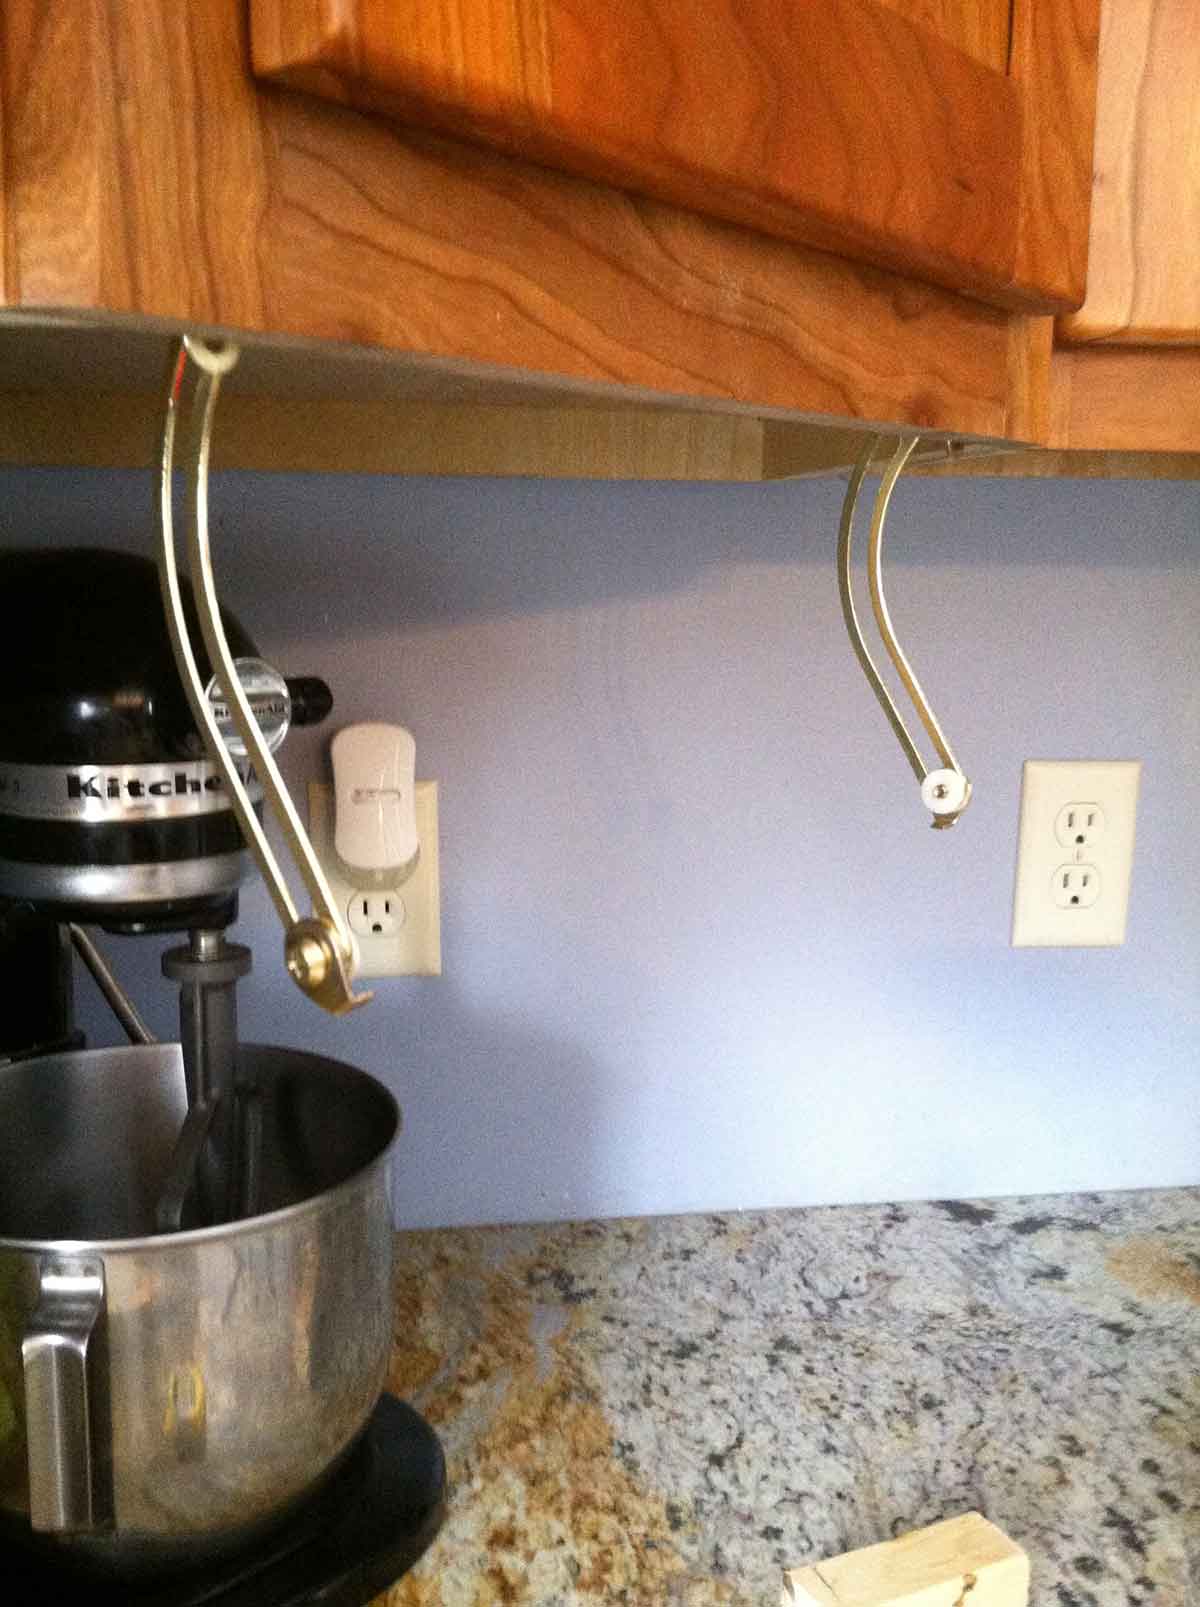
I attached the hinges to the bottom of my cabinet, right along that 2 inch ledge cabinet builders leave. Once folded into place, you could see the hinge a little bit, but not enough to notice unless you were looking.
I also attached my magnet to the top of the wood slab. The metal plate for the magnet was attached onto a 1″ block of wood which was placed about in the middle of the cabinet. Notice I also placed the magnet flush with my board face, this was so the magnet would hold the wood slab close to the underside of the cabinet. The ridge at the bottom of the wood slab was here because it is the underside of a narrow shelf. I lucked out in having a nice piece already in place. If you are creating a wood surface from scratch you will need to attach a piece of wood at the bottom to hold your wood slab.
The best way to start is to secure the hinges to the cabinet first. Then secure the wood slab for the tablet to the hinges. To determine where to place the hinge, do a dry run and see where you want the square wood to end up when you’ve folded it into place. Notice the wooden block with the metal plate is not attached to the cabinet yet, I used this method then marked with a pencil where to attach the block. Then secure the hinges to your slab of wood.
Make sure it unfolds the way you want, once you are pleased with that then you will fold it in place and see where the top edge of your square wood meets up with the bottom of your cabinet, this is where you want to place your metal plate (mine placed on a block). You may need to adjust the thickness of your wooden block, depending on the depth of the under-edge of your cabinet.
As you go, make sure to always check the length of your screw with the thickness of the wood to make sure it will hold the hardware, but not go through the finished part of your wood. I check my screw with the wood by placing it on the edge, giving room for any hardware to be attached. In this example, I am checking the screw depth for my Pull-Out Kitchen Trash.
Also be sure to pre-drill any wood where you will place a screw. This will prevent your wood from splitting. As you see here, I have attached the metal plate to the wooden block first, then I did a dry run. The next step is to screw it into place.
There you have it, a pull-down recipe/tablet holder that makes it easier to read and mess free. If you have a wider cabinet spot you could also do this for a recipe book. I just folded up my magazine or used my tablet. It was pretty handy. Share your recipe holders and any insights you’ve had on your designs below. Happy building!





Recent Comments